Lead came or copper foil?
Lead came and copper foil are the two ways of joining the pieces of a stained glass panel. Came is a strip of lead, H-shaped in section, that holds the glass in its channels; foil is a copper tape wrapped round each piece, the pieces then soldered along every seam. Came gives bold lines and suits windows; foil gives fine lines and suits small, detailed pieces and lamps. The choice changes the pattern itself.
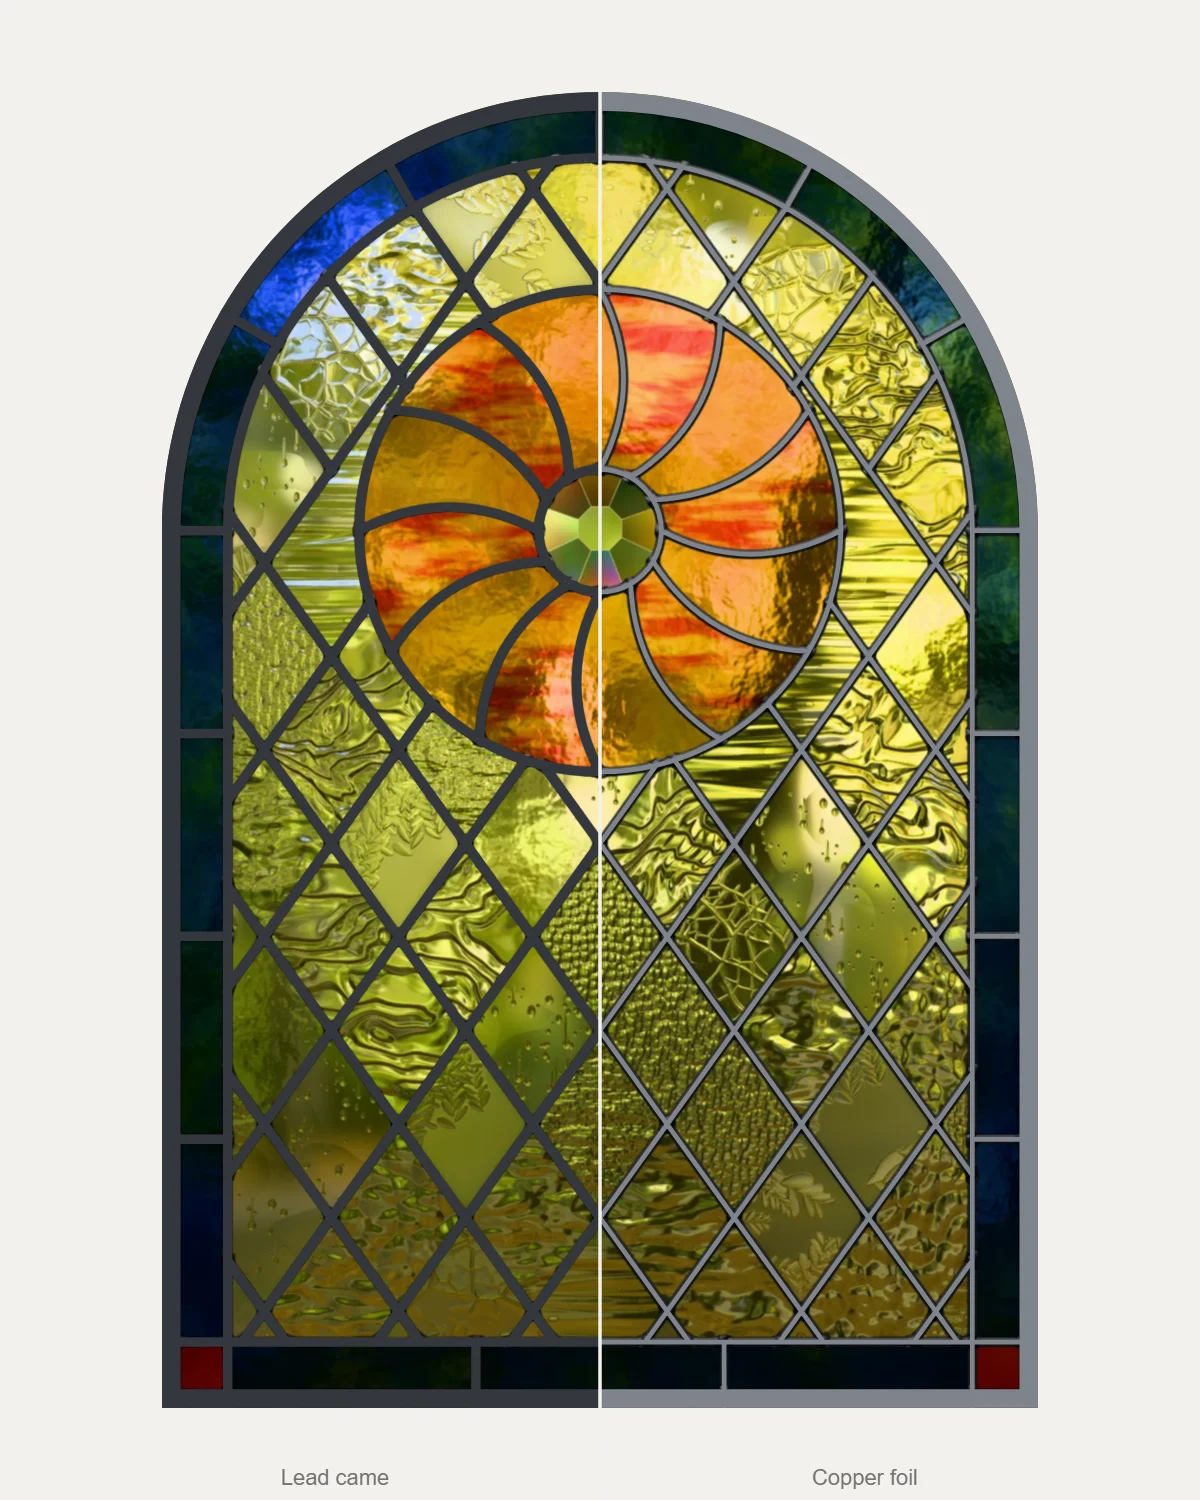
- The line you see
- 6.4 mm
- Glass cut short of each line
- 1 mm
- The line on the cutting pattern
- 2 mm
01
Lead came
Came is a long strip of lead, H-shaped in section: a heart in the middle and a flange either side, with a channel each side for the glass. The panel is built piece by piece, each piece slid into its came and the joints soldered on both faces. Then it is cemented: a putty brushed under the flanges seals the panel and stiffens it, which is why came is used for windows that face the weather.
On the pattern, each line is the middle of a came. What you see of the came, its face, is 6.4 mm (1/4 inch) on most panels. The heart between the channels is about 2 mm, and each piece is cut 1 mm short of its line: half the heart, on each side.
Round the outside goes a U-came, with a channel on one side only, or a zinc frame.
Lead came
02
Copper foil
In copper foil, the method Tiffany's studios made famous, each piece's edge is wrapped in a thin copper tape, sticky on one side, and pressed down onto both faces of the glass. The pieces are laid together and soldered along every seam, front and back.
The seam you see is the solder over the foil: about 3.2 mm (1/8 inch) on 3 mm glass wrapped in 7/32 inch foil. The pieces are cut almost on the line: foil pattern shears take out 0.8 mm.
Foil holds pieces too small for came, and pieces set at an angle to each other, which is why lamps, boxes and other three-dimensional work are foiled. It is also the easier of the two to learn.
Copper foil
03
How the pattern changes
The same drawing makes a different panel in each. Every figure here is one the Studio draws, prints and checks with.
| Lead came | Copper foil | |
|---|---|---|
| The line you see | 6.4 mm (1/4 inch), the came's face | 3.2 mm (1/8 inch), the solder seam |
| Where the glass is cut | 1 mm short of each line, for the heart | 0.4 mm short of each line |
| The line on the cutting pattern | 2 mm, the heart | 0.8 mm, the shears' strip |
| The Studio warns at a piece over | 500 mm across | 300 mm across |
| Detail | Bold shapes: small pieces vanish under wide leads | Fine detail: small pieces read between thin seams |
| Suits | Windows and doors, larger flat panels | Lamps, suncatchers, boxes, small detailed panels |
| Built | Soldered at the joints, then cemented | Soldered along every seam, on both faces |
| The outside edge | A U-came or a zinc frame | A zinc frame or a U-came |
04
Drawing for each
In lead came, draw bold. A came's face hides 3.2 mm of glass along each side of its line, so a piece 8 mm wide shows almost nothing but lead. Long lines running across the panel give a leaded panel its strength: let leads run on from edge to edge where you can.
In copper foil, draw finely. A seam hides about 1.6 mm along each side of its line, so small pieces and fine detail read. A big foiled panel is often reinforced along its long seams to keep it flat.
In the Studio the technique is one switch: the checks, the plan and the printed cut lines all follow it. Choose it before you print.
In VETRATA Studio
Do it in the Studio, one lesson at a time.
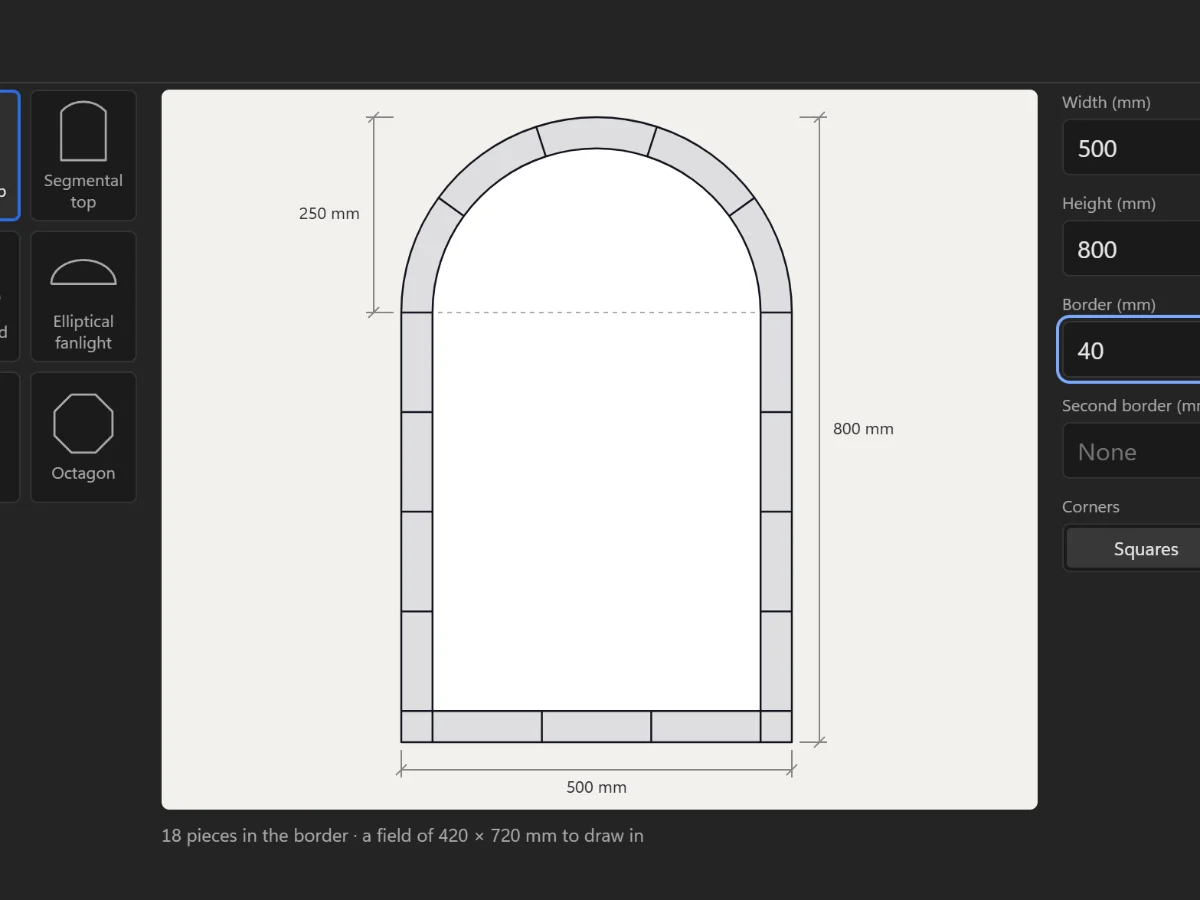 Lesson 2 · Getting started
Start a new panel
Choose the opening's shape and size, add a border, and set the technique you will build it in.
6 steps · 2 min
Lesson 2 · Getting started
Start a new panel
Choose the opening's shape and size, add a border, and set the technique you will build it in.
6 steps · 2 min
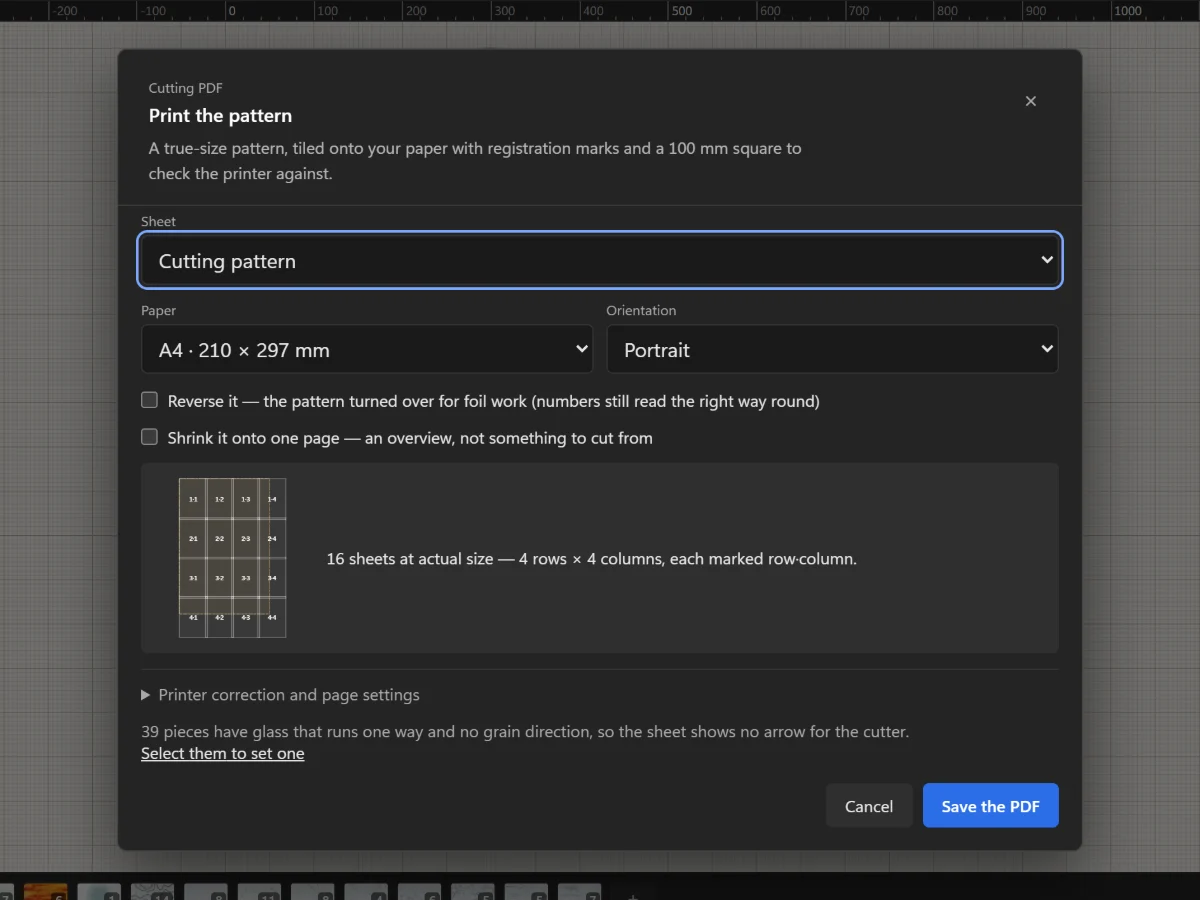 Lesson 19 · Plan and print
Print the cutting pattern true to scale
Tile the full-size pattern onto A4 or Letter with registration marks and a square to check your printer.
5 steps · 2 min
Lesson 19 · Plan and print
Print the cutting pattern true to scale
Tile the full-size pattern onto A4 or Letter with registration marks and a square to check your printer.
5 steps · 2 min
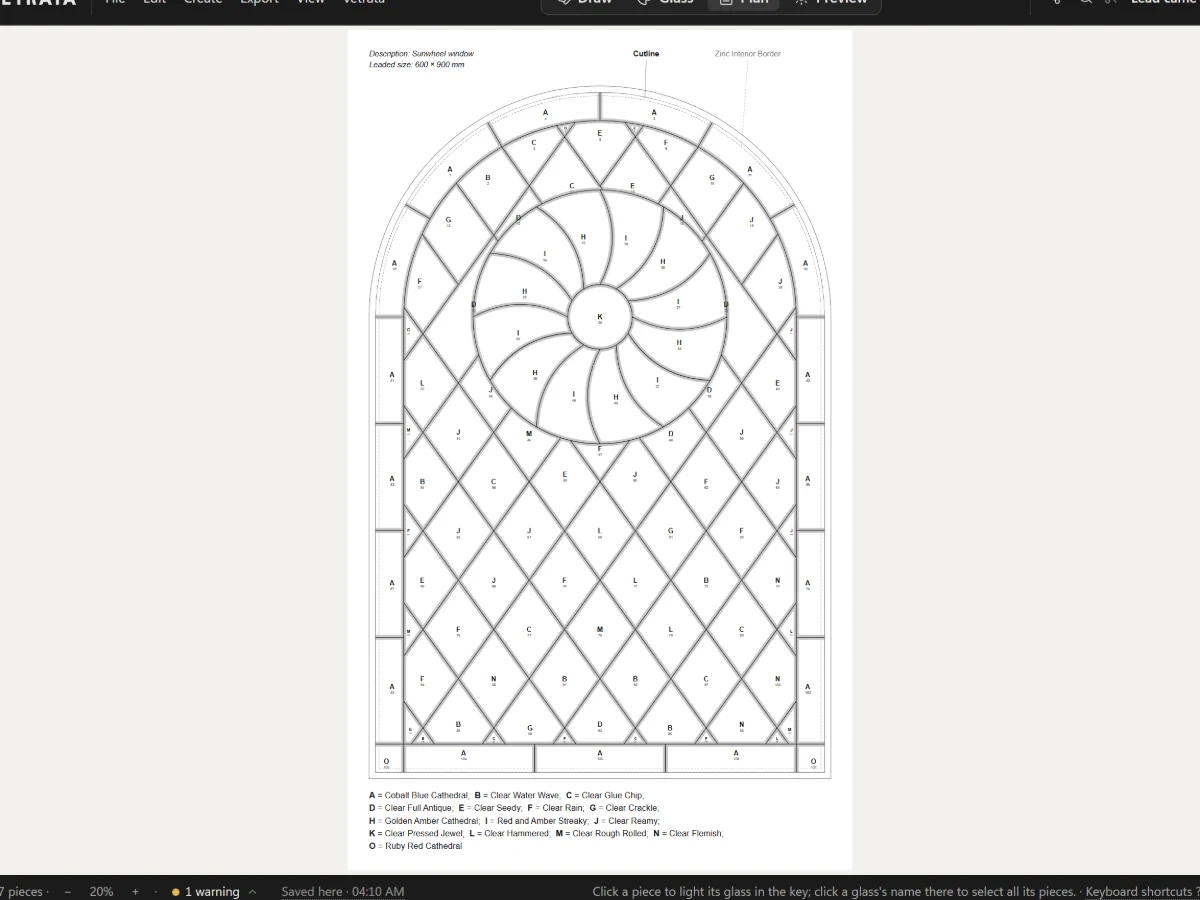 Lesson 18 · Plan and print
The pattern plan and its colour key
A numbered, lettered plan of the whole panel with its leads at their came's width, ready to print.
5 steps · 2 min
Lesson 18 · Plan and print
The pattern plan and its colour key
A numbered, lettered plan of the whole panel with its leads at their came's width, ready to print.
5 steps · 2 min
More guides
The rest of the craft.
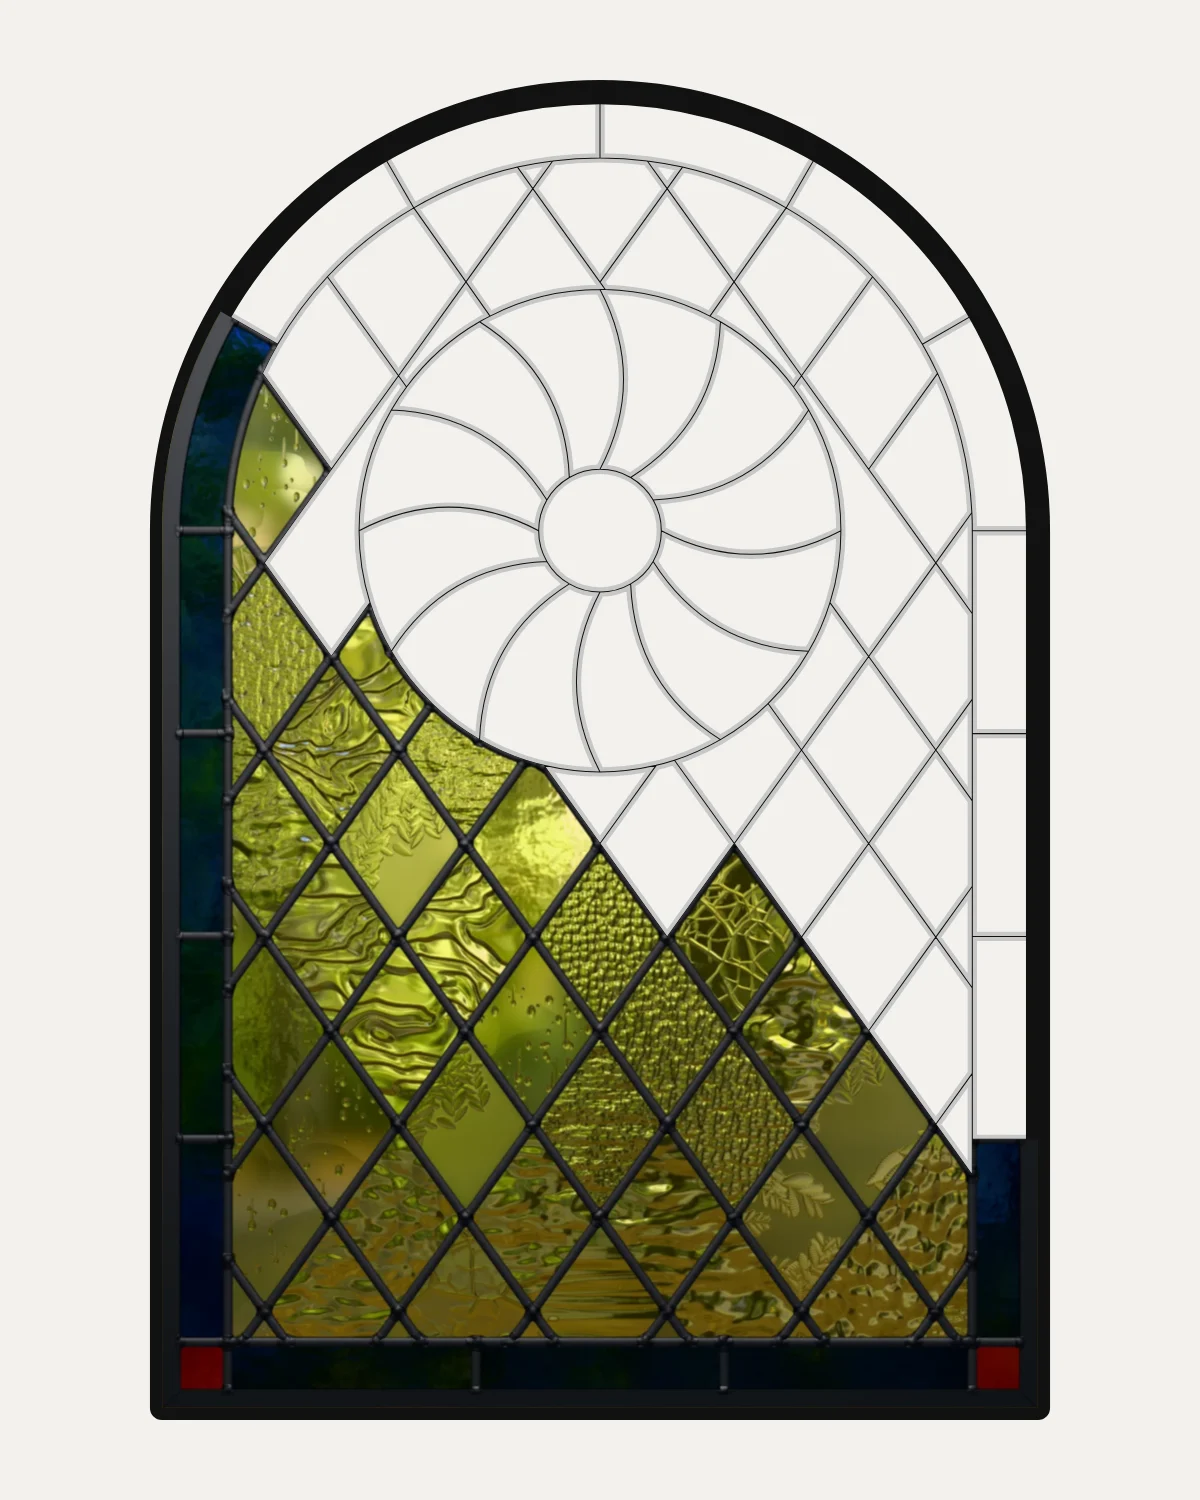 Guide · 5 min read
How to make a stained glass pattern
Make a stained glass pattern step by step: measure the opening, choose came or foil, draw lines glass can be cut along, number the pieces, choose the glass and print it full size.
Guide · 5 min read
How to make a stained glass pattern
Make a stained glass pattern step by step: measure the opening, choose came or foil, draw lines glass can be cut along, number the pieces, choose the glass and print it full size.
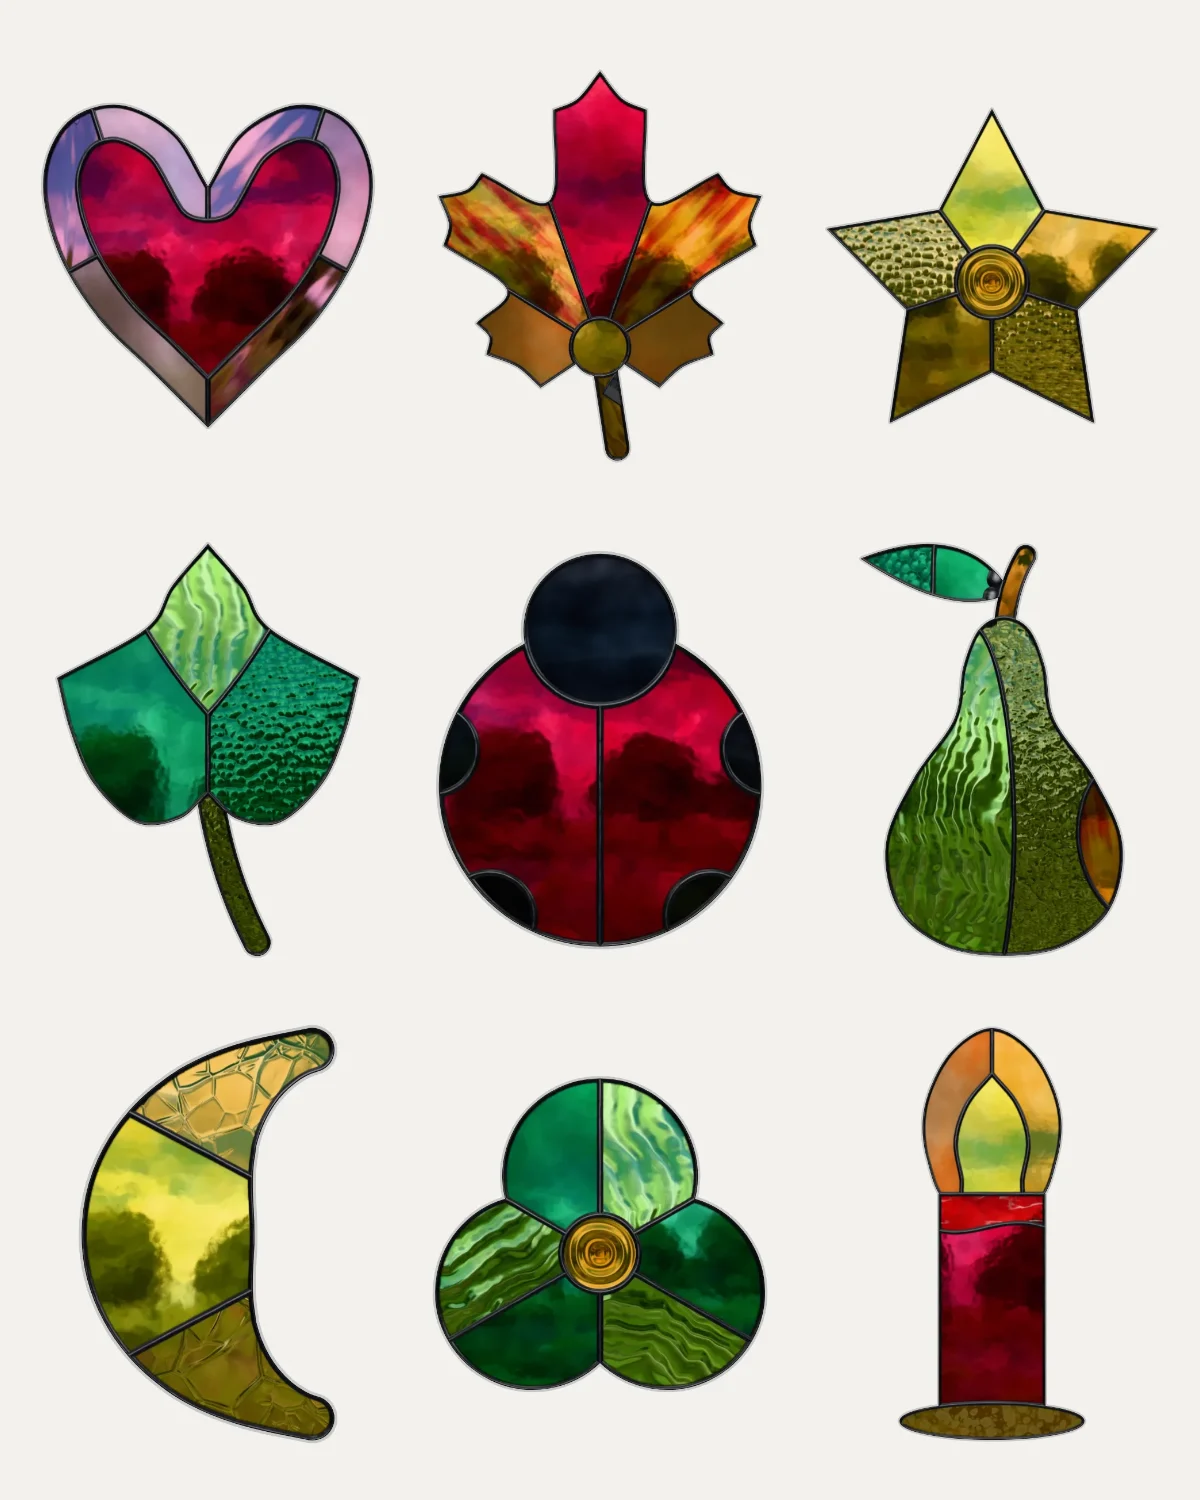 Guide · 4 min read
Stained glass patterns for beginners
How to choose a first stained glass pattern: few pieces you can hold, straight lines and gentle curves, nothing glass won't take, copper foil and a small size; and free beginner patterns to download.
Guide · 4 min read
Stained glass patterns for beginners
How to choose a first stained glass pattern: few pieces you can hold, straight lines and gentle curves, nothing glass won't take, copper foil and a small size; and free beginner patterns to download.
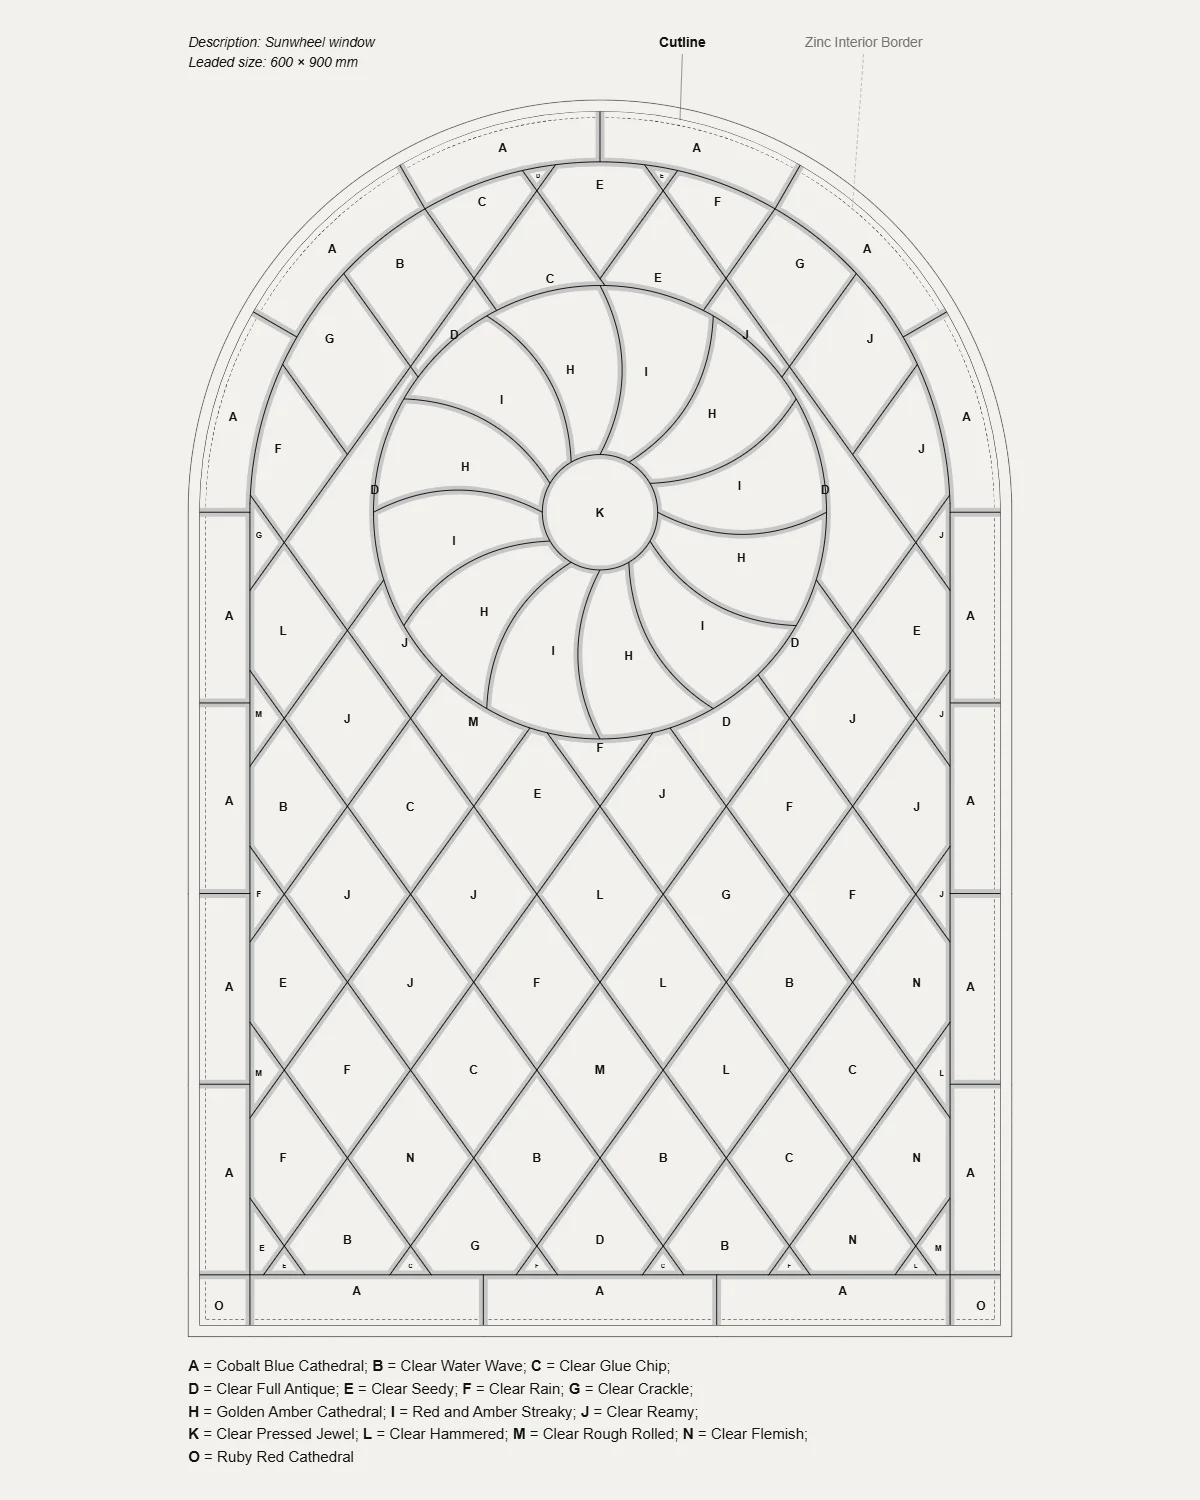 Guide · 5 min read
How to read a stained glass pattern
What every mark on a stained glass pattern means: the plan and the cutting pattern, lead lines and cut lines, piece numbers, glass letters and the key, grain arrows, the leaded size and the marks that join printed sheets.
Guide · 5 min read
How to read a stained glass pattern
What every mark on a stained glass pattern means: the plan and the cutting pattern, lead lines and cut lines, piece numbers, glass letters and the key, grain arrows, the leaded size and the marks that join printed sheets.
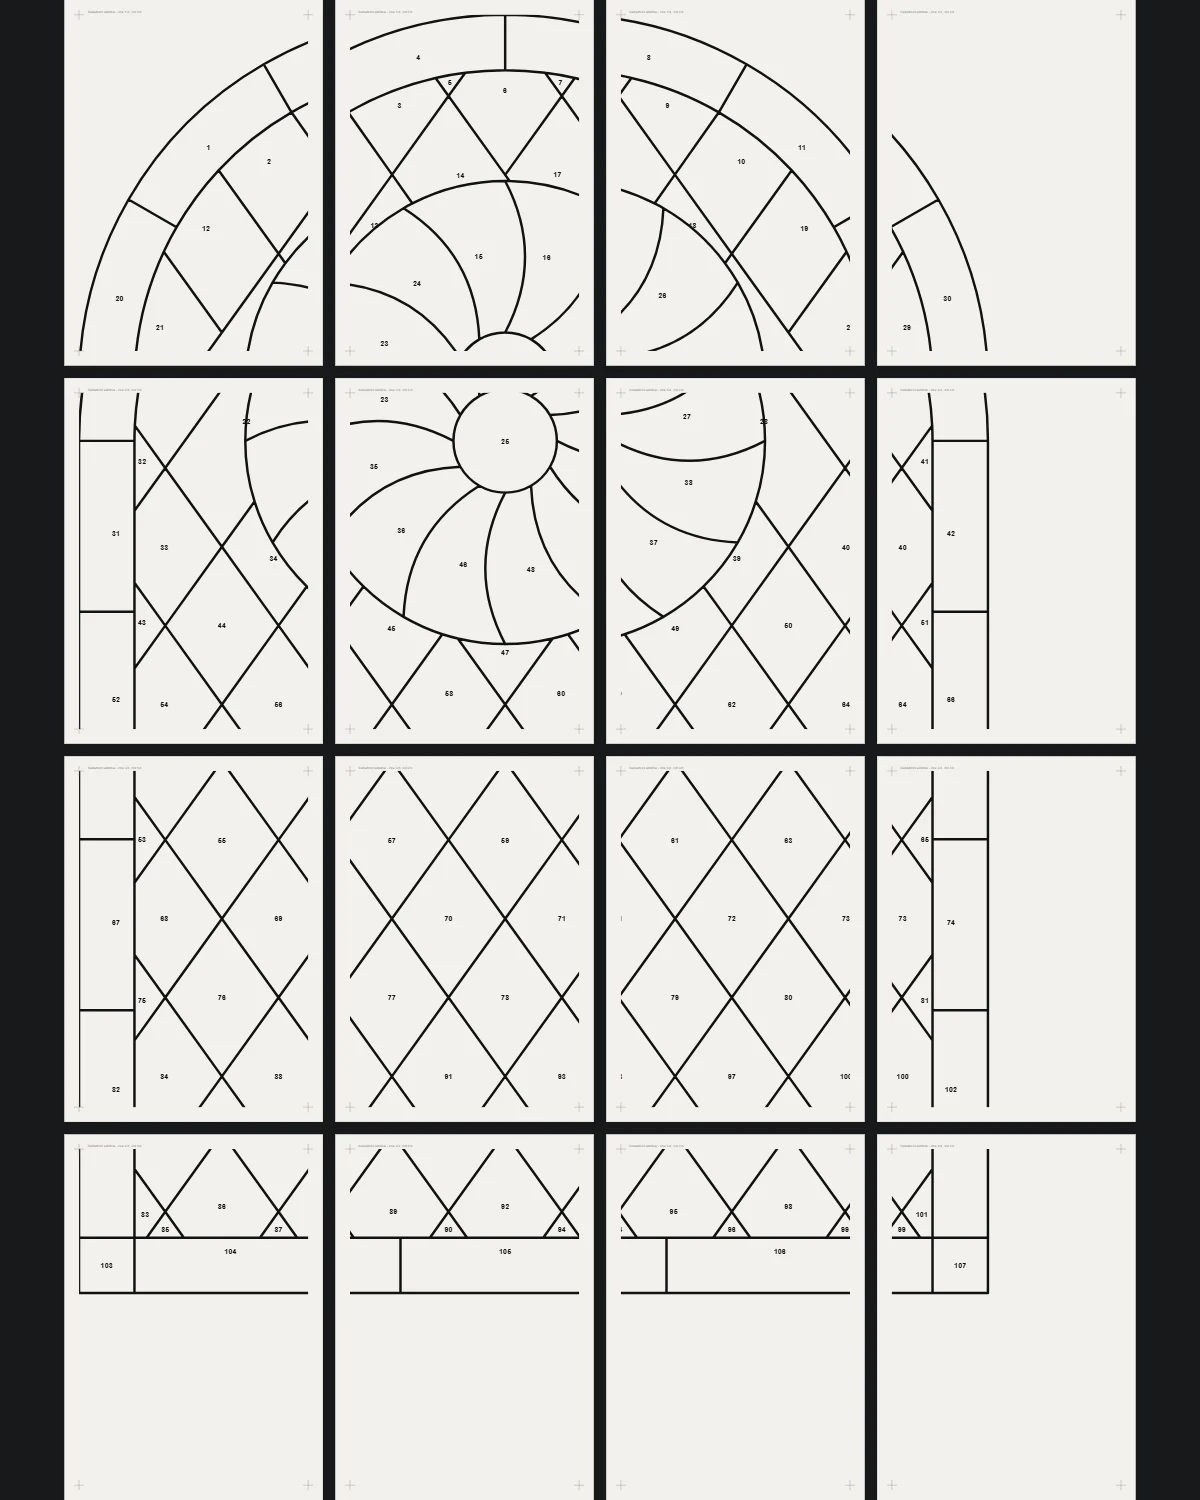 Guide · 3 min read
How to resize a stained glass pattern and print it full size
Enlarge or shrink a stained glass pattern to fit your window without fattening its lines, check every piece can still be cut, and print it full size on A4 or Letter, true to scale.
Guide · 3 min read
How to resize a stained glass pattern and print it full size
Enlarge or shrink a stained glass pattern to fit your window without fattening its lines, check every piece can still be cut, and print it full size on A4 or Letter, true to scale.
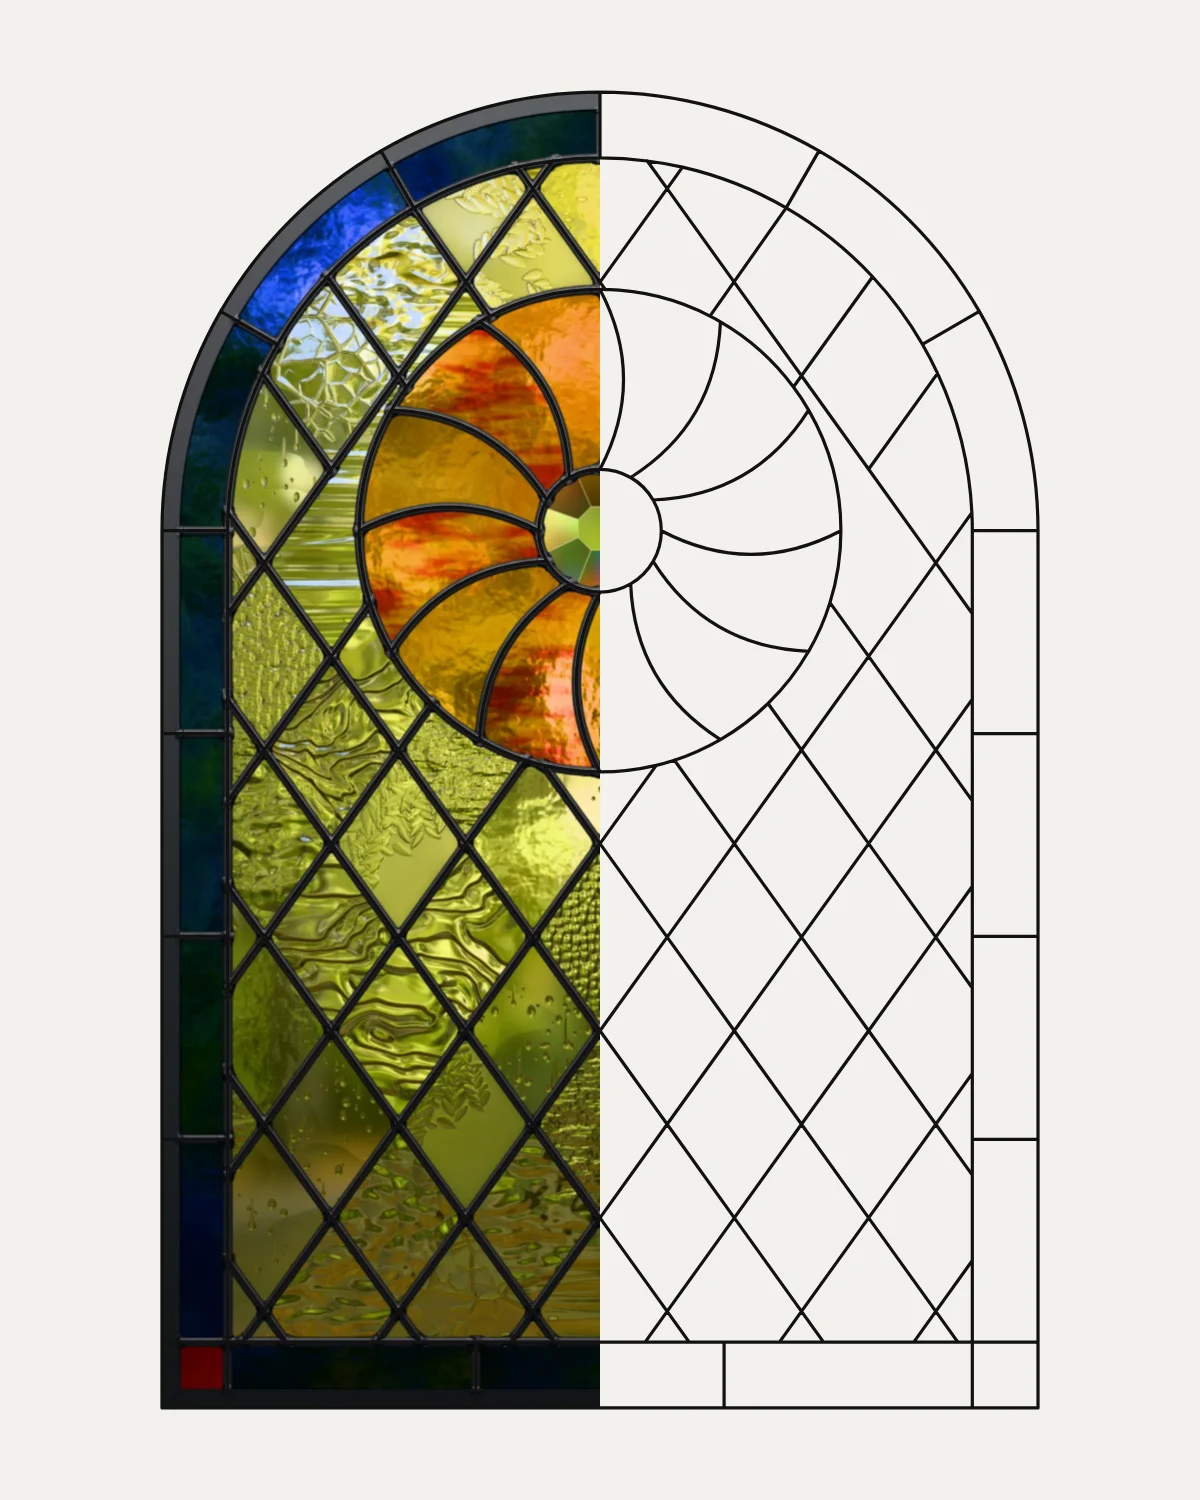 Guide · 3 min read
How to turn a photo into a stained glass pattern
Turn a photo into a stained glass pattern by tracing it: choose a photo with strong shapes, put it under the pattern at full size, draw the big shapes as leads, add the lines the glass needs and check every piece can be cut.
Guide · 3 min read
How to turn a photo into a stained glass pattern
Turn a photo into a stained glass pattern by tracing it: choose a photo with strong shapes, put it under the pattern at full size, draw the big shapes as leads, add the lines the glass needs and check every piece can be cut.