How to turn a photo into a stained glass pattern
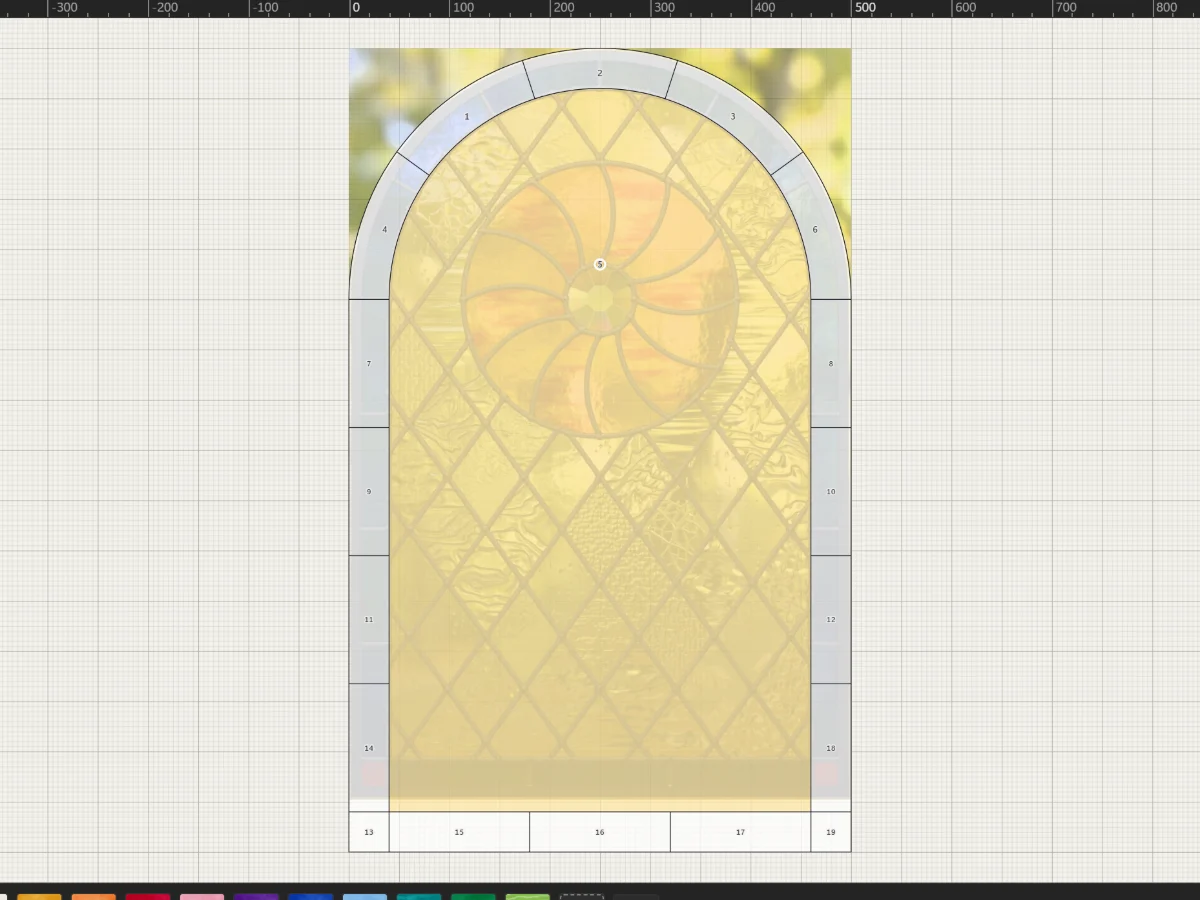
A photo becomes a stained glass pattern by tracing it by hand. Put the photo under the pattern at the panel's real size, draw the shapes that matter as leads, then add the lines the glass needs until every piece can be cut out of a sheet. No filter does this for you: a pattern is drawn for the glass, not copied from the picture.
- Trace a line of the photo with a lead
- Cut the field into six pieces or more
- Try a photo of your own
01
Choose a photo with strong shapes
The best photos for stained glass have a few big, clear shapes: one flower, a bird on a branch, a house against the sky, a landscape with a horizon. Fine texture, like fur, grass or leaves, can't be leaded line by line. It becomes the glass's own texture, or paint.
Crop the photo to the shape of the panel, and look at it small: the shapes you can still read in a thumbnail are the ones the pattern needs.
02
Put it under the pattern at its real size
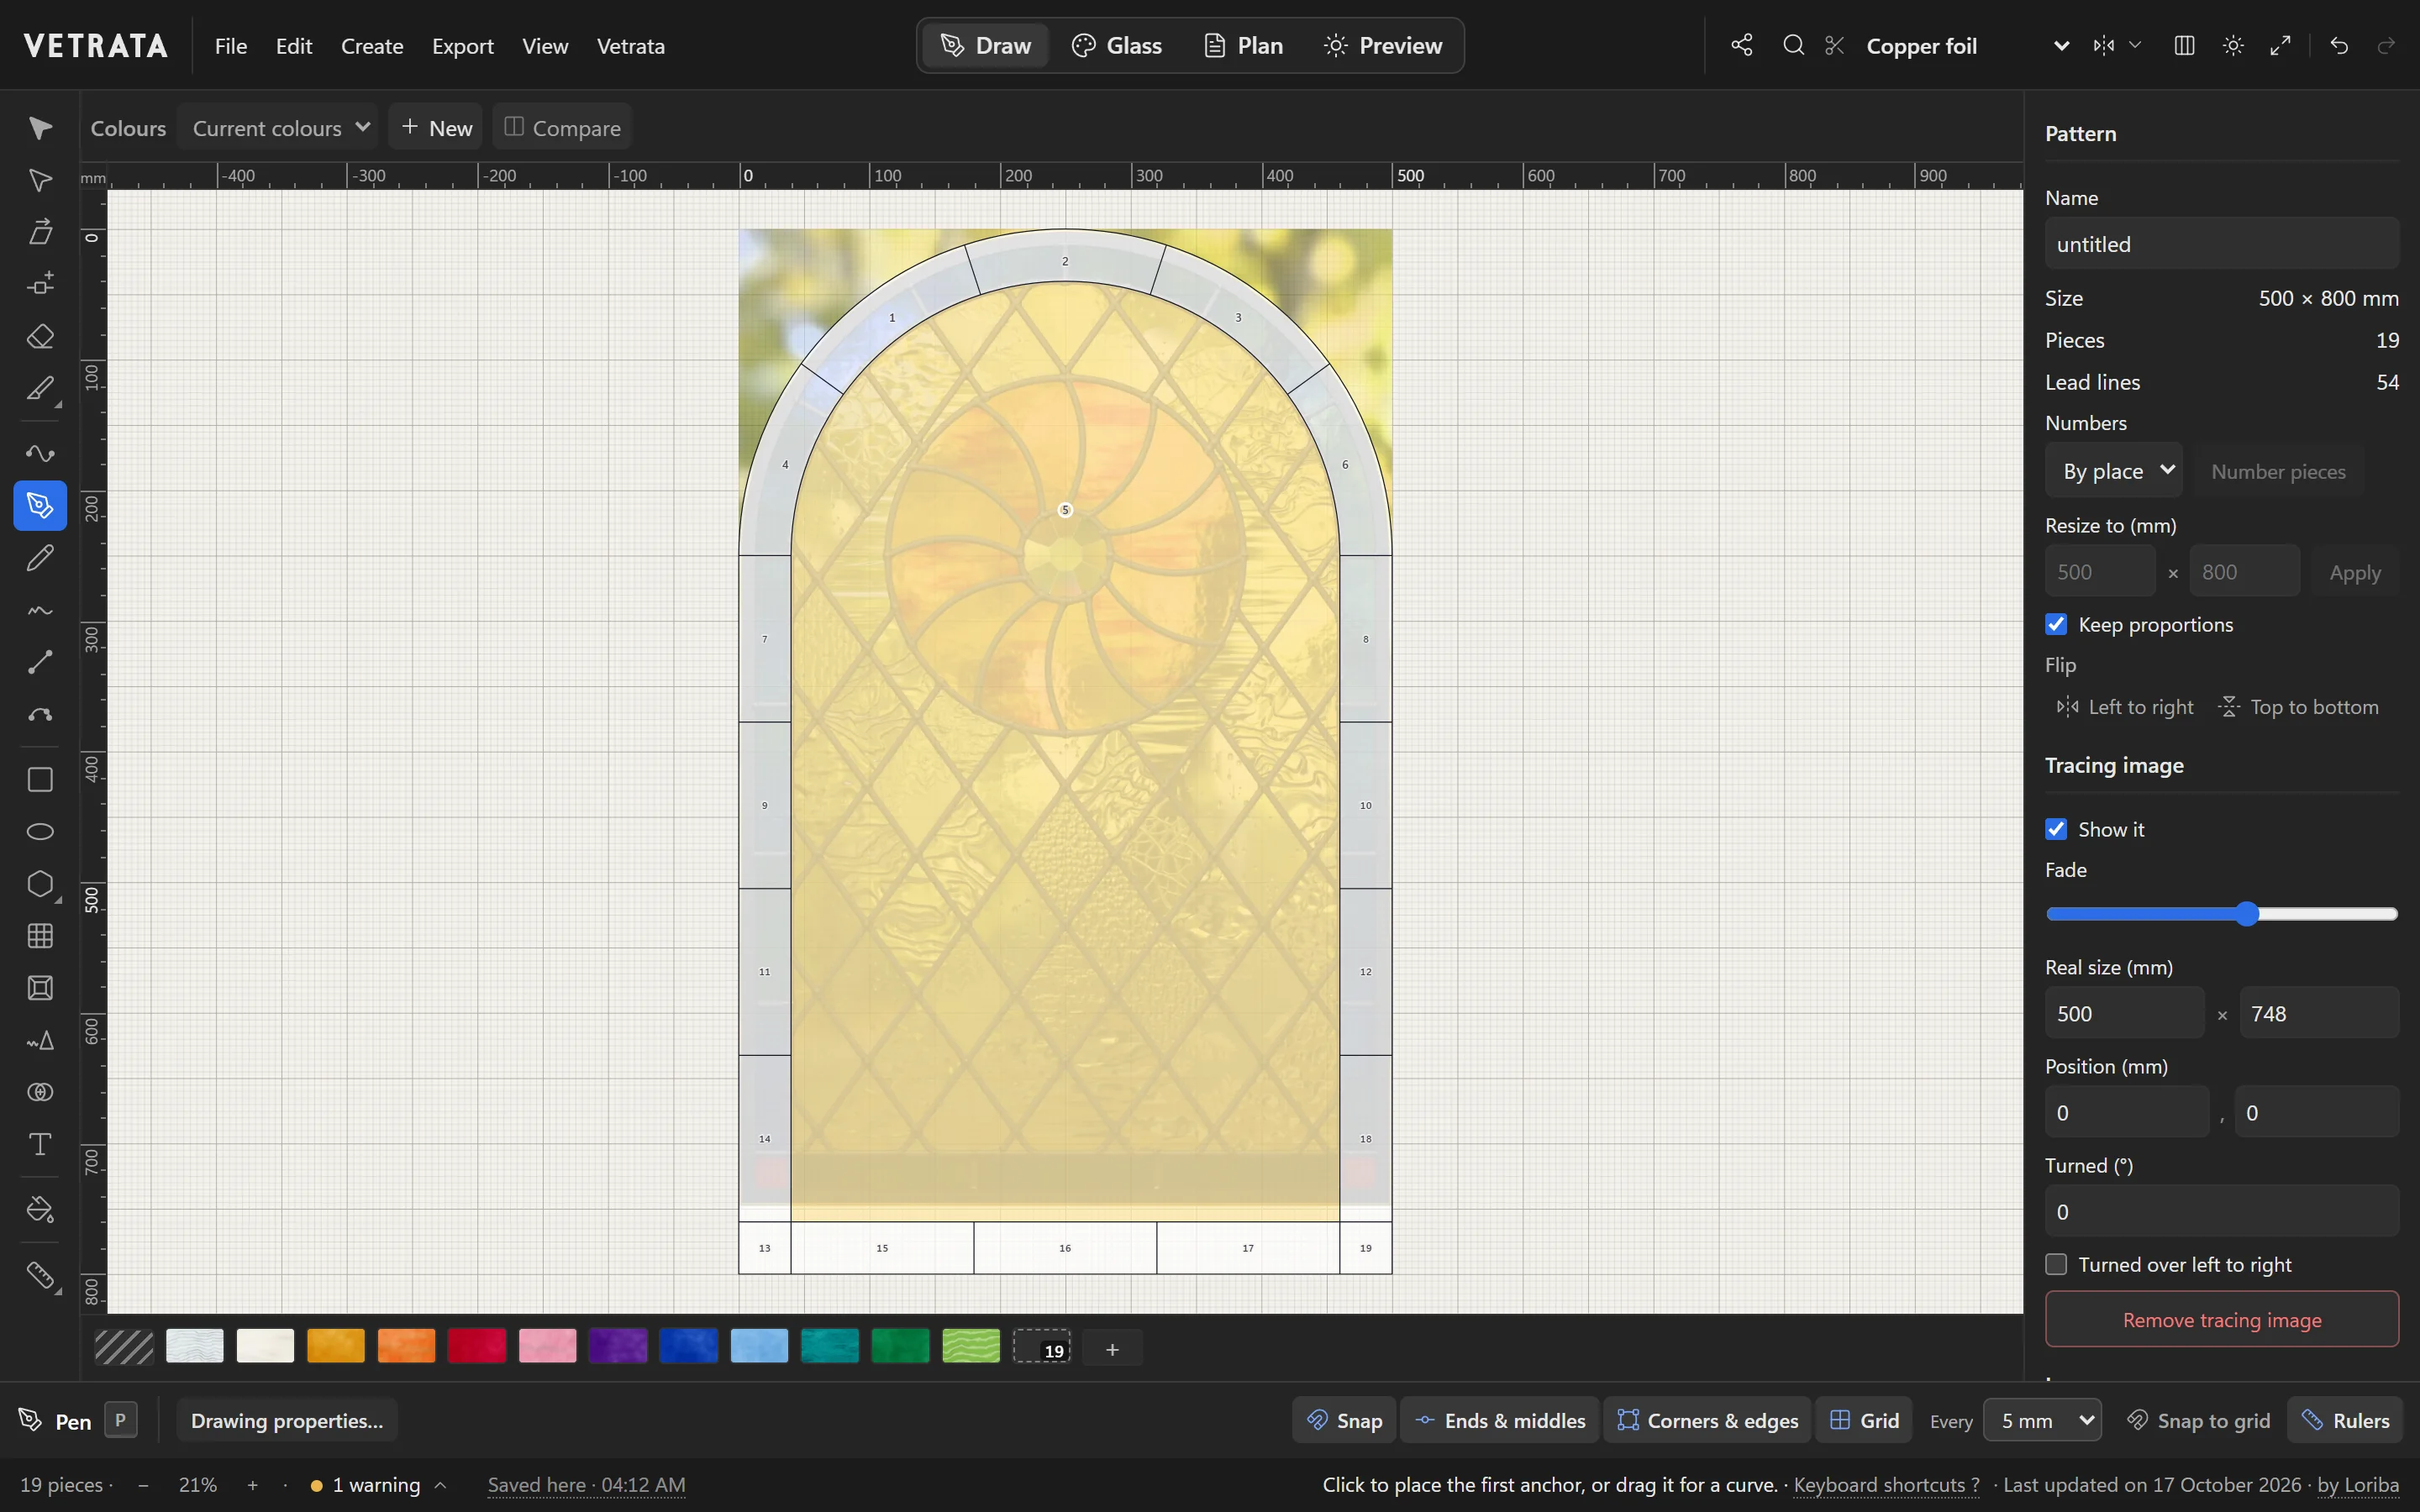
Place the photo under the pattern and give it the panel's real size. Drawn over a picture at its real size, the pattern comes out at its real size too. Then fade it until the lines you draw stand out.
03
Trace the big shapes first
Draw the outlines that make the picture: the subject's edge, the horizon, the line of a hill. Follow the shapes, not every wobble of them: a lead bends in smooth curves, and glass is cut in them.
Leave out what glass can't do. A whisker, a blade of grass or a highlight is thinner than any lead: leave it to the glass, or to paint.
04
Add the lines the glass needs
Then divide the background. Run lines from the subject's edge out to the edge of the panel, so every piece can be cut out of a sheet, and put a lead across every deep inside curve where the subject meets the background.
Then check each piece as you would any pattern: no deep inside curves, no sharp points, no slivers, nothing too big.
05
Choose the glass from the photo
Pick each glass by its colour in the photo, then look at the panel in light. A photo is lit from the front, glass from behind, and the same colour looks different.
06
Why not a photo-to-pattern converter?
Programs that turn a photo into a stained glass picture split it into cells by colour. On screen it looks like stained glass, but the cells follow the colours, not the glass: they meet in sharp points, curve deep into each other and break into slivers no one can cut. A pattern you will cut is traced by hand, with the glass in mind.
In VETRATA Studio
Do it in the Studio, one lesson at a time.
Lesson 10 · Draw
Trace a photo, sketch or scan
Put a picture under the pattern at its real size, fade it, and draw your leads over it by hand.
5 steps · 2 min
 Lesson 5 · Draw
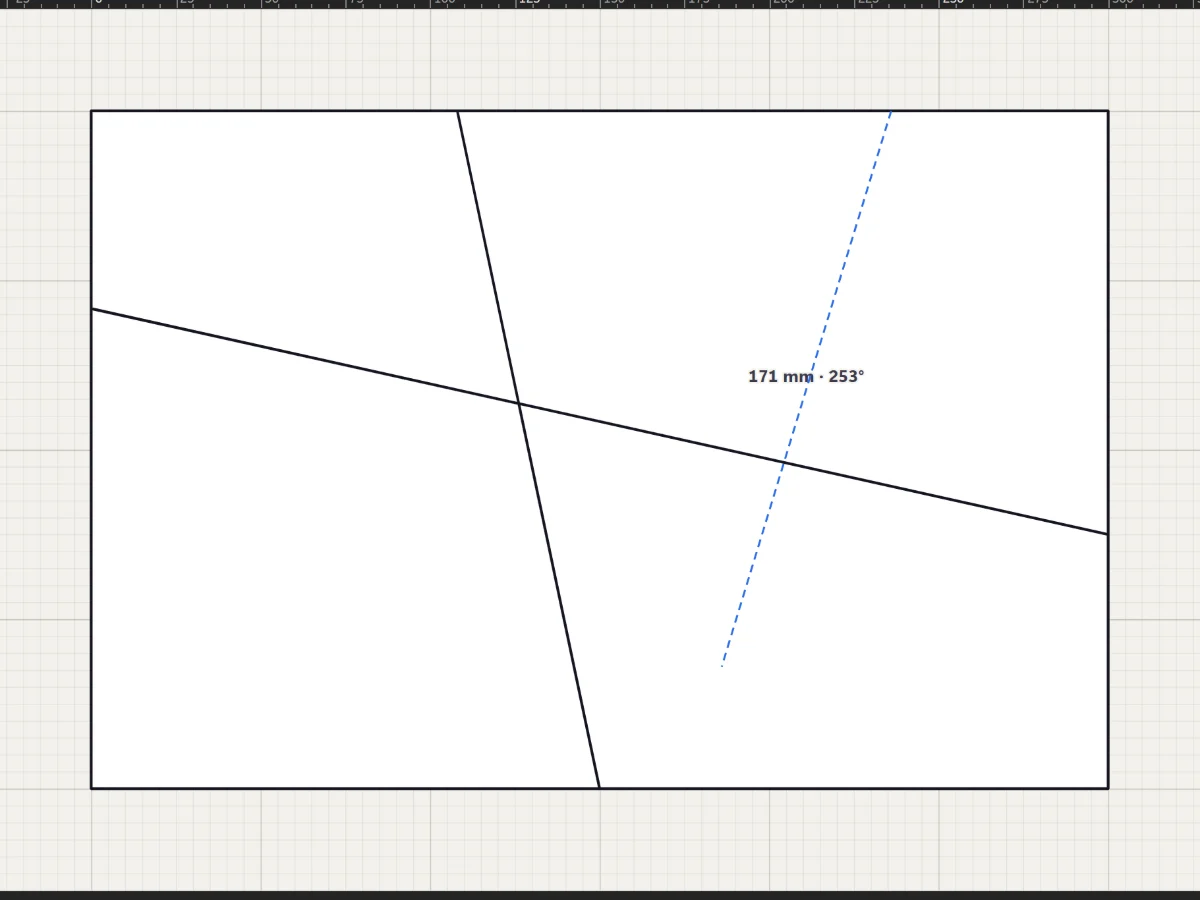
Draw lead lines
Straight leads with the Line tool, curves with the Pen and Curve tools, and freehand strokes that come out clean.
5 steps · 2 min · Try it in the page
Lesson 5 · Draw
Draw lead lines
Straight leads with the Line tool, curves with the Pen and Curve tools, and freehand strokes that come out clean.
5 steps · 2 min · Try it in the page
 Lesson 12 · Draw
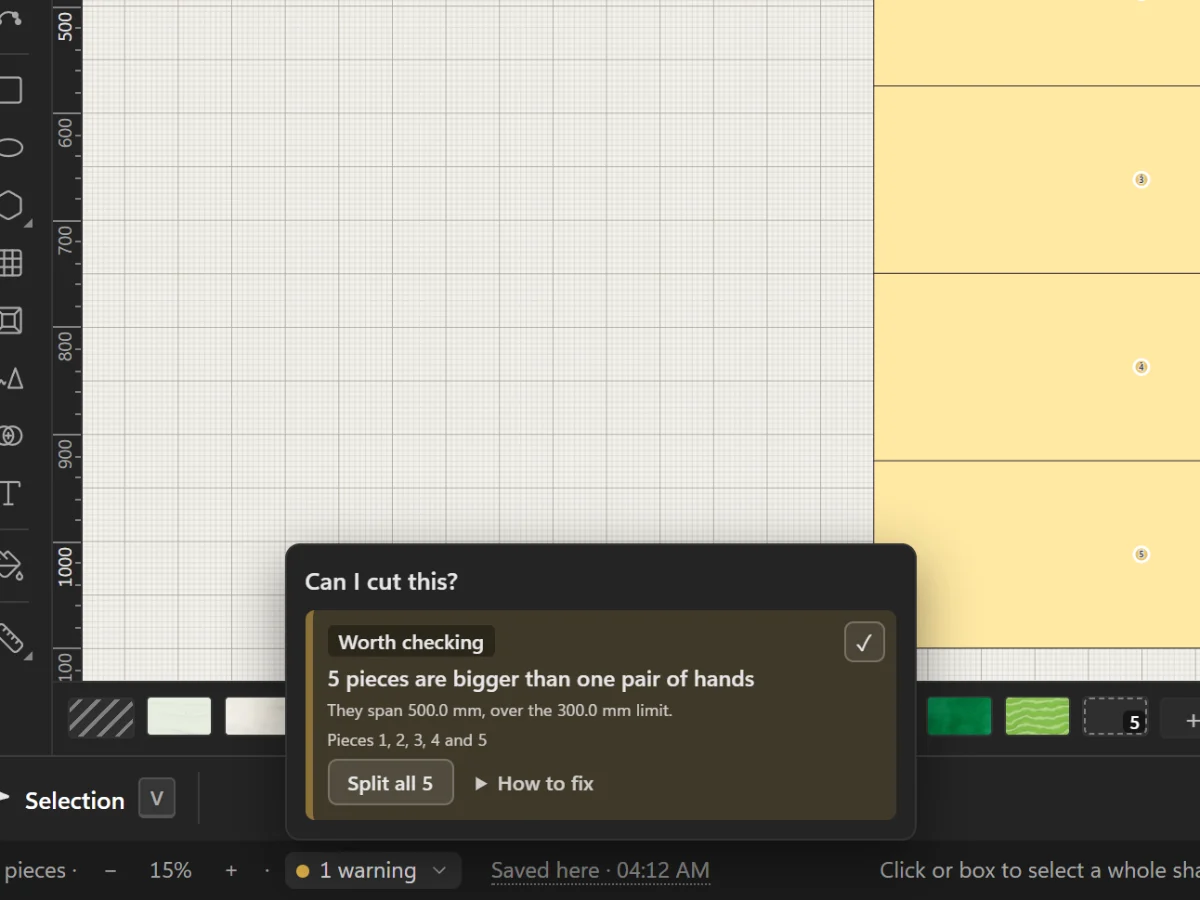
Check that the glass can be cut
Read the Studio's warnings about pieces glass won't take, and fix them with the button beside each one.
4 steps · 2 min · Try it in the page
Lesson 12 · Draw
Check that the glass can be cut
Read the Studio's warnings about pieces glass won't take, and fix them with the button beside each one.
4 steps · 2 min · Try it in the page
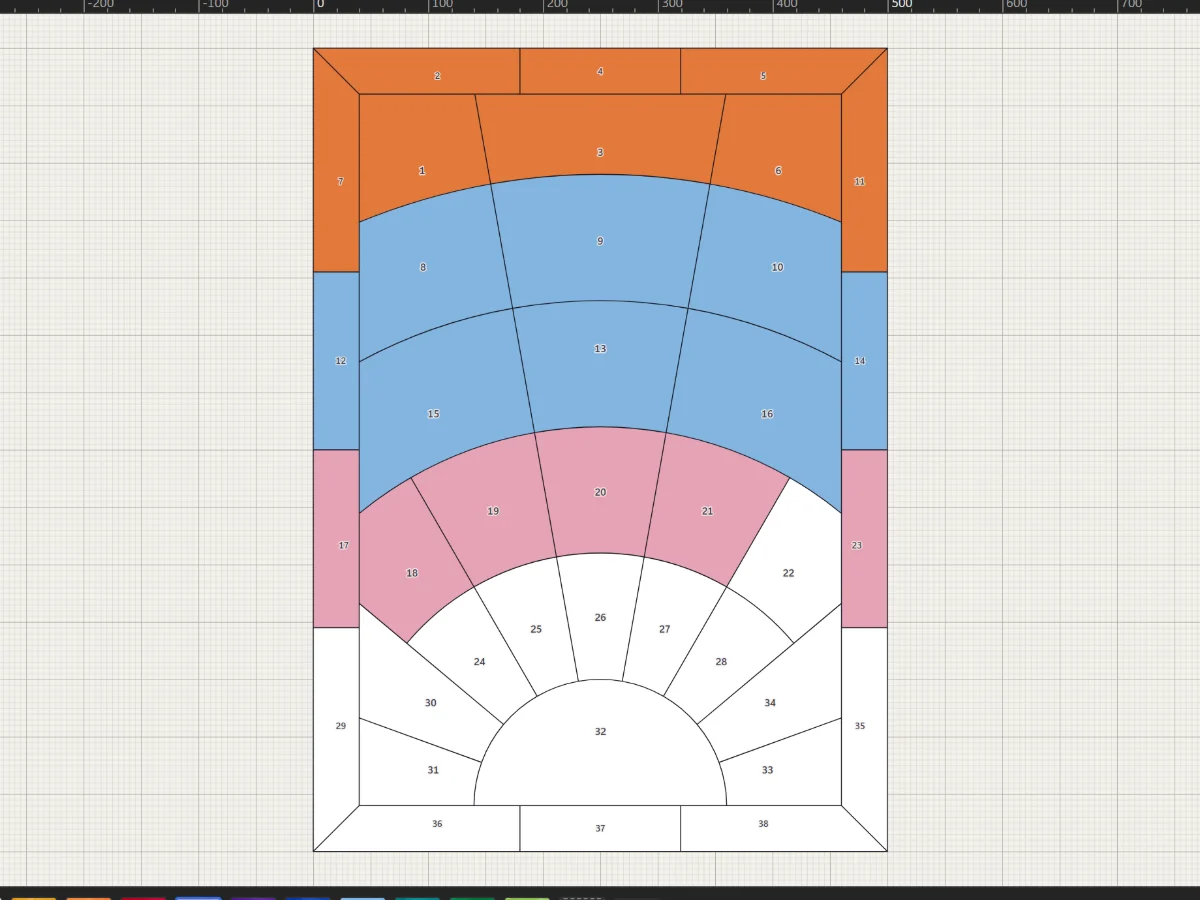 Lesson 14 · Glass
Glaze pieces
Pick a glass from the bar under the drawing and click pieces to colour them.
4 steps · 2 min · Try it in the page
Lesson 14 · Glass
Glaze pieces
Pick a glass from the bar under the drawing and click pieces to colour them.
4 steps · 2 min · Try it in the page
More guides
The rest of the craft.
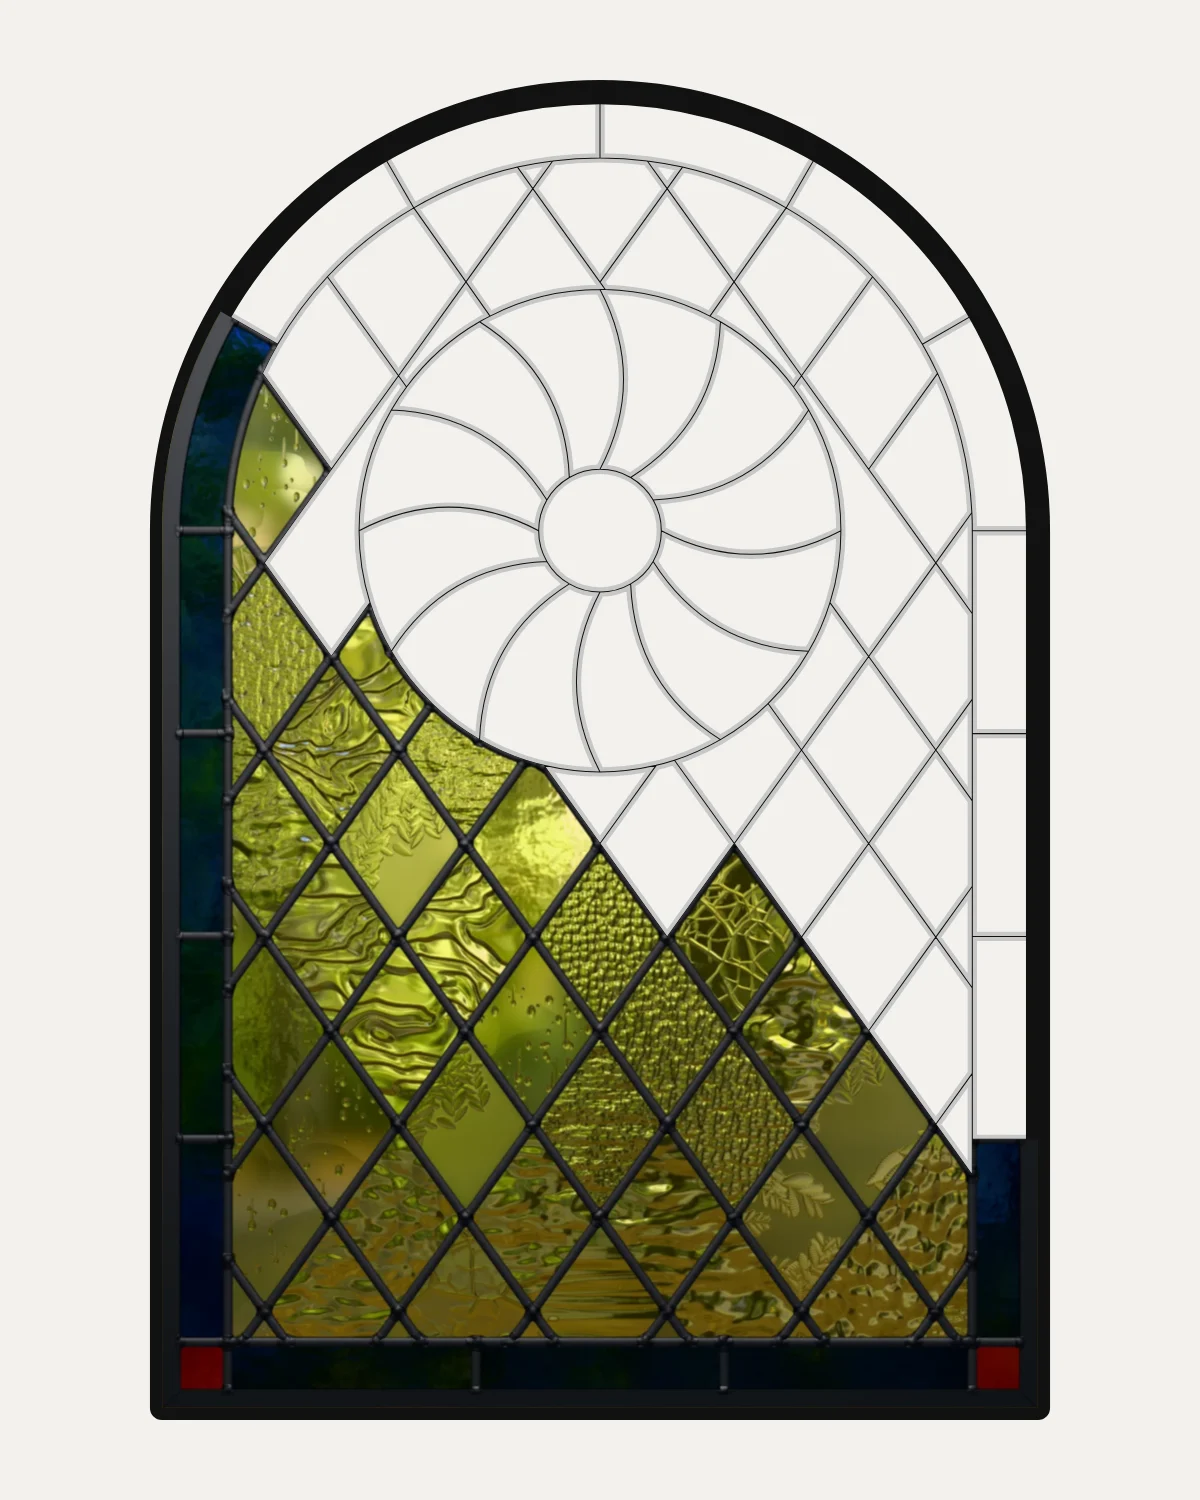 Guide · 5 min read
How to make a stained glass pattern
Make a stained glass pattern step by step: measure the opening, choose came or foil, draw lines glass can be cut along, number the pieces, choose the glass and print it full size.
Guide · 5 min read
How to make a stained glass pattern
Make a stained glass pattern step by step: measure the opening, choose came or foil, draw lines glass can be cut along, number the pieces, choose the glass and print it full size.
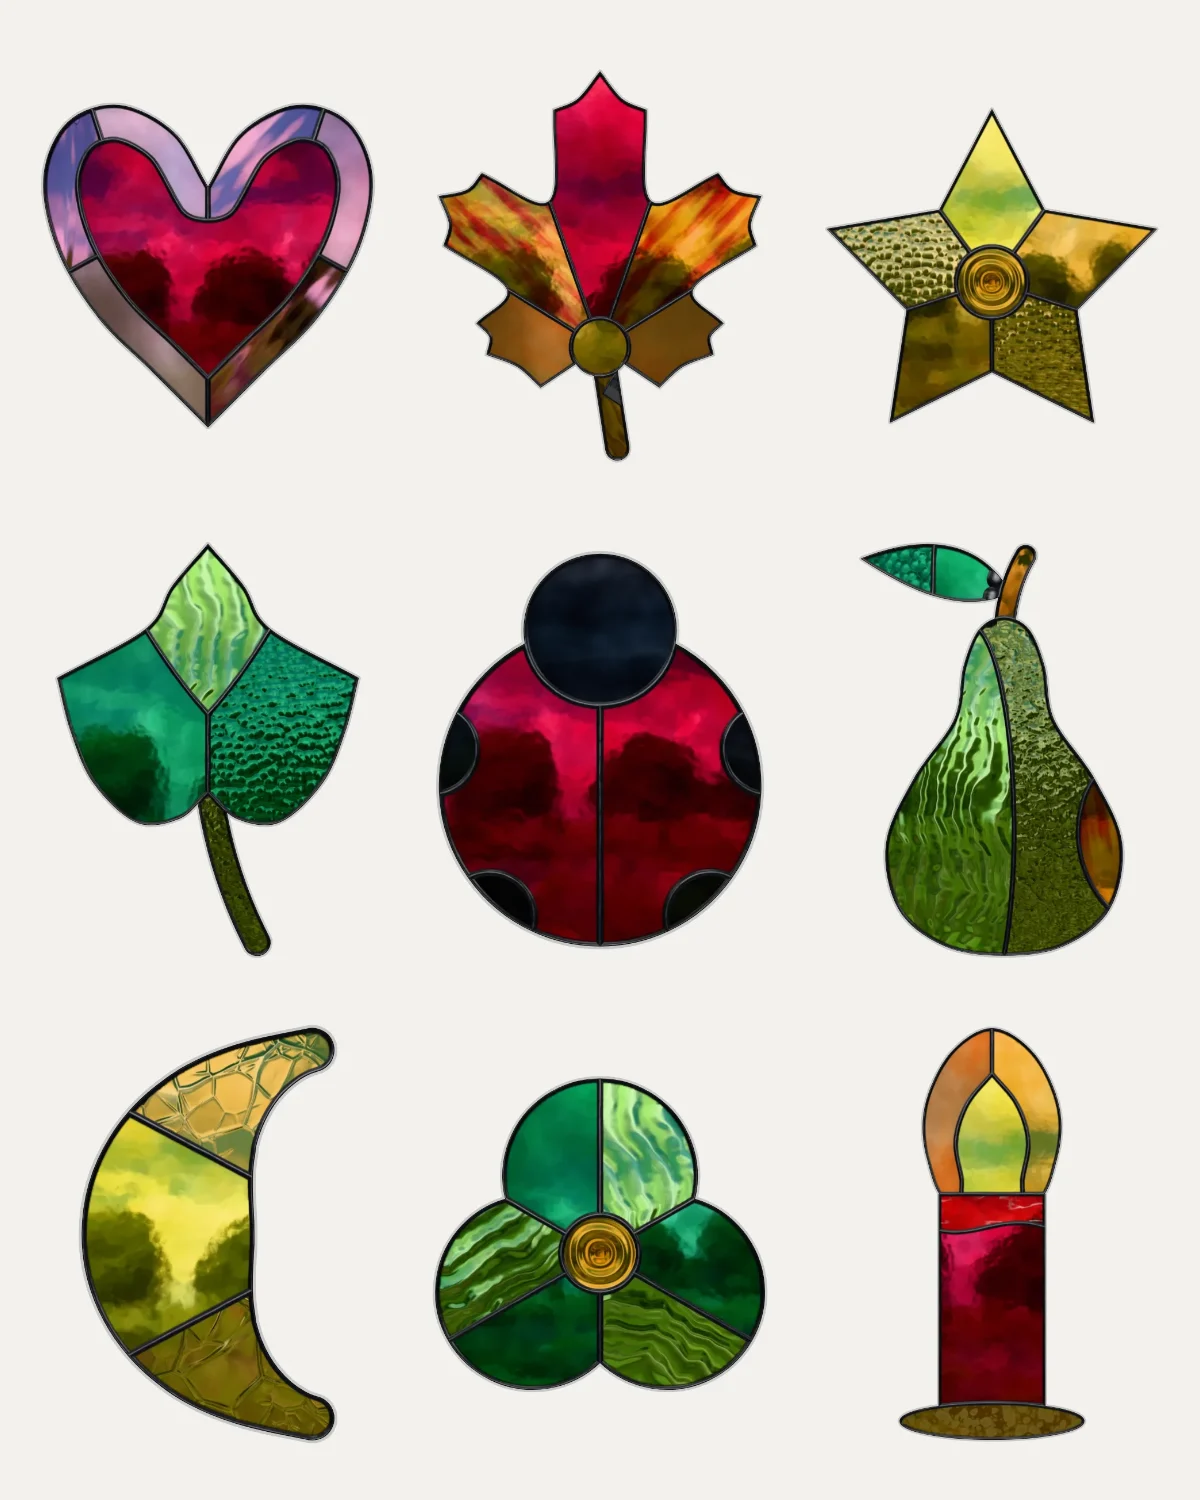 Guide · 4 min read
Stained glass patterns for beginners
How to choose a first stained glass pattern: few pieces you can hold, straight lines and gentle curves, nothing glass won't take, copper foil and a small size; and free beginner patterns to download.
Guide · 4 min read
Stained glass patterns for beginners
How to choose a first stained glass pattern: few pieces you can hold, straight lines and gentle curves, nothing glass won't take, copper foil and a small size; and free beginner patterns to download.
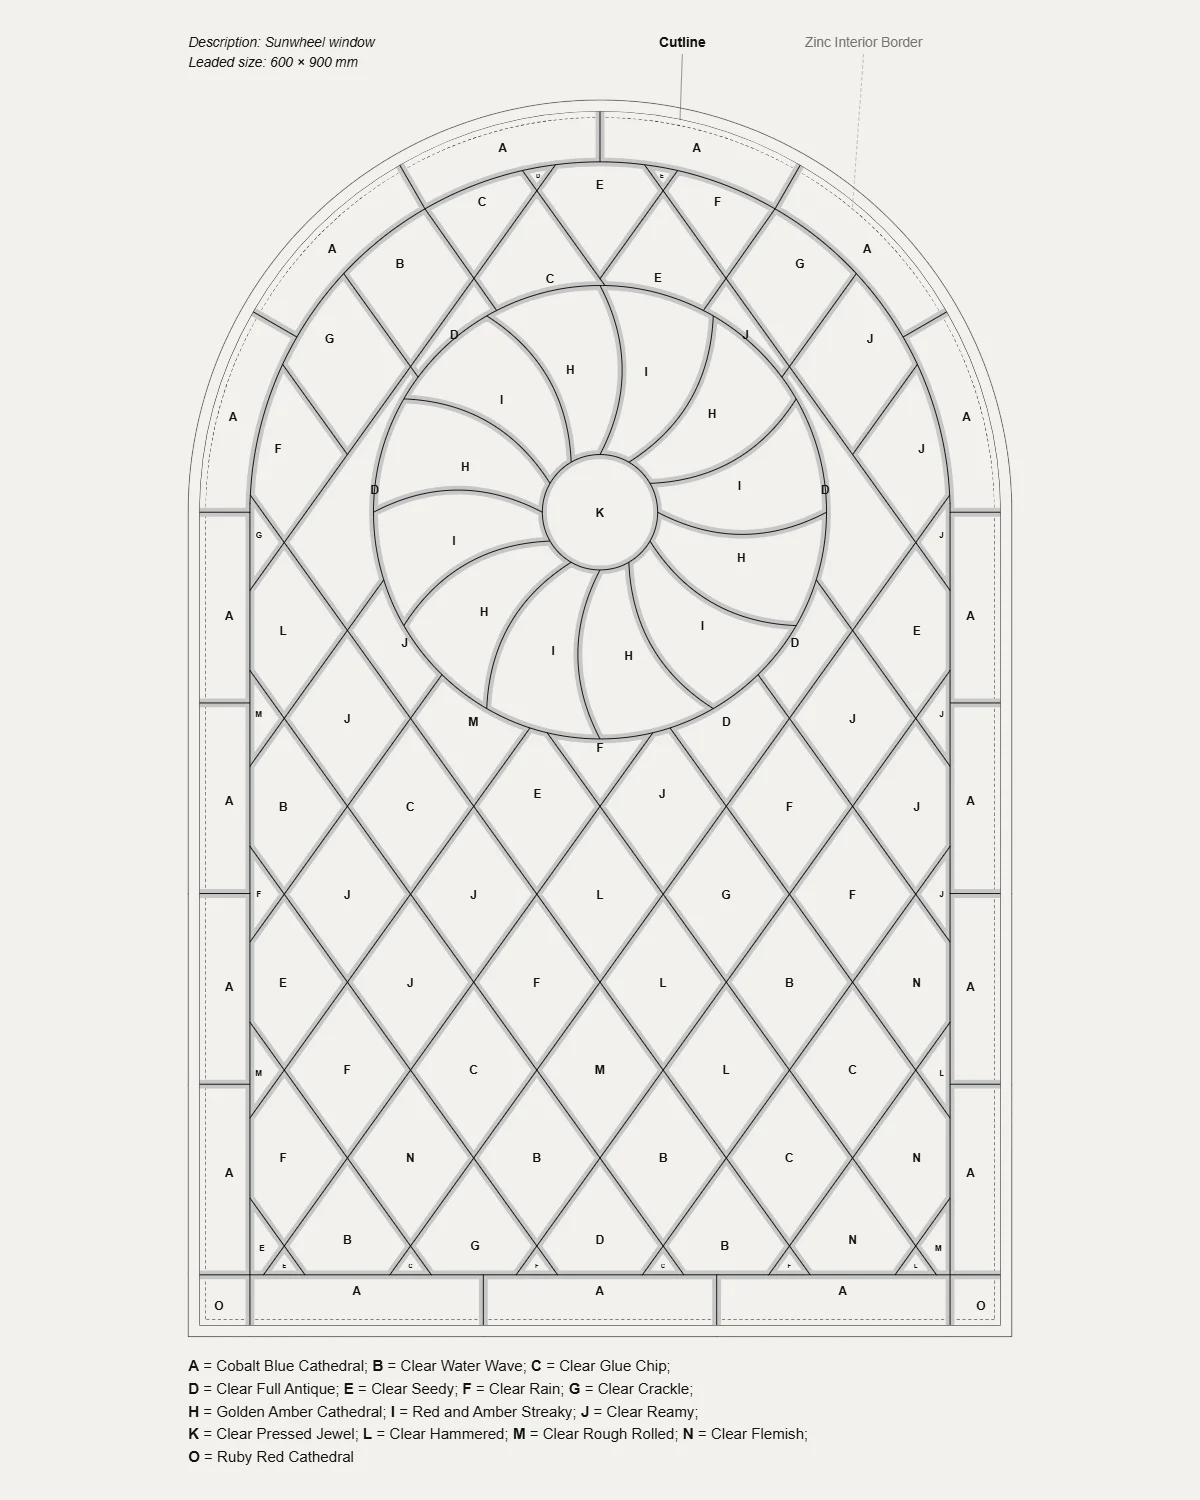 Guide · 5 min read
How to read a stained glass pattern
What every mark on a stained glass pattern means: the plan and the cutting pattern, lead lines and cut lines, piece numbers, glass letters and the key, grain arrows, the leaded size and the marks that join printed sheets.
Guide · 5 min read
How to read a stained glass pattern
What every mark on a stained glass pattern means: the plan and the cutting pattern, lead lines and cut lines, piece numbers, glass letters and the key, grain arrows, the leaded size and the marks that join printed sheets.
 Guide · 4 min read
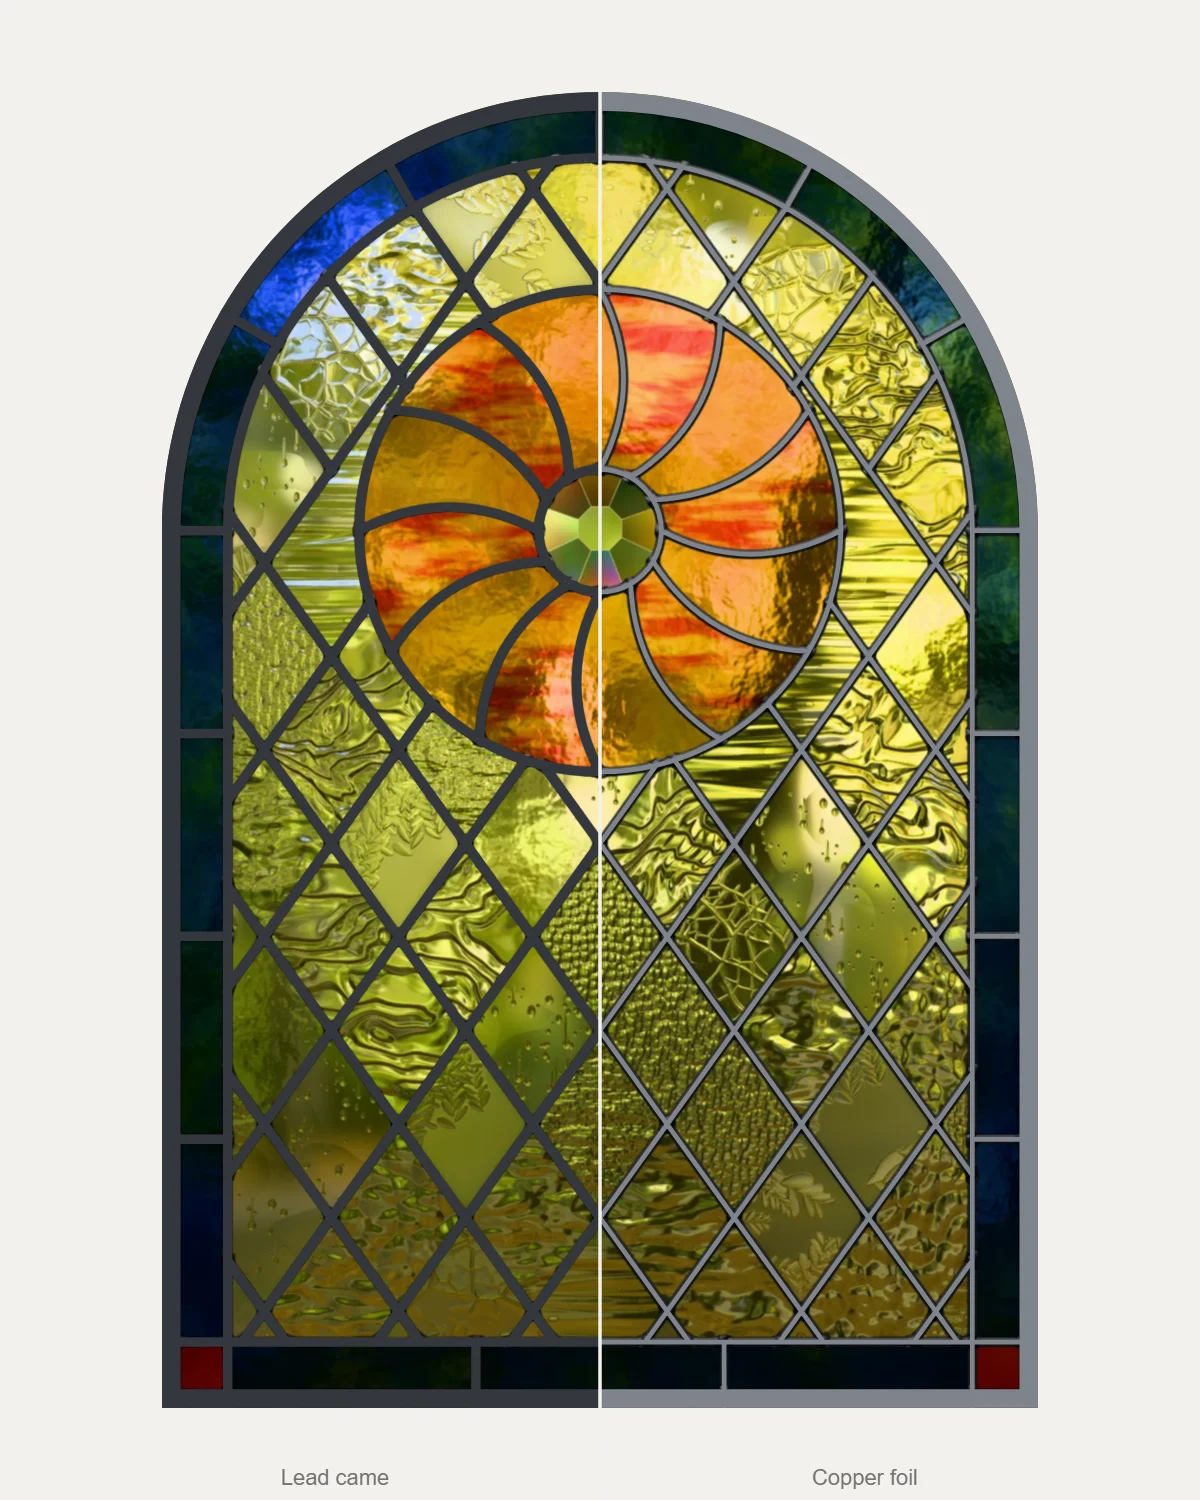
Lead came or copper foil?
Lead came or copper foil: what each is, what each suits, and how the choice changes a stained glass pattern: the width of its lines, where the glass is cut and how big a piece can be.
Guide · 4 min read
Lead came or copper foil?
Lead came or copper foil: what each is, what each suits, and how the choice changes a stained glass pattern: the width of its lines, where the glass is cut and how big a piece can be.
 Guide · 3 min read
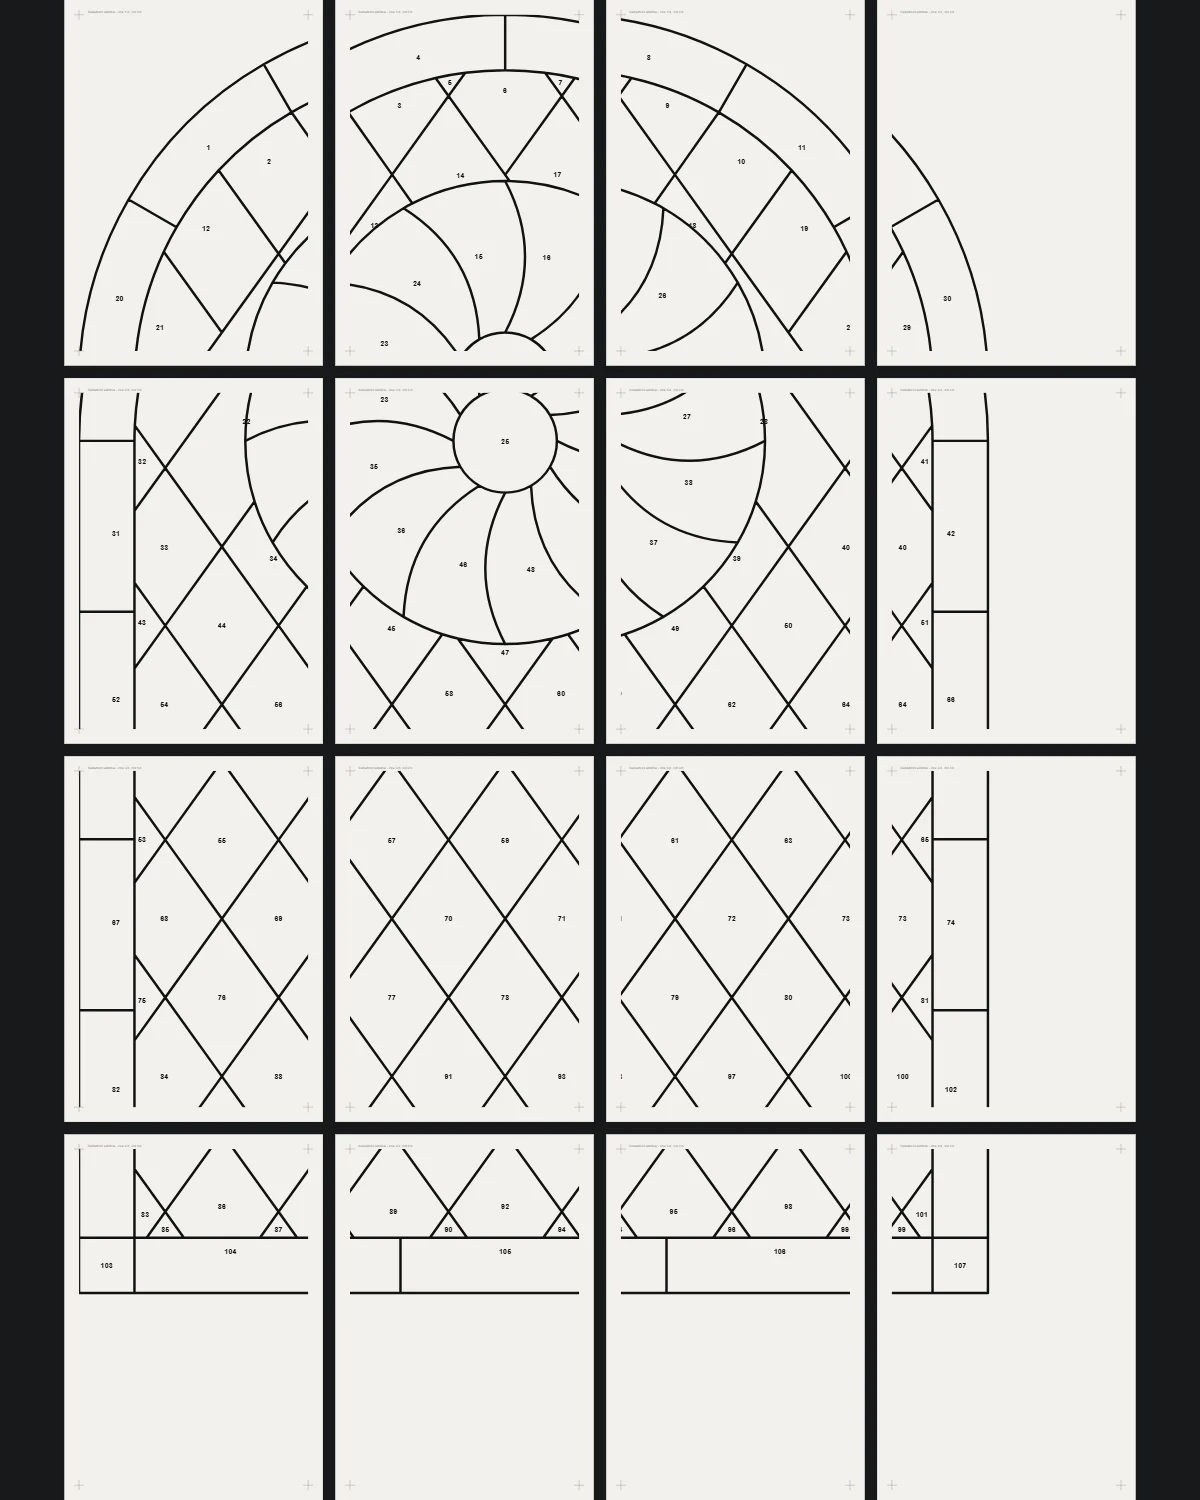
How to resize a stained glass pattern and print it full size
Enlarge or shrink a stained glass pattern to fit your window without fattening its lines, check every piece can still be cut, and print it full size on A4 or Letter, true to scale.
Guide · 3 min read
How to resize a stained glass pattern and print it full size
Enlarge or shrink a stained glass pattern to fit your window without fattening its lines, check every piece can still be cut, and print it full size on A4 or Letter, true to scale.