How to read a stained glass pattern
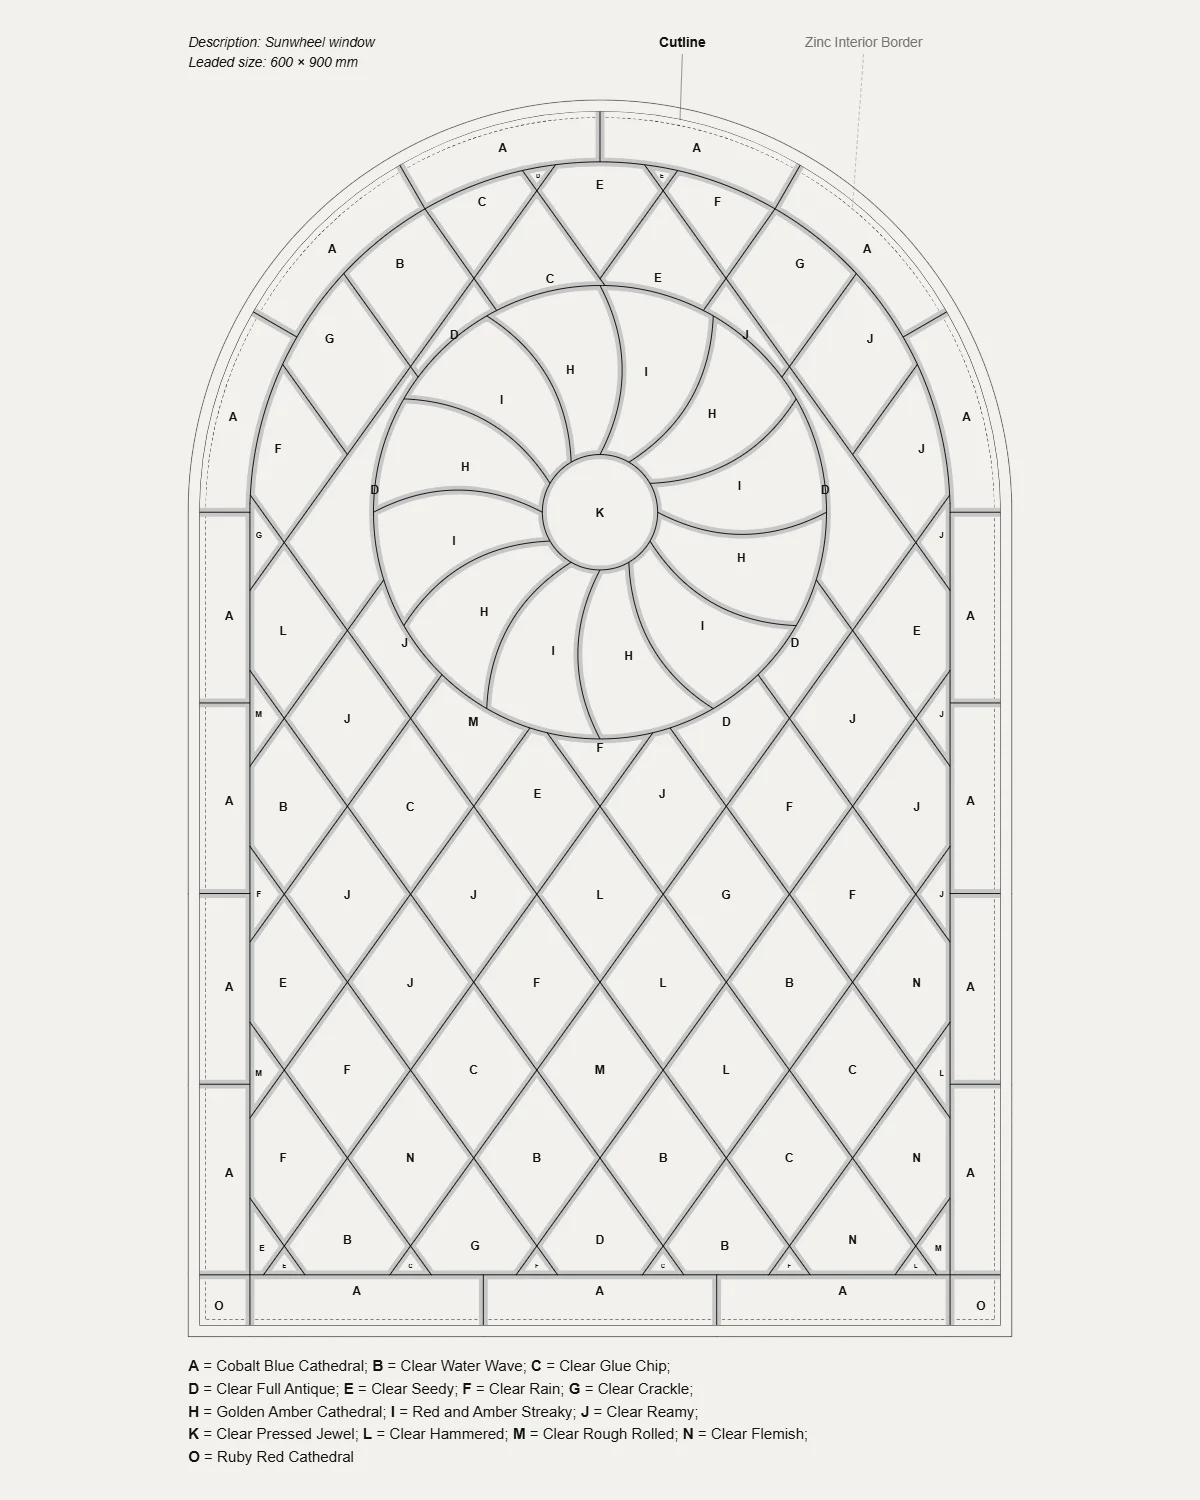
A stained glass pattern is two drawings of one panel. The plan shows how it will look: every lead as wide as it will be, a letter in every piece and a key that names each glass. The cutting pattern is the panel at full size, drawn to cut the glass from: every piece numbered, every line as wide as the strip your pattern shears take out. Here is what each mark means, read off a real pattern, the Sunwheel window, as VETRATA Studio prints it.
01
Two drawings of one panel
Most patterns come as two drawings. The plan, also called the cartoon, shows the finished panel: the leads as they will look and the glass that goes in every piece. The cutting pattern is the same panel at full size, drawn to cut from.
Print the cutting pattern twice. Cut one copy into paper pattern pieces, one for every piece of glass, and keep the other whole to lay the panel out on as you build. Keep the plan beside you for the glass.
02
Lead lines and cut lines
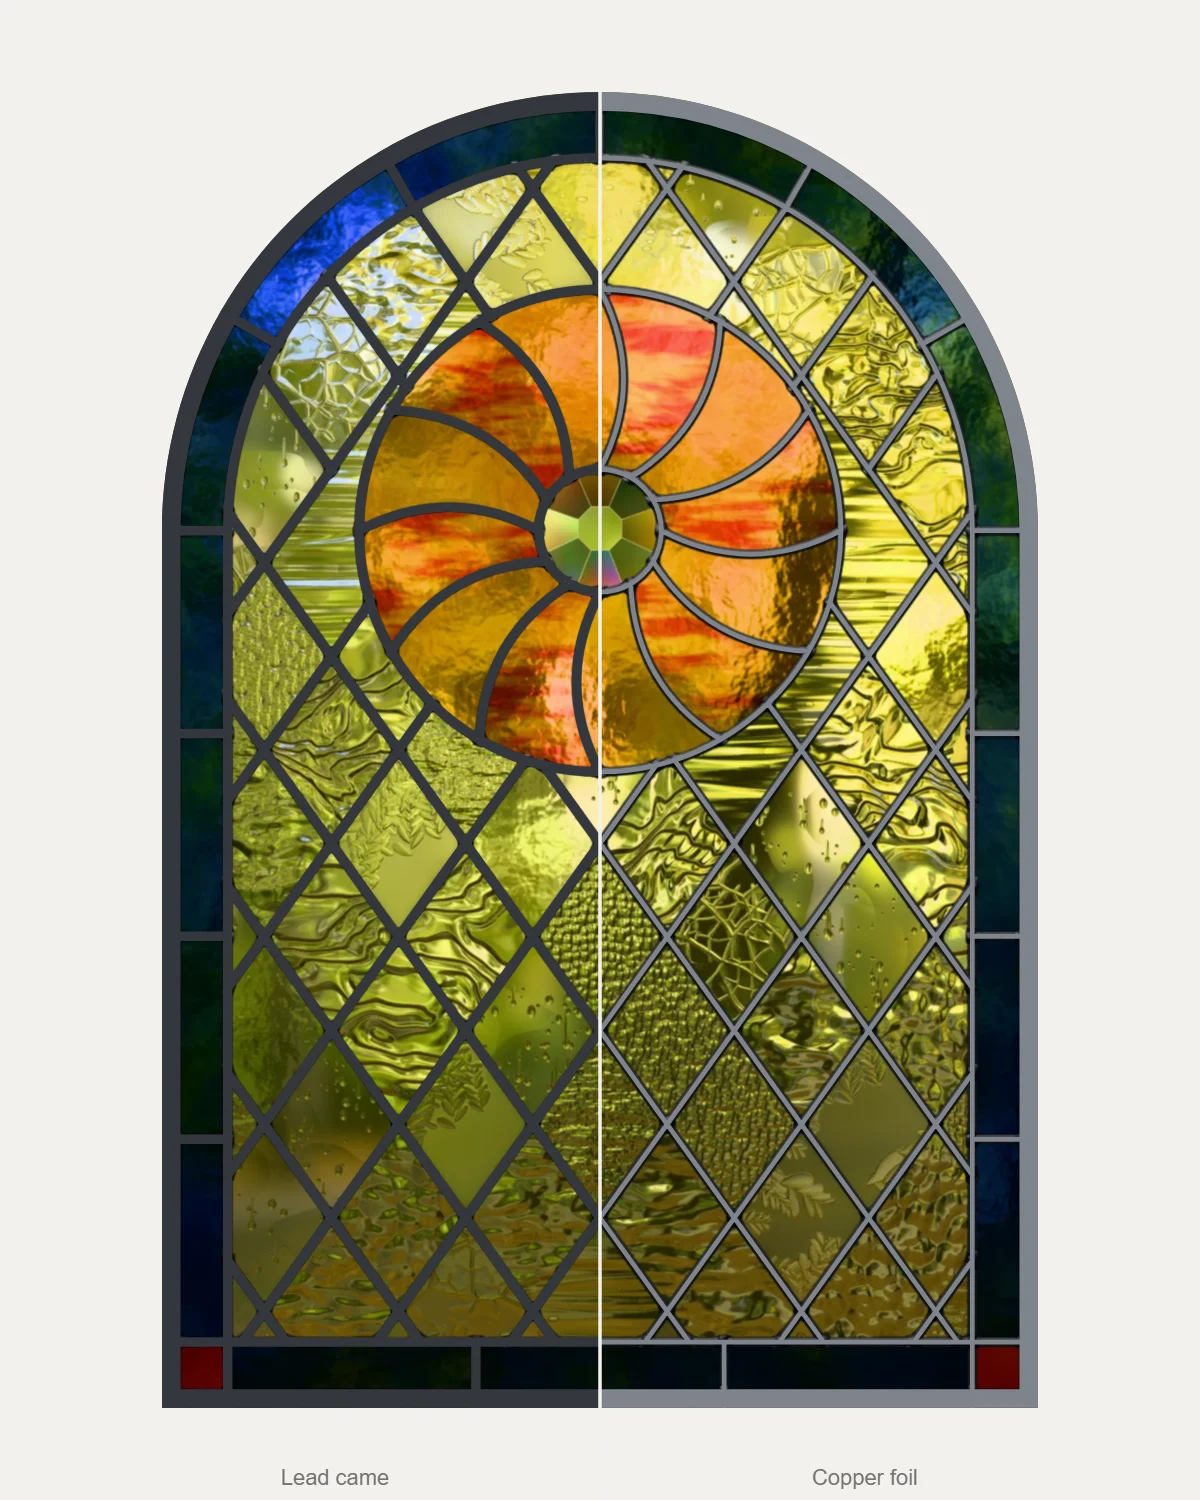
Every line on a pattern is a lead: a strip of came, or a solder seam over copper foil, where two pieces of glass meet. On a plan each lead is drawn as wide as it will show, 6.4 mm for most lead came and about 3.2 mm for a foil seam, with a thin line down its middle where the two pieces meet.
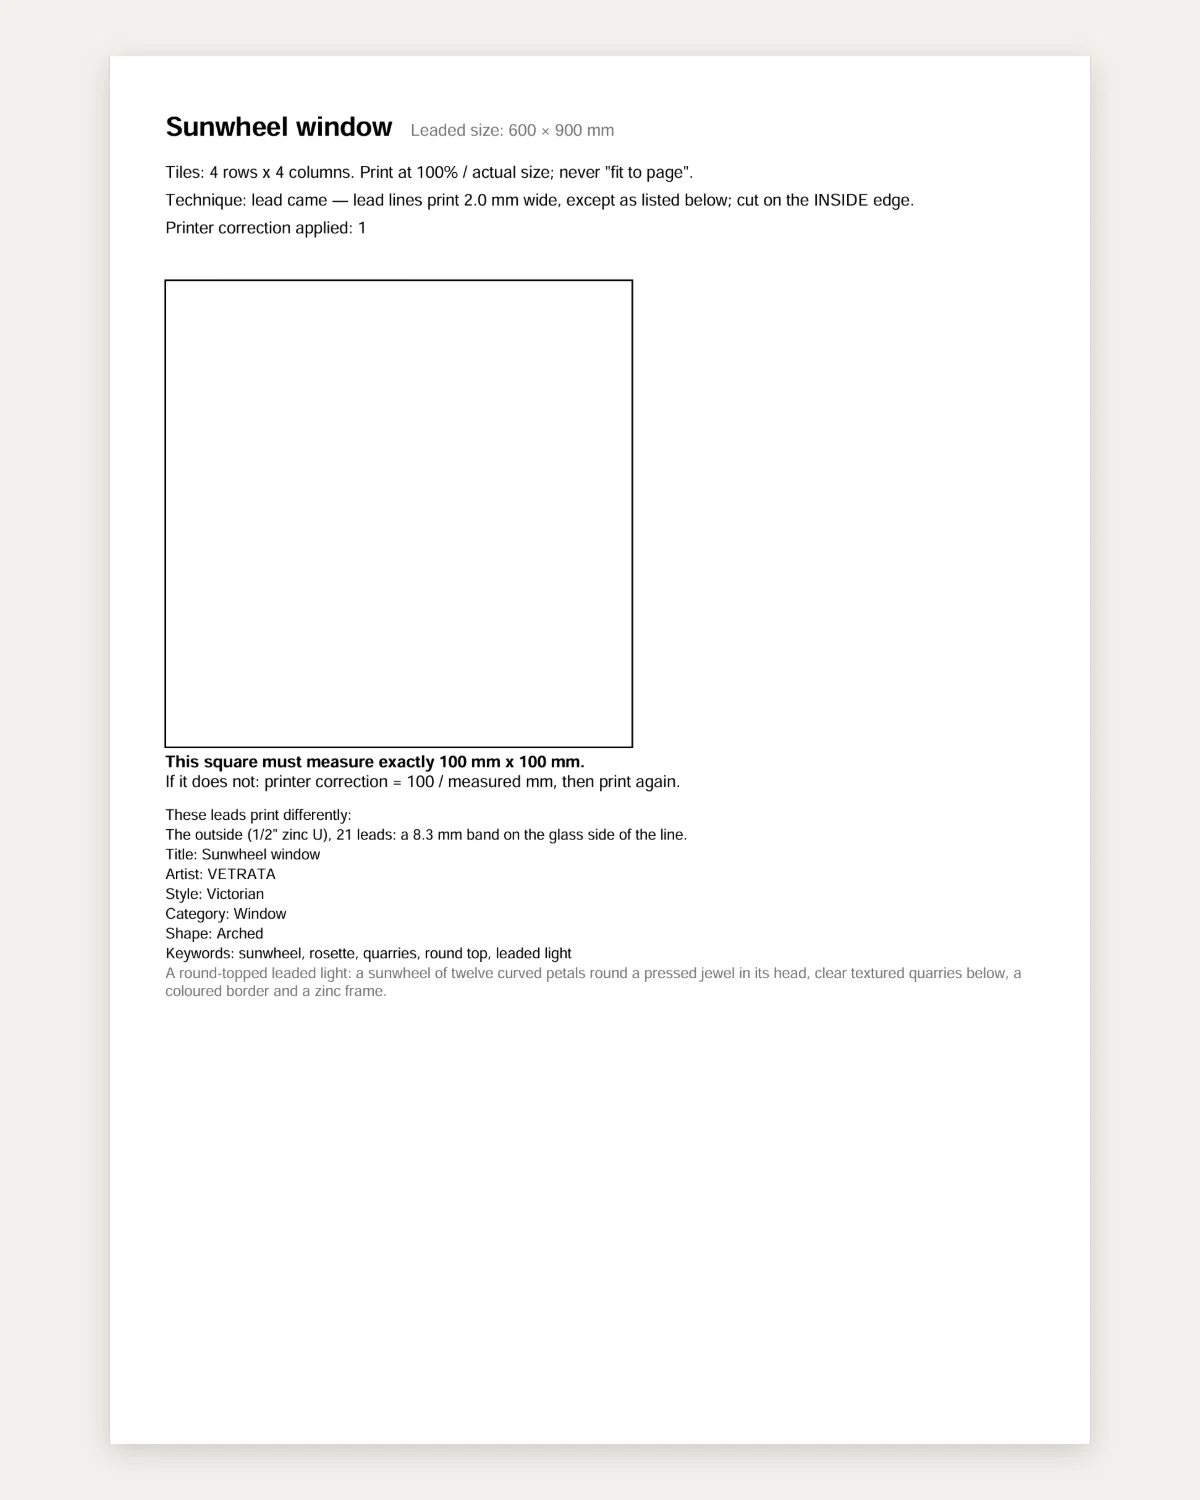
On the cutting pattern the same line is as wide as the strip your pattern shears take out: 2 mm for lead came, the width of the came's heart, and 0.8 mm for copper foil. The Studio's cutting pattern says so on its first page: "lead lines print 2.0 mm wide … cut on the INSIDE edge."
Round the outside of a leaded panel the plan draws the frame: its outside edge, the cut line the border pieces are cut to, and, dashed, the frame's inside edge, as far as its channel covers the glass.
Lead came
Copper foil
03
Piece numbers
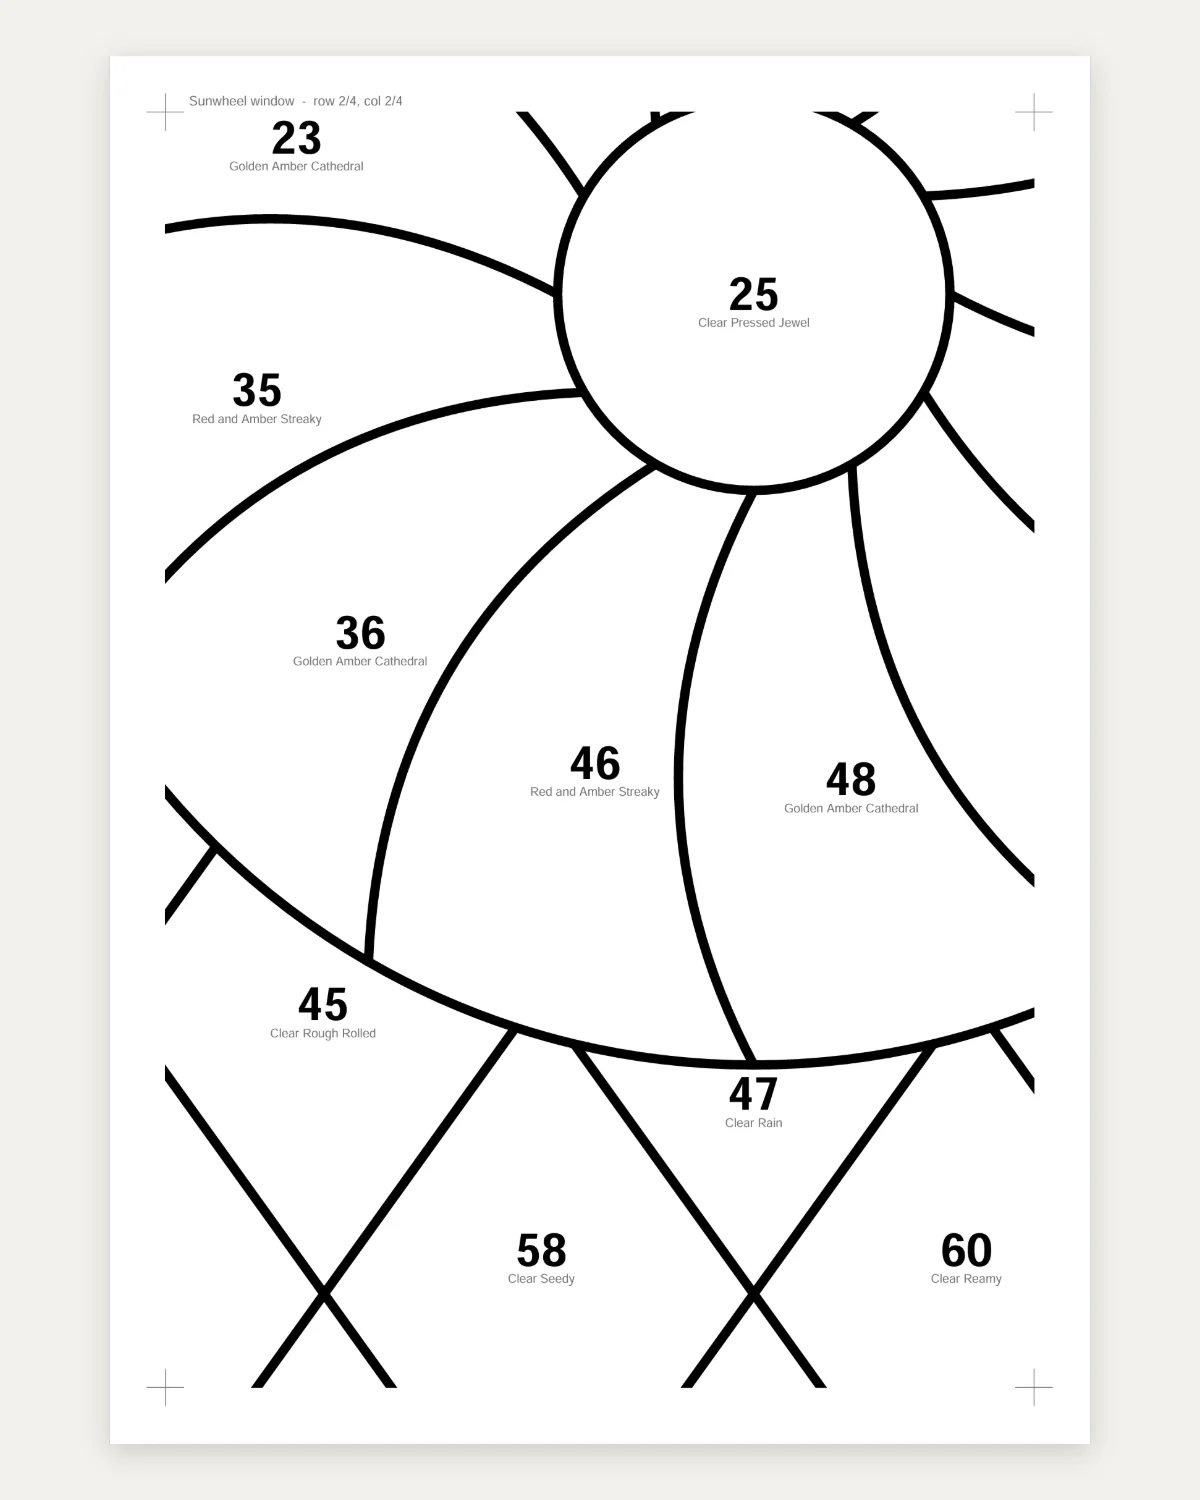
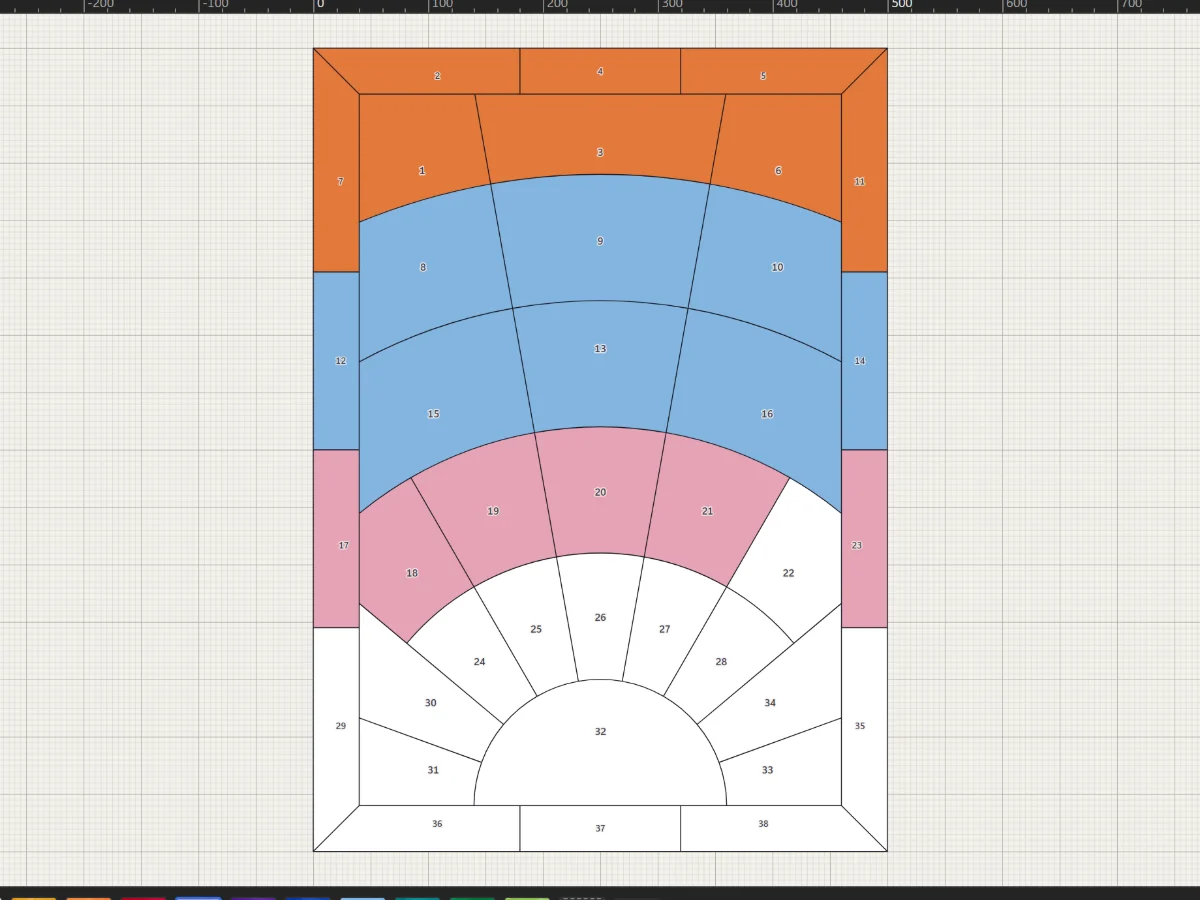
Every piece has a number. It is printed in the piece on the cutting pattern, and when the glass is cut you write it on the glass, so every piece finds its place on the layout again.
Numbers usually run across the panel in rows from the top, so neighbours have numbers close together. Some patterns number by glass instead, every piece of one glass in a run, which is quicker at the cutting table. On the Studio's cutting pattern each number has its glass's name under it, and its letter too once the glasses are lettered.
04
Glass letters and the key
On a plan every piece carries a letter, and a key under the drawing says which glass each letter is. A letter fits in a small piece where a glass's name does not, and it is what you look for at the glass rack.
Some plans colour the pieces instead, or as well. A colour reads faster across a whole panel; a letter tells two ambers apart.
The Studio's cutting pattern lists the pieces glass by glass on its second page, so you know how many pieces each sheet has to give before you cut.
05
Grain arrows
Some glass runs one way: streaky glass, reeded glass, glass with ripples or a ream. A piece of it carries an arrow on the pattern, a line with a head at each end, along the way its grain should run.
Lay the paper piece on the sheet with its arrow along the streaks or the reeds, and every piece of that glass in the panel runs the way the designer meant.
06
The name and the size
A pattern names itself at the top and gives the panel's size. "Leaded size: 600 × 900 mm" is the finished panel to the outside of its frame; a copper foil pattern says "Panel size".
Check that size against your opening before you print anything. If it is not the size you need, resize the drawing, not the printout: a photocopier widens the lines along with everything else.
07
Page one, the corner marks and the square
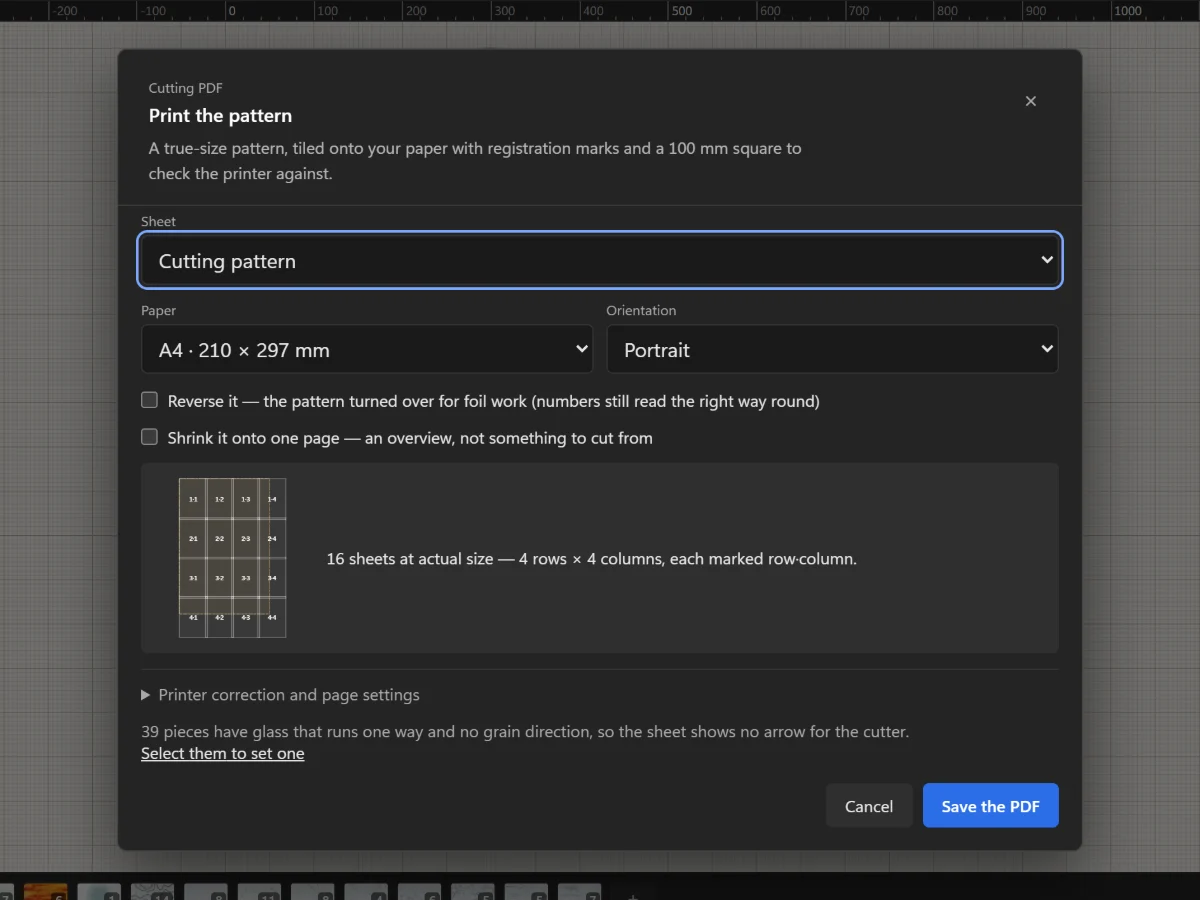
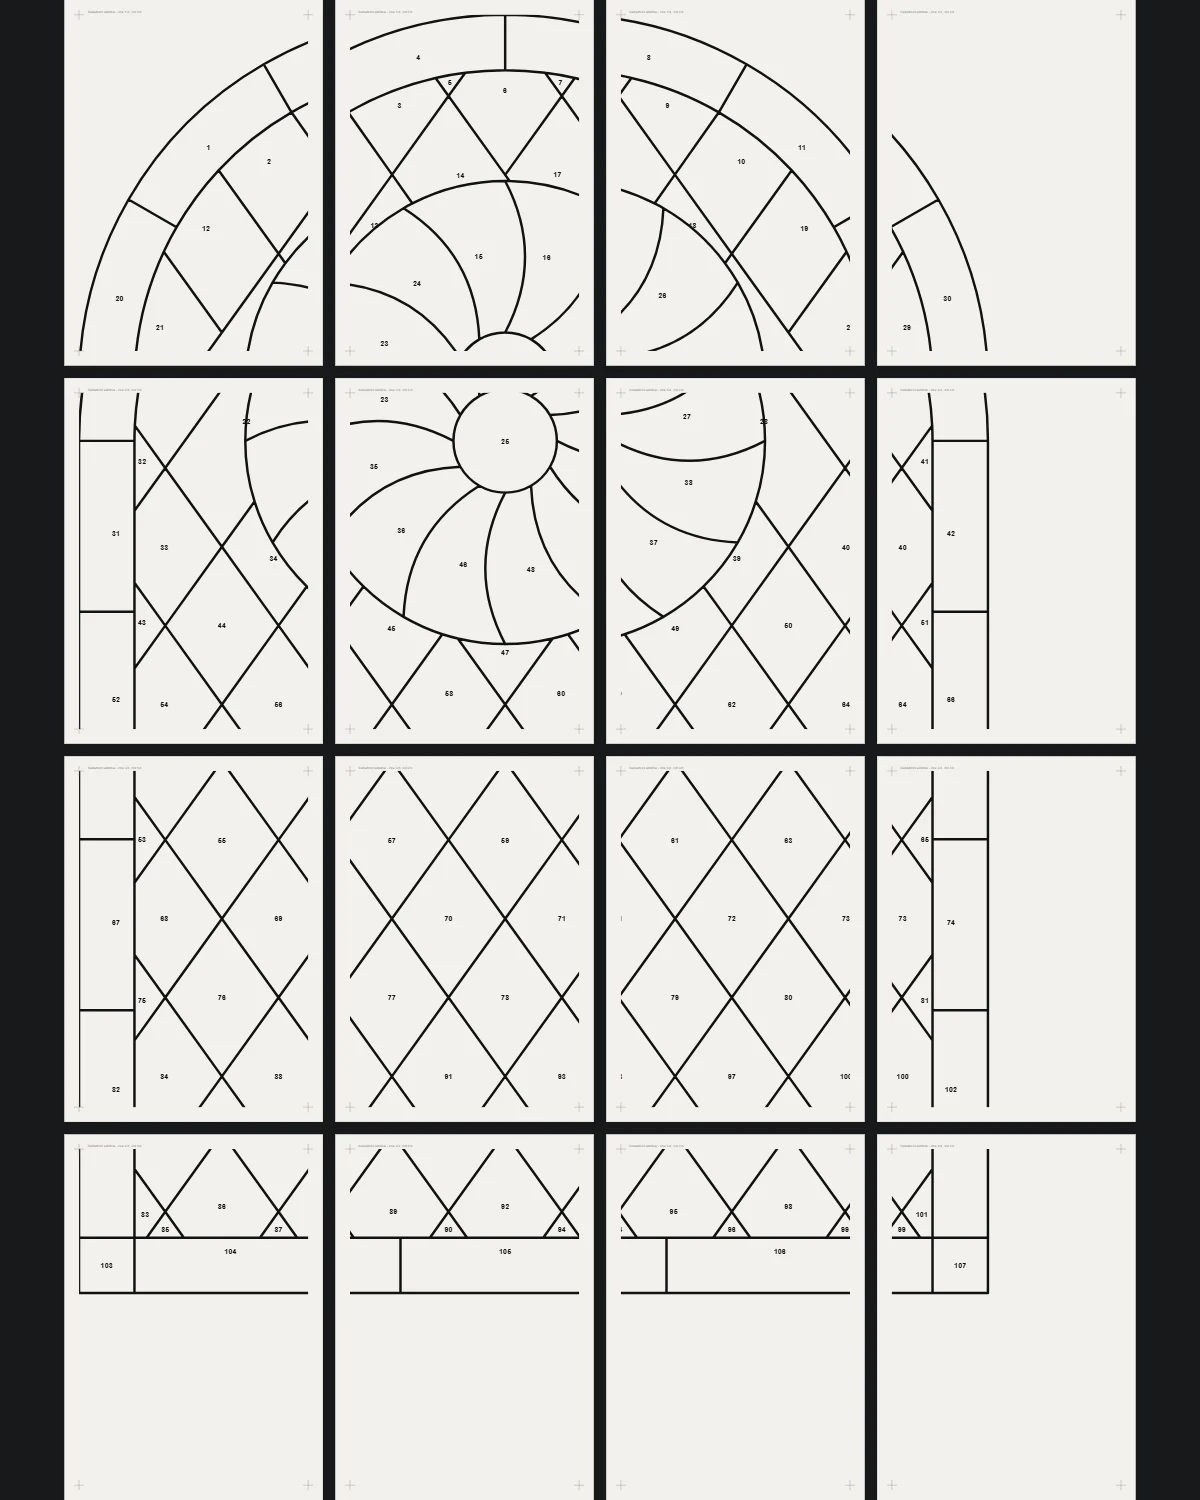
A full-size pattern is printed across several sheets. Page one of the Studio's cutting pattern says how many and how to print them: "Tiles: 4 rows x 4 columns. Print at 100% / actual size; never "fit to page"."
Under that is a square that must measure exactly 100 mm. Print page one alone and measure the square before you print the rest: a printer that prints 1% small makes every piece 1% small.
Every page after it has a cross at each corner of its part of the pattern, and its row and column at the top: "row 2/4, col 2/4". Each page repeats a 12 mm strip of its neighbour. Trim a page along the line between its crosses, lay it over the next so the leads run on unbroken, and tape it.
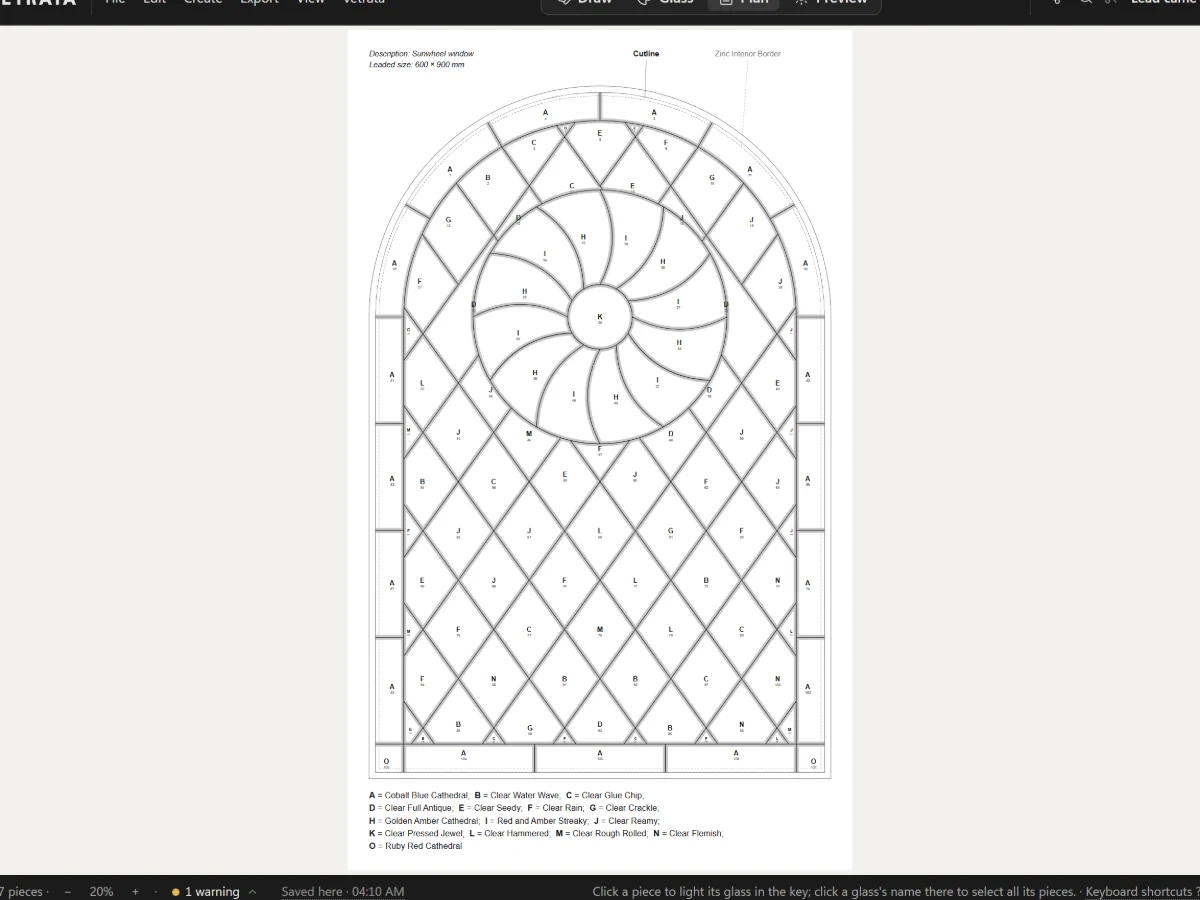
In VETRATA Studio
Do it in the Studio, one lesson at a time.
 Lesson 18 · Plan and print
The pattern plan and its colour key
A numbered, lettered plan of the whole panel with its leads at their came's width, ready to print.
5 steps · 2 min
Lesson 18 · Plan and print
The pattern plan and its colour key
A numbered, lettered plan of the whole panel with its leads at their came's width, ready to print.
5 steps · 2 min
 Lesson 19 · Plan and print
Print the cutting pattern true to scale
Tile the full-size pattern onto A4 or Letter with registration marks and a square to check your printer.
5 steps · 2 min
Lesson 19 · Plan and print
Print the cutting pattern true to scale
Tile the full-size pattern onto A4 or Letter with registration marks and a square to check your printer.
5 steps · 2 min
 Lesson 14 · Glass
Glaze pieces
Pick a glass from the bar under the drawing and click pieces to colour them.
4 steps · 2 min · Try it in the page
Lesson 14 · Glass
Glaze pieces
Pick a glass from the bar under the drawing and click pieces to colour them.
4 steps · 2 min · Try it in the page
 Lesson 2 · Getting started
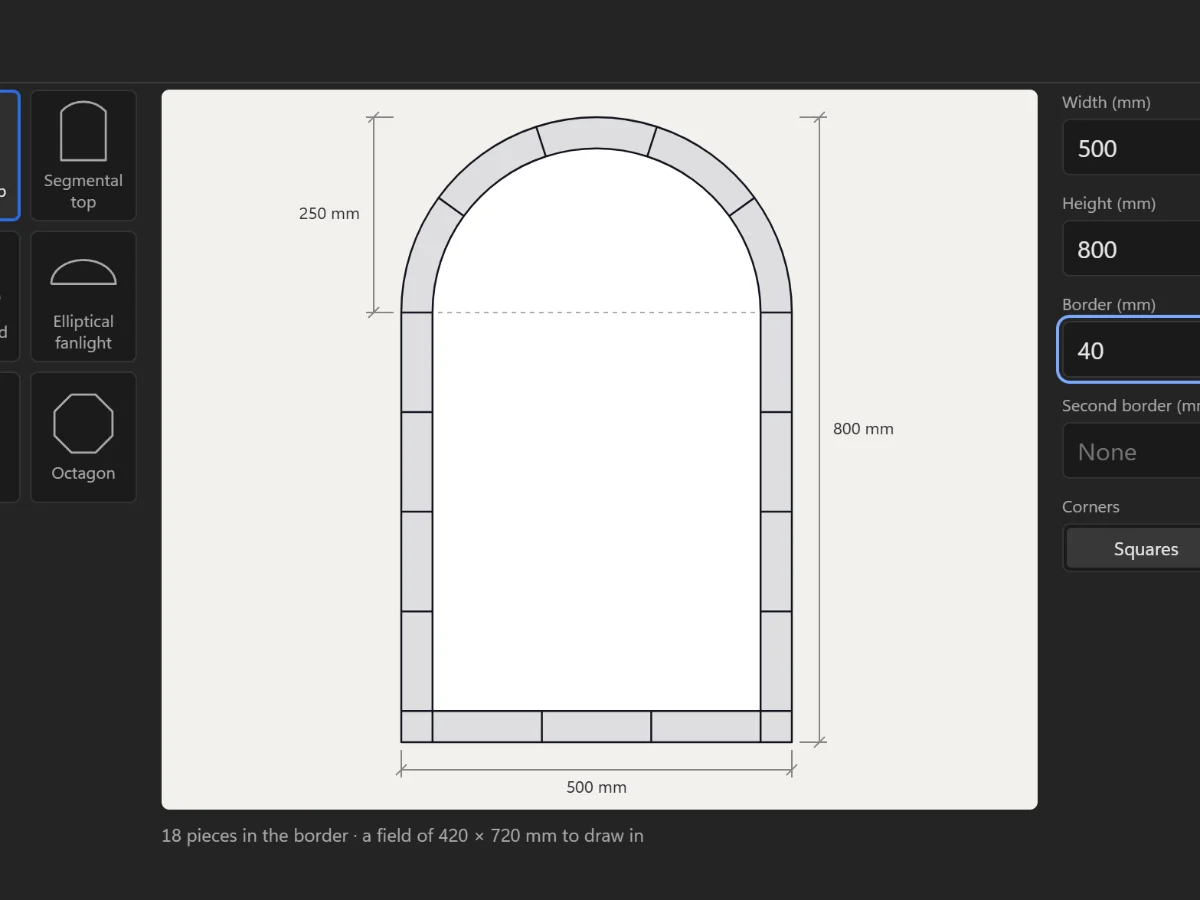
Start a new panel
Choose the opening's shape and size, add a border, and set the technique you will build it in.
6 steps · 2 min
Lesson 2 · Getting started
Start a new panel
Choose the opening's shape and size, add a border, and set the technique you will build it in.
6 steps · 2 min
More guides
The rest of the craft.
 Guide · 5 min read
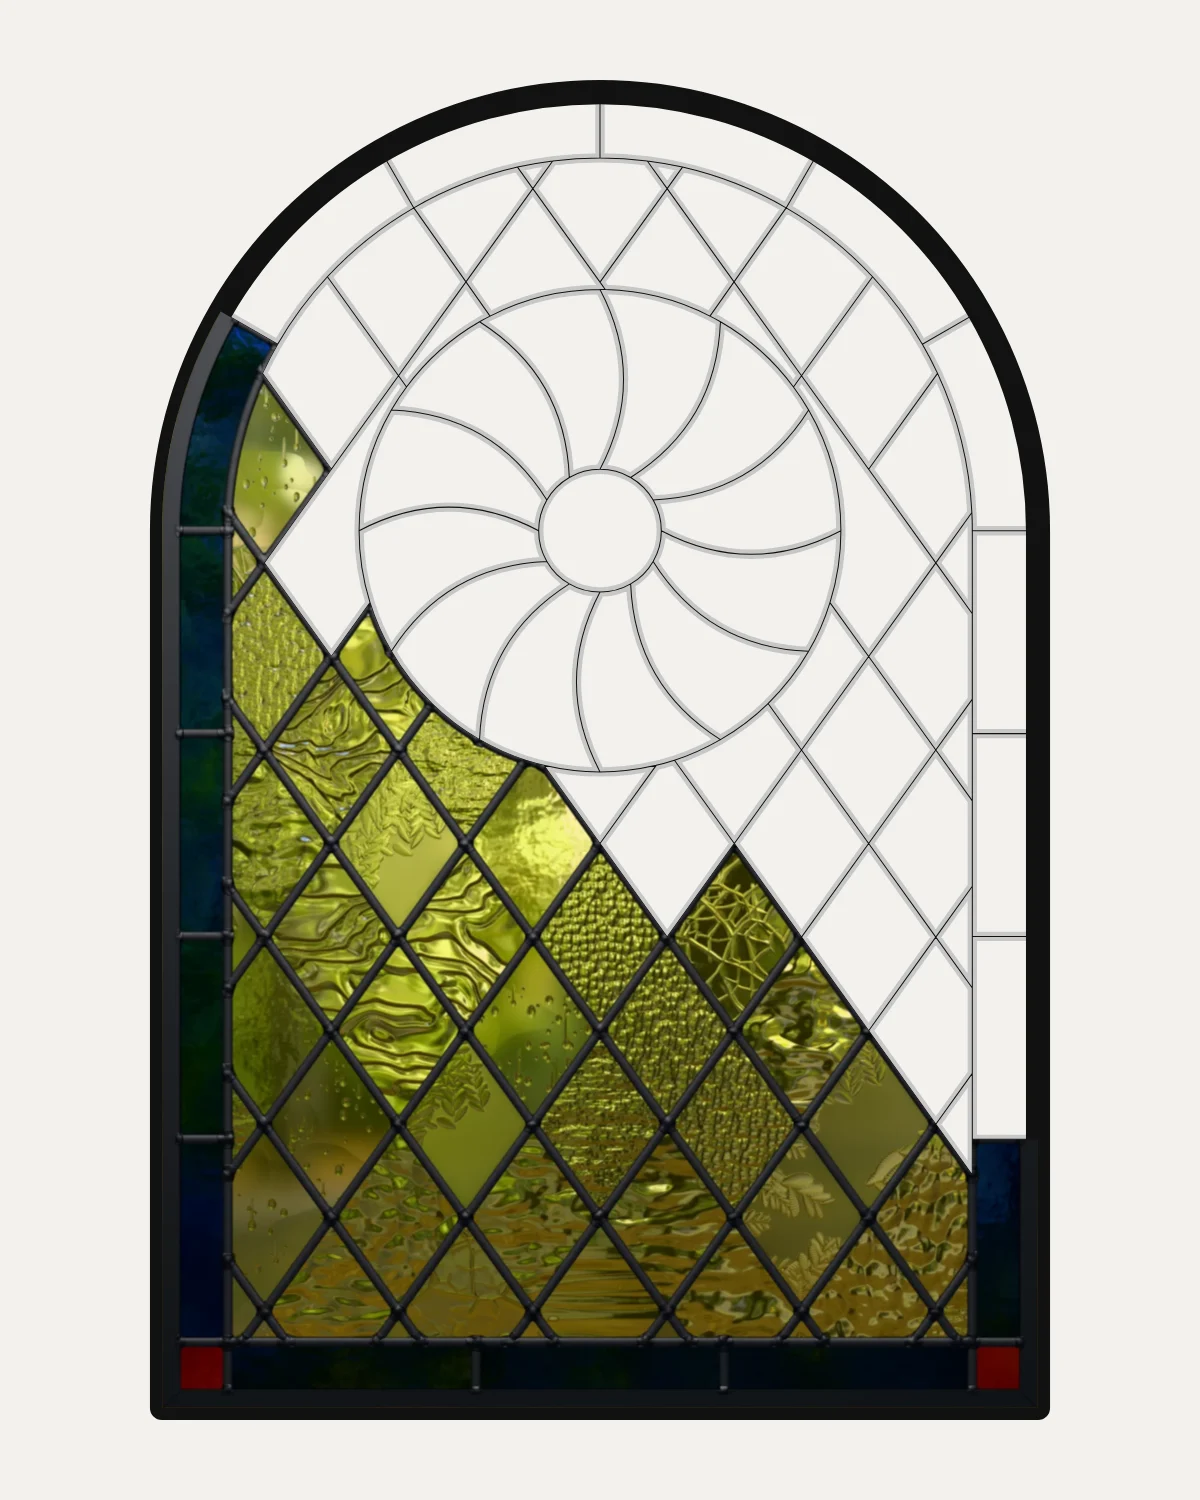
How to make a stained glass pattern
Make a stained glass pattern step by step: measure the opening, choose came or foil, draw lines glass can be cut along, number the pieces, choose the glass and print it full size.
Guide · 5 min read
How to make a stained glass pattern
Make a stained glass pattern step by step: measure the opening, choose came or foil, draw lines glass can be cut along, number the pieces, choose the glass and print it full size.
 Guide · 4 min read
Stained glass patterns for beginners
How to choose a first stained glass pattern: few pieces you can hold, straight lines and gentle curves, nothing glass won't take, copper foil and a small size; and free beginner patterns to download.
Guide · 4 min read
Stained glass patterns for beginners
How to choose a first stained glass pattern: few pieces you can hold, straight lines and gentle curves, nothing glass won't take, copper foil and a small size; and free beginner patterns to download.
 Guide · 4 min read
Lead came or copper foil?
Lead came or copper foil: what each is, what each suits, and how the choice changes a stained glass pattern: the width of its lines, where the glass is cut and how big a piece can be.
Guide · 4 min read
Lead came or copper foil?
Lead came or copper foil: what each is, what each suits, and how the choice changes a stained glass pattern: the width of its lines, where the glass is cut and how big a piece can be.
 Guide · 3 min read
How to resize a stained glass pattern and print it full size
Enlarge or shrink a stained glass pattern to fit your window without fattening its lines, check every piece can still be cut, and print it full size on A4 or Letter, true to scale.
Guide · 3 min read
How to resize a stained glass pattern and print it full size
Enlarge or shrink a stained glass pattern to fit your window without fattening its lines, check every piece can still be cut, and print it full size on A4 or Letter, true to scale.
 Guide · 3 min read
How to turn a photo into a stained glass pattern
Turn a photo into a stained glass pattern by tracing it: choose a photo with strong shapes, put it under the pattern at full size, draw the big shapes as leads, add the lines the glass needs and check every piece can be cut.
Guide · 3 min read
How to turn a photo into a stained glass pattern
Turn a photo into a stained glass pattern by tracing it: choose a photo with strong shapes, put it under the pattern at full size, draw the big shapes as leads, add the lines the glass needs and check every piece can be cut.