How to make a stained glass pattern
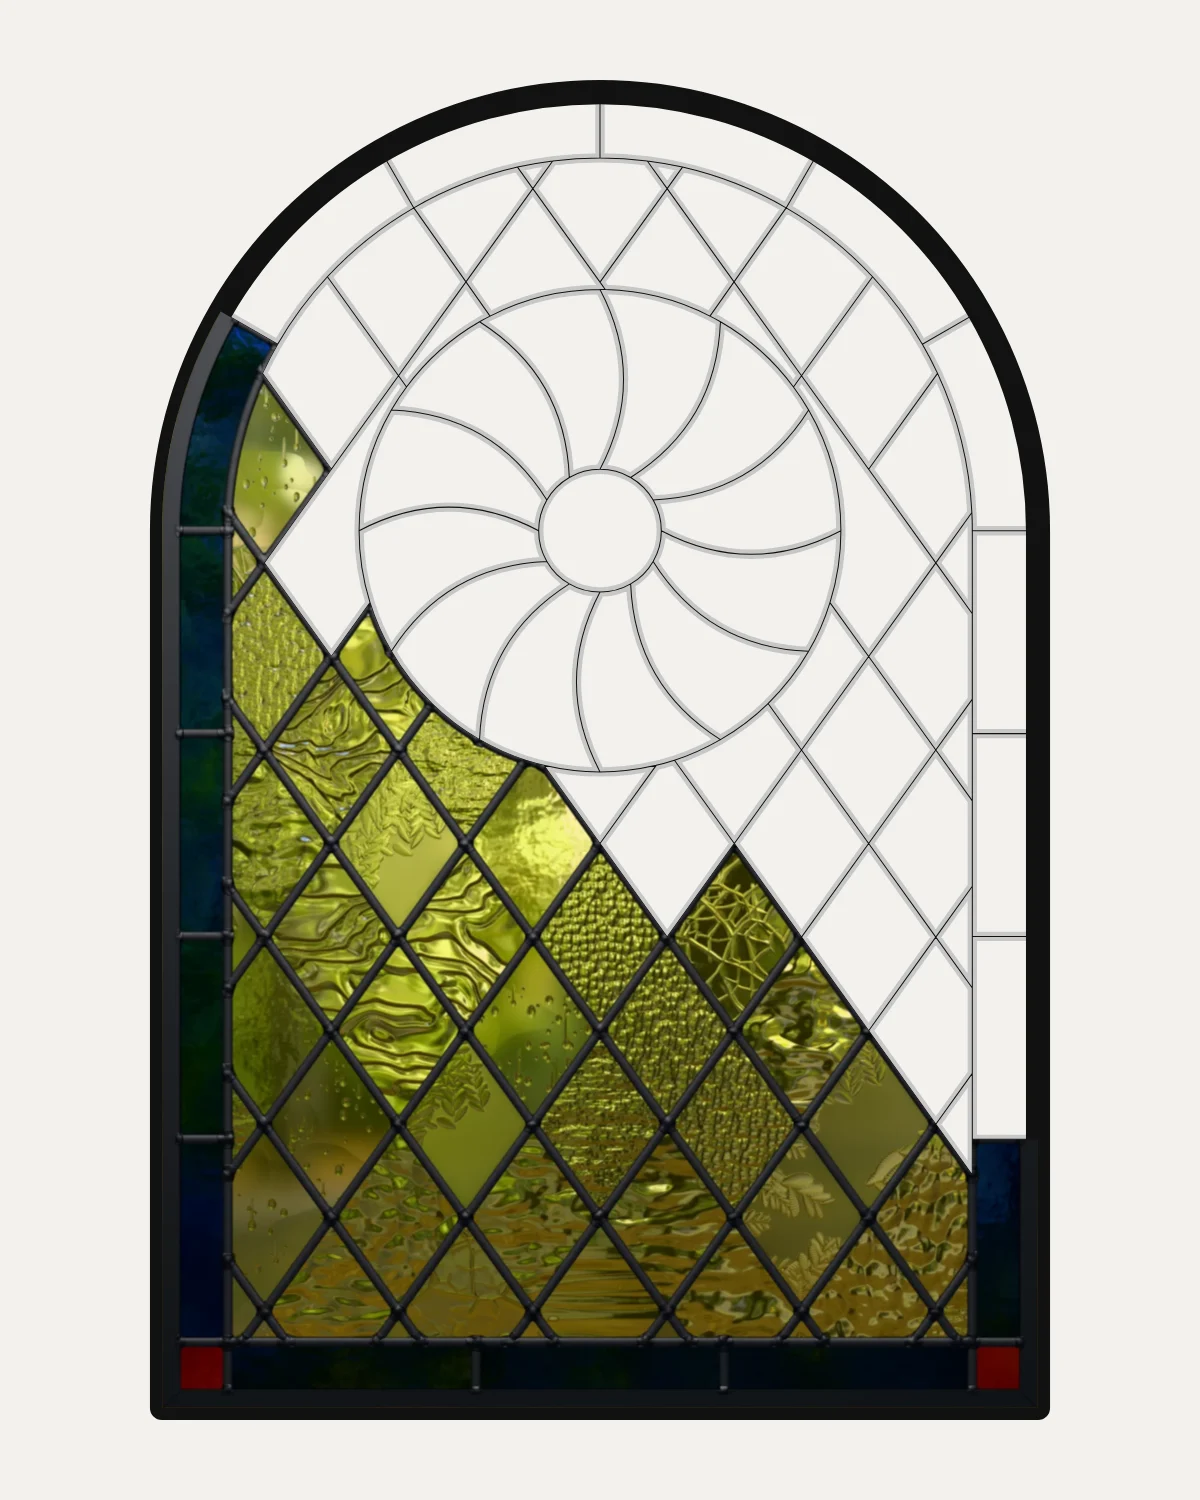
A stained glass pattern is the full-size drawing a panel is cut and built from, and every line on it is a lead: the came or the solder seam that holds two pieces of glass together. You make one in seven steps, from the opening's measurements to a pattern printed full size, and at every step the glass decides what you can draw.
01
Measure the opening
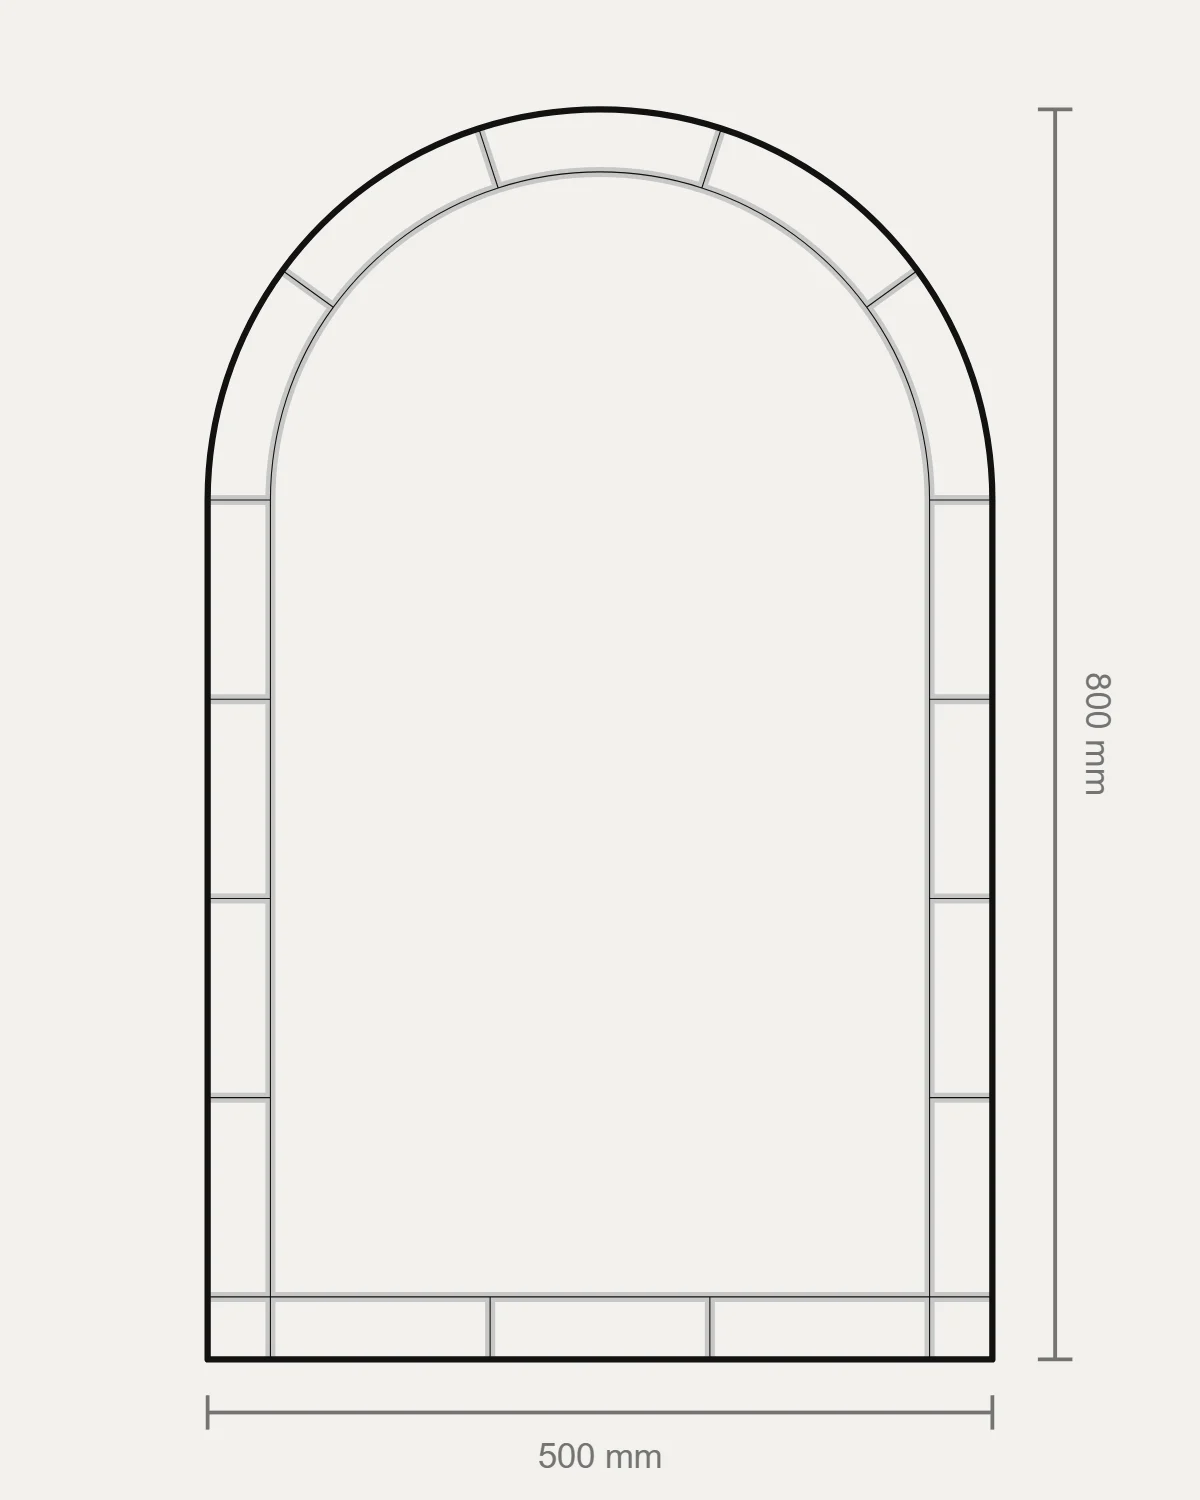
Start from the space the panel will fill: a window, a door light, a cabinet front, a frame. Measure its width and height in more than one place and take the smallest of each, because the panel has to go in.
What you draw is the panel's outside edge, its finished size. If it sits in a frame or a rebate, allow for what will cover its edge before you draw.
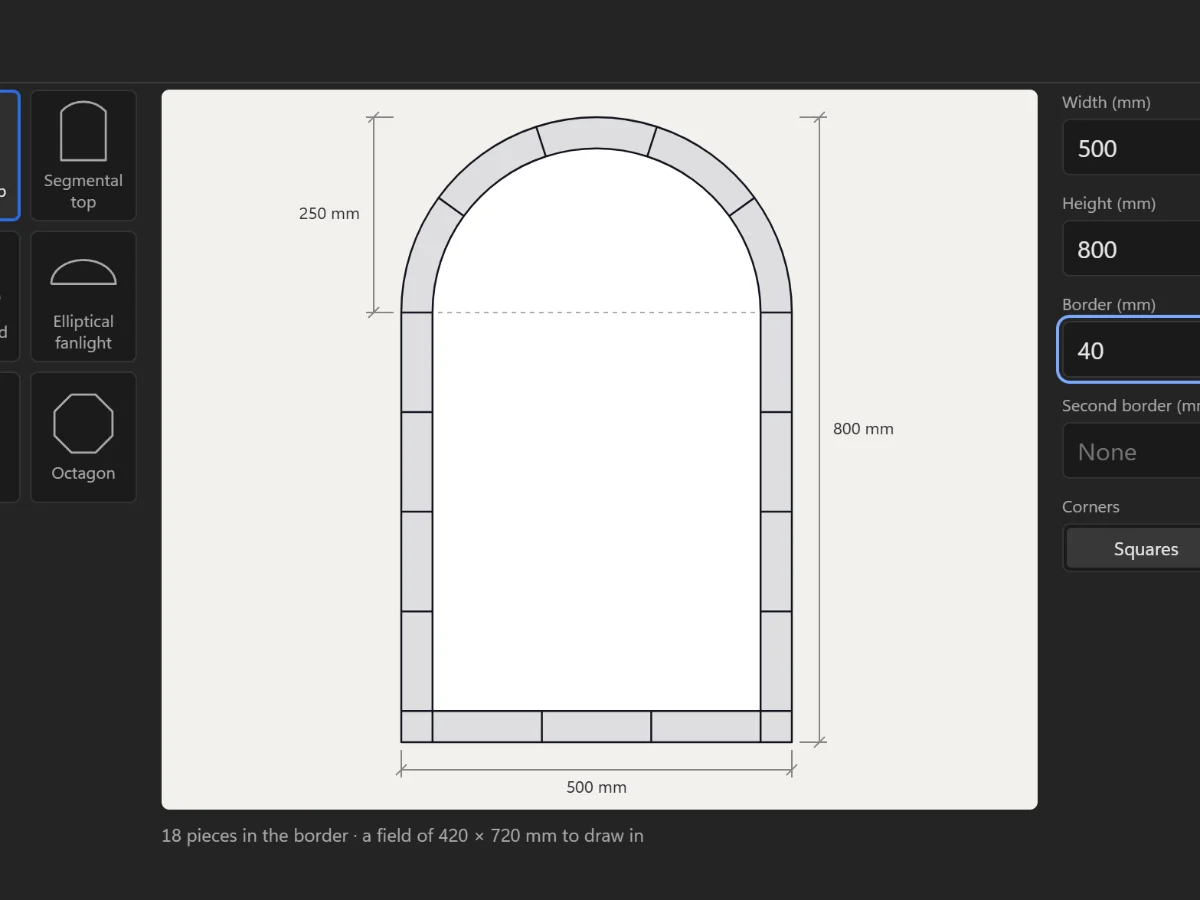
Then draw that outline: a rectangle, a round top, a Gothic arch, a circle, an oval. An arch takes its rise from the width: a round top on a 500 mm panel rises 250 mm.
02
Choose lead came or copper foil
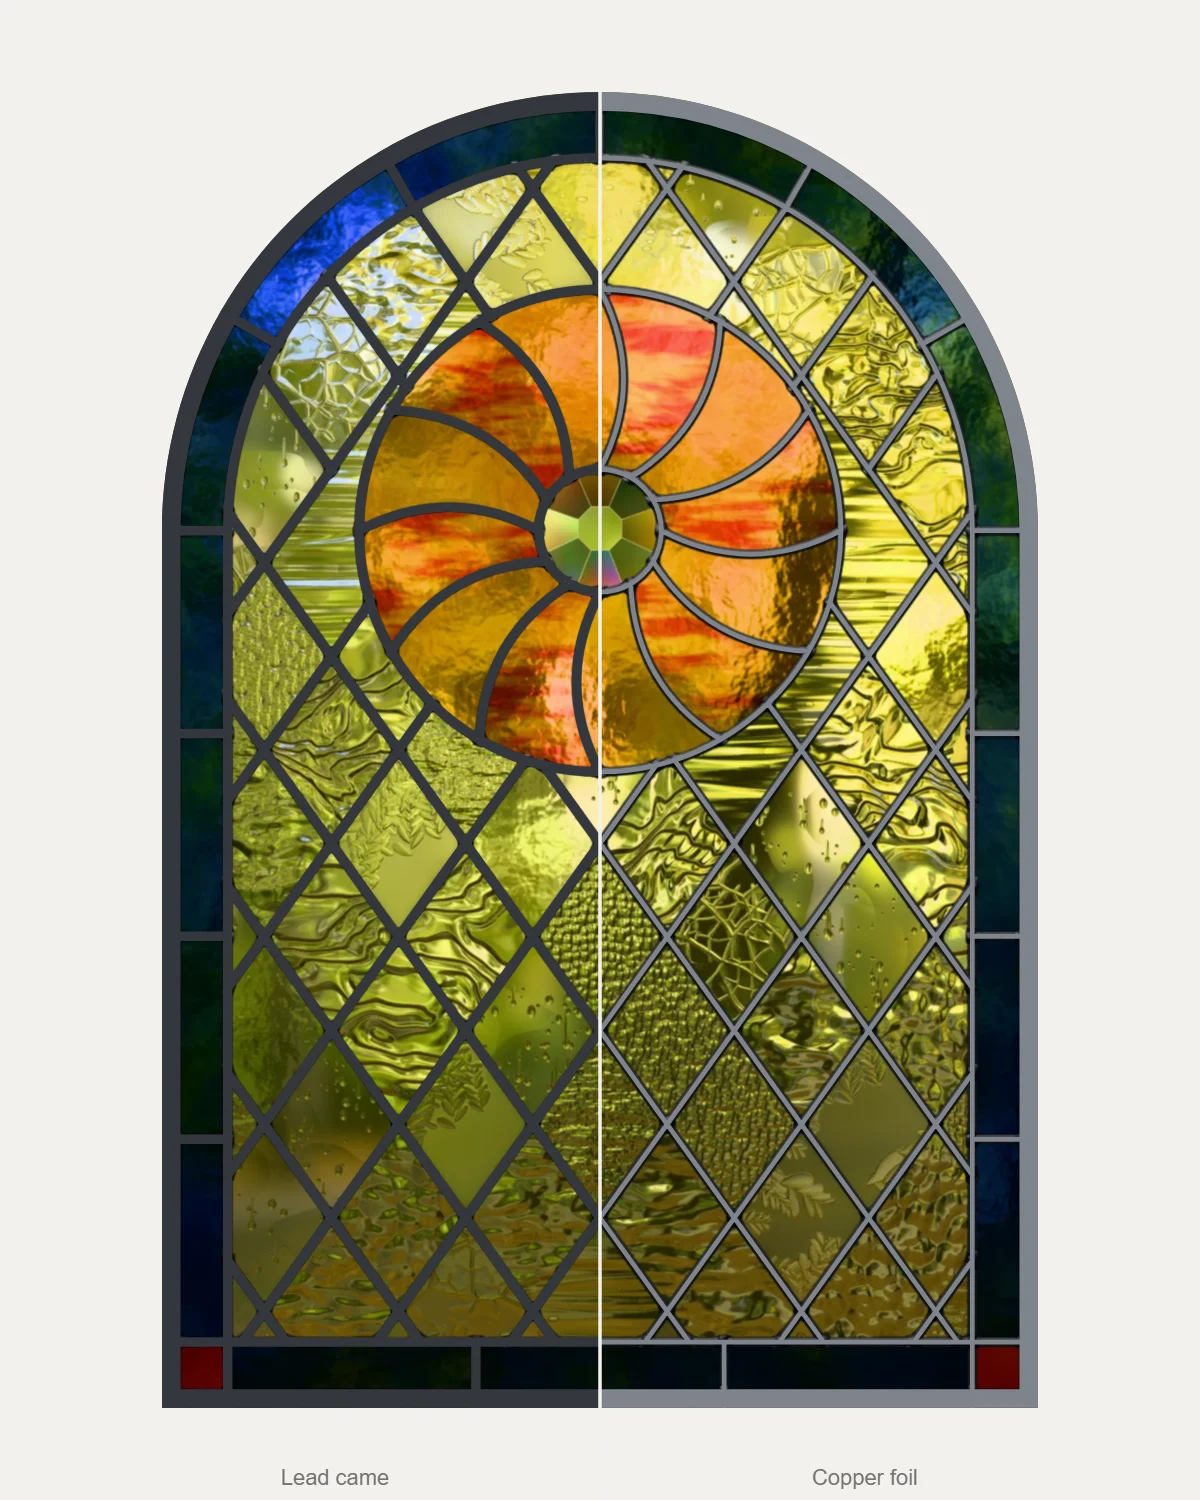
Decide how the panel will be built before you draw, because the technique changes the drawing. In lead came the pieces sit in strips of lead: the lines are wide, 6.4 mm (1/4 inch) on most panels, and each piece is cut 1 mm short of its line to leave room for the came's heart. In copper foil each piece is wrapped in copper tape and the seams are soldered: the lines are about 3.2 mm (1/8 inch), and the glass is cut almost on the line.
Lead came is the usual choice for windows and doors; copper foil for small, detailed pieces, lamps and work in three dimensions.
Lead came
Copper foil
03
Draw the big lines first
Begin with the lines that make the picture: the outline of the subject, a horizon, the border. Then add the lines the glass needs. Every line becomes a lead, so draw fewer than you think: a stained glass design is simpler than the picture it comes from.
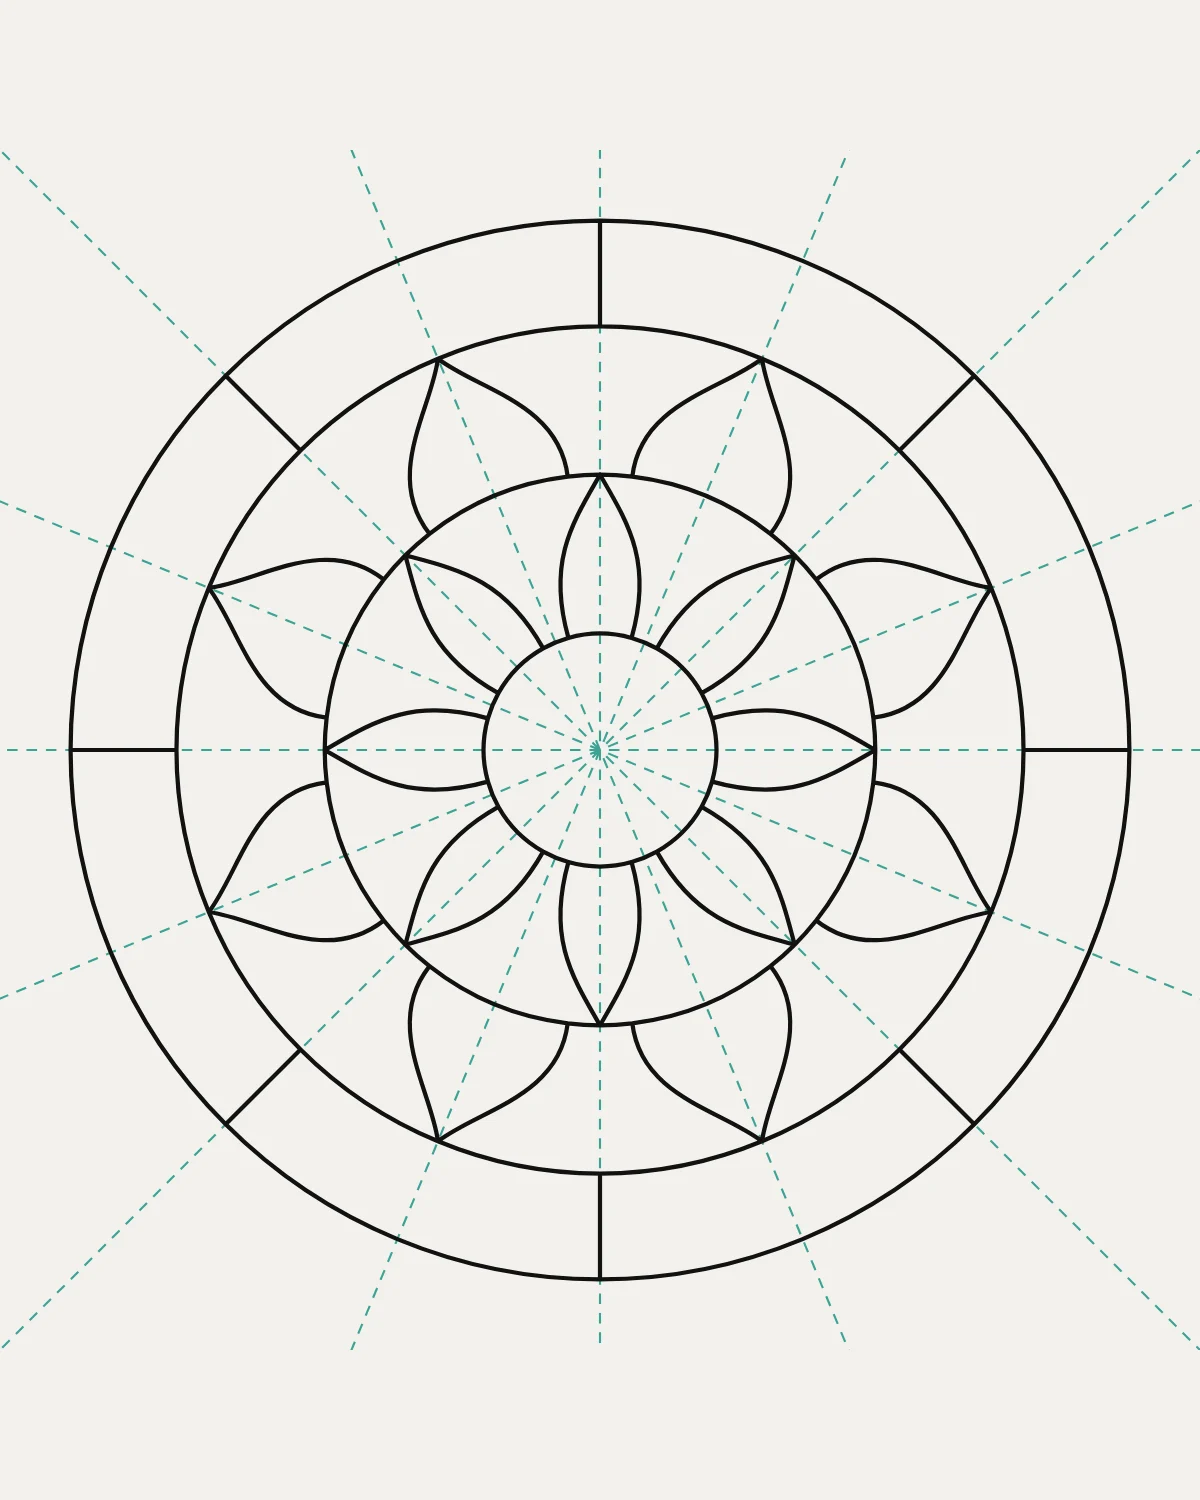
Let every line go somewhere. Glass breaks along a score from one edge to another, so a line that stops in the middle of a piece can't be cut. Run each line on to another line or to the edge of the panel.
Where lines meet, let two or three meet, not more. A joint where 4 or more leads meet is hard to fit and pools solder, and its heat can crack the glass beside it.
Draw what repeats once: one petal of a rosette, one half of a symmetrical window, and mirror it.
04
Make every piece cuttable
Glass has limits a drawing doesn't. A score breaks cleanly along a straight line or a gentle curve, and fights anything else. Before you finish, look at every piece for the four things glass won't take:
- A deep inside curve. A curve cut into a piece deeper than 40% of its opening runs the break into the piece. Put a lead across it, and one hard cut becomes two easy ones.
- A sharp point. A corner sharper than 15° chips as you cut and grind it. Blunt it, or change the lines that make it.
- A sliver. A piece narrower than 8 mm at any point, or more than about 8 times as long as it is wide, breaks while it is cut or ground.
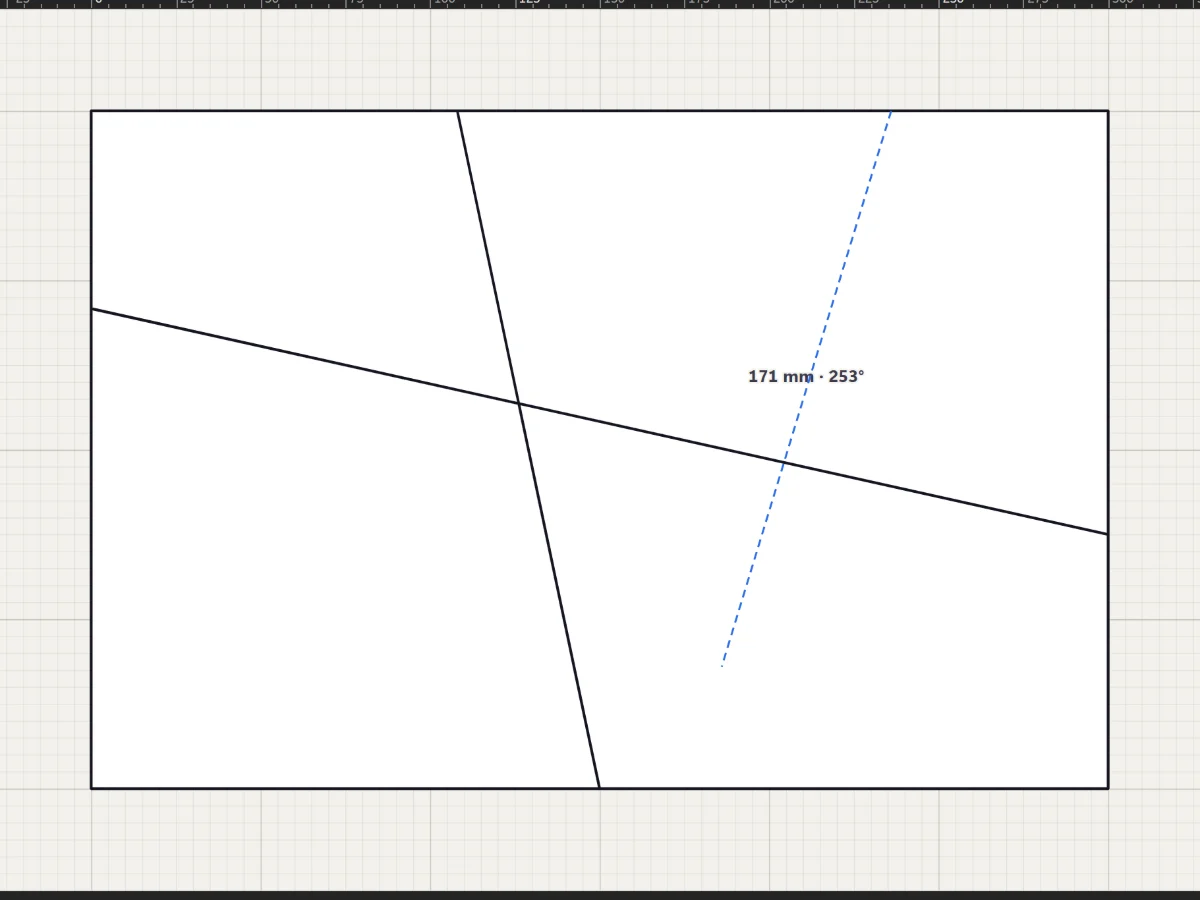
- A piece too big to handle. A big piece is hard to cut whole and weakens the panel: the Studio warns at 500 mm across in lead came and 300 mm in copper foil.
These are working figures, not laws: an experienced cutter manages what a beginner should leave out. Try it here. Cut the big field until the Studio stops warning, then make a sliver and read what it says.
- Cut the field until the warning goes
- Make a sliver and read what it says
05
Number the pieces and choose the glass
Number every piece. The number goes on the pattern piece, on the glass cut from it and on the plan, so they can be matched on the bench.
Then choose a glass for every piece and record it on a plan: a letter in each piece, and a key that says which glass each letter is. Where a glass runs one way, with streaks, reeds or a grain, mark the direction, so its pieces are cut the same way out of the sheet.
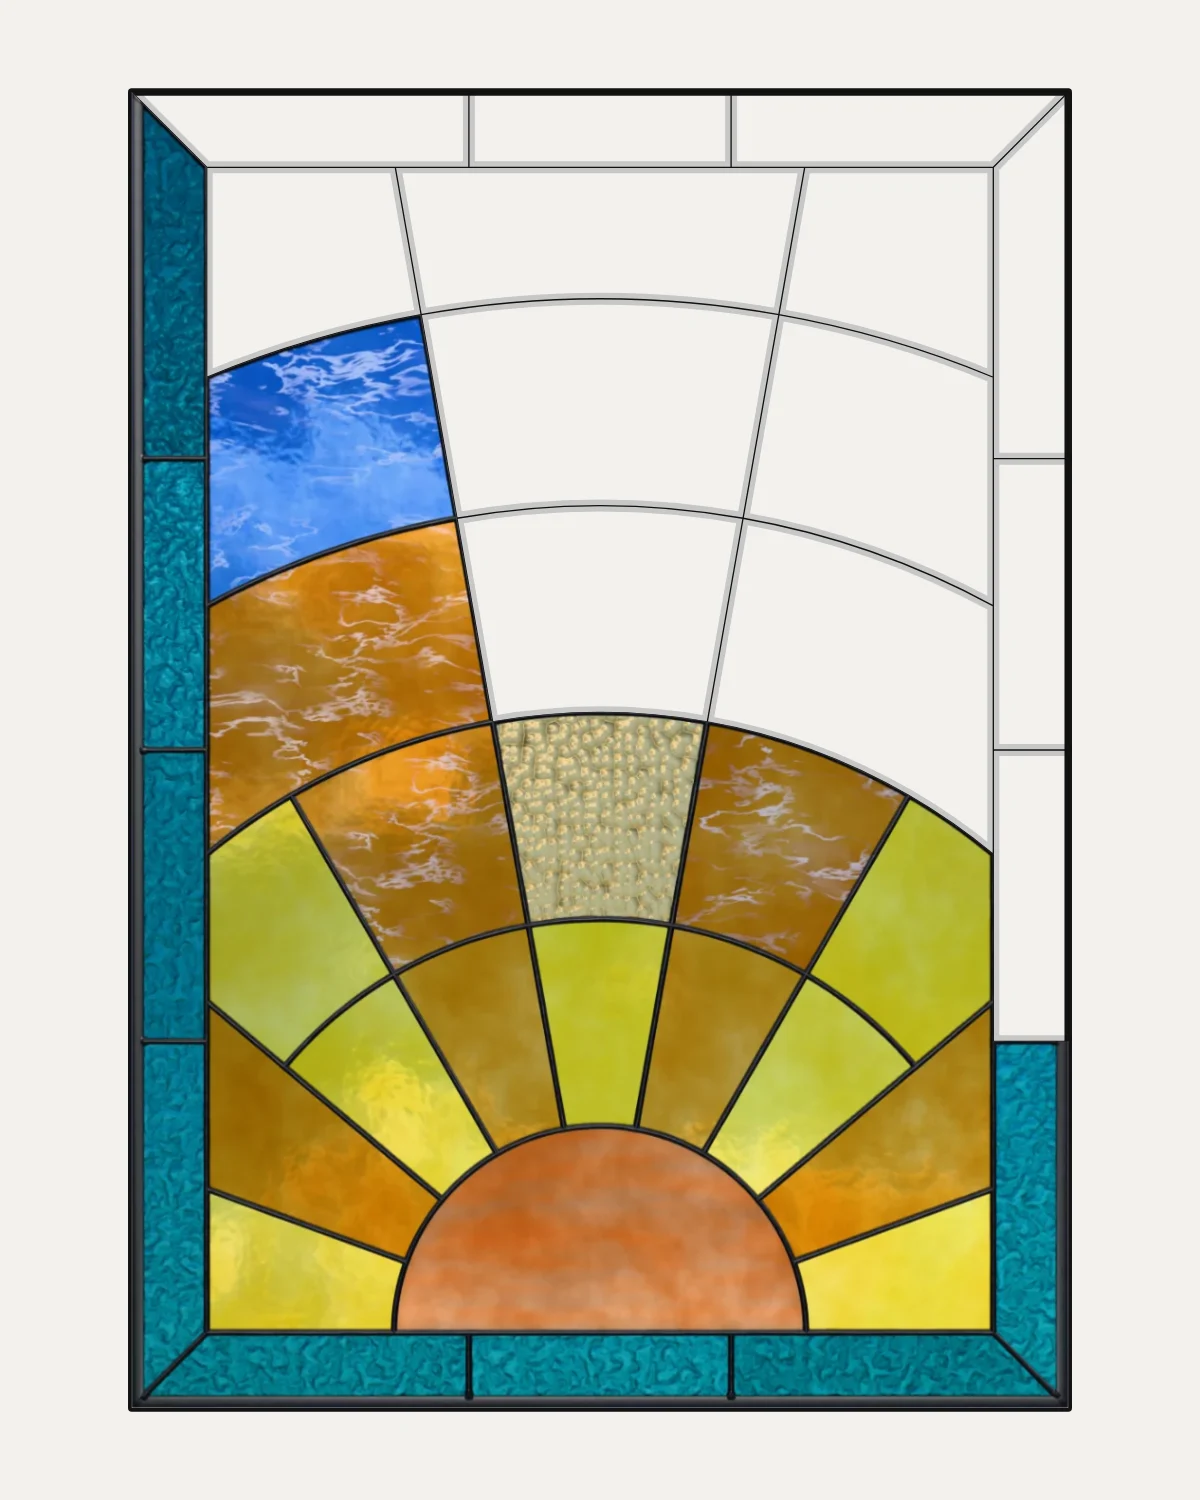
Try more than one colour scheme before you buy glass. The same leadwork can be a sunset or a night sky.
06
Print the pattern full size
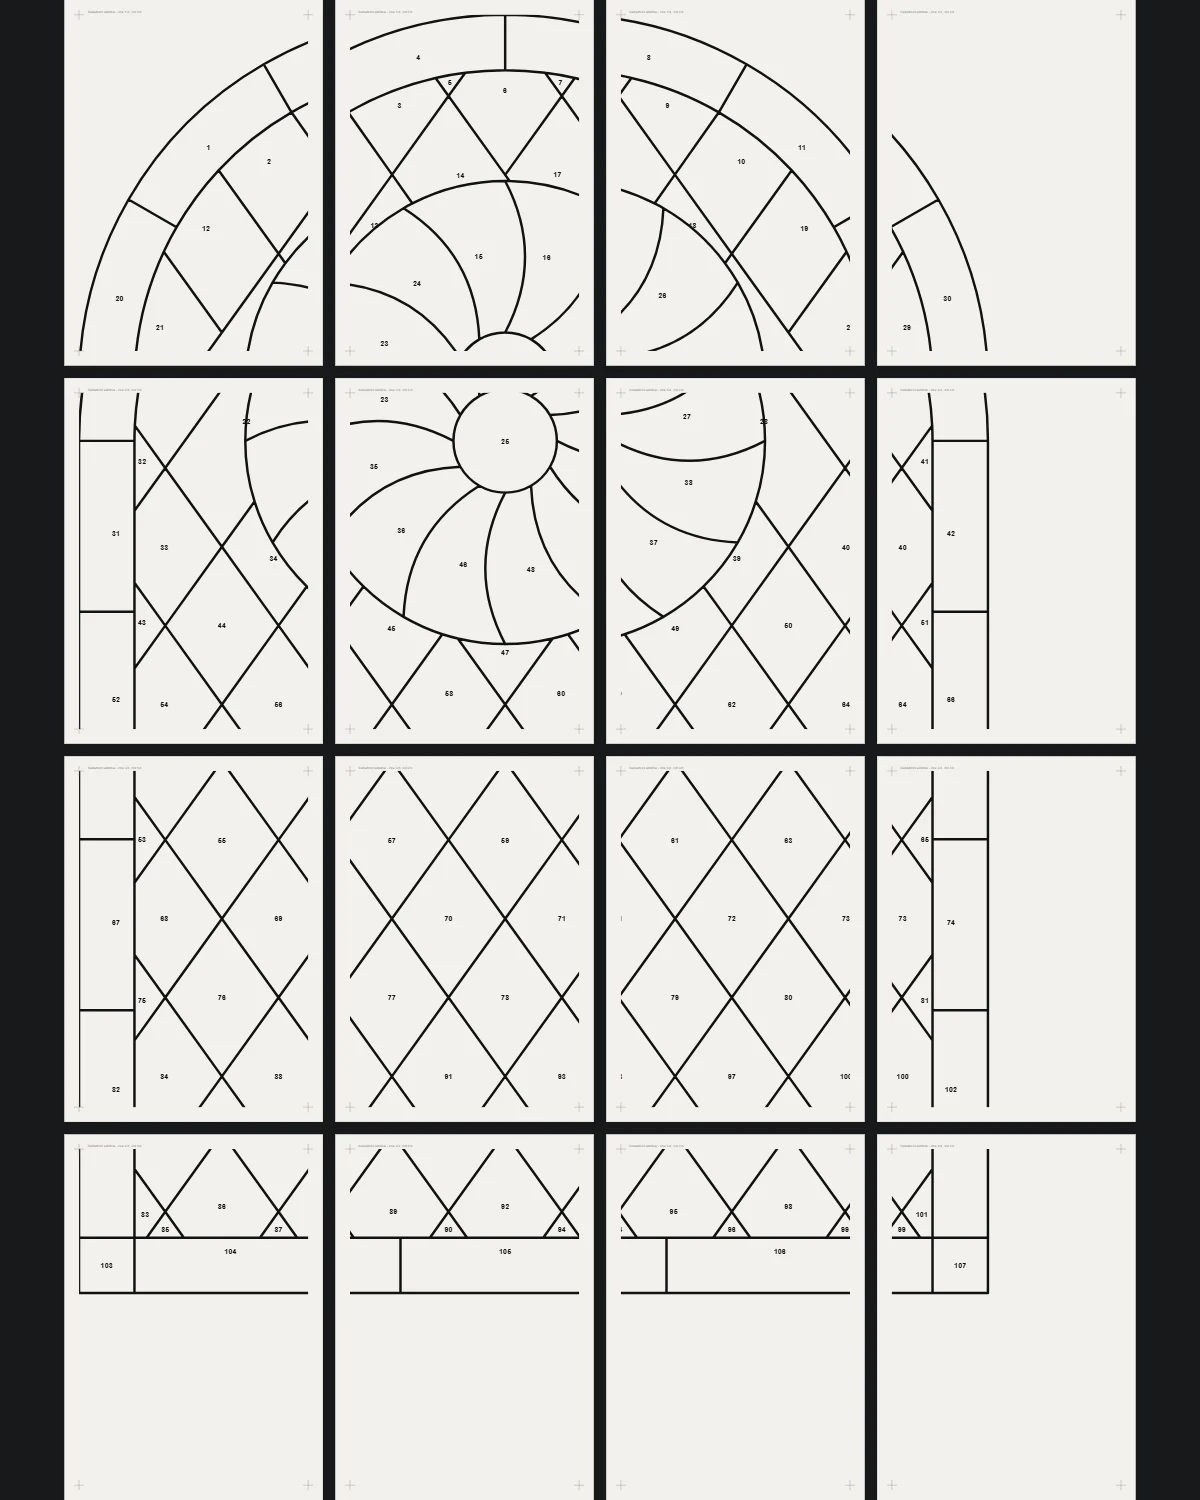
The pattern you cut from is the full-size drawing, the cartoon. Print it at 100%, never 'Fit to page', tiled across as many sheets as it takes, and tape the sheets together by their marks.
Measure something you know before you cut: the Studio puts a 100 mm square on page one. A printer that prints 1% large makes every piece 1% large.
Cut each piece on the inside of its line. The Studio prints each line as wide as the strip your pattern shears take out: 2 mm for lead came's heart, 0.8 mm for copper foil.
07
See it in light before you cut
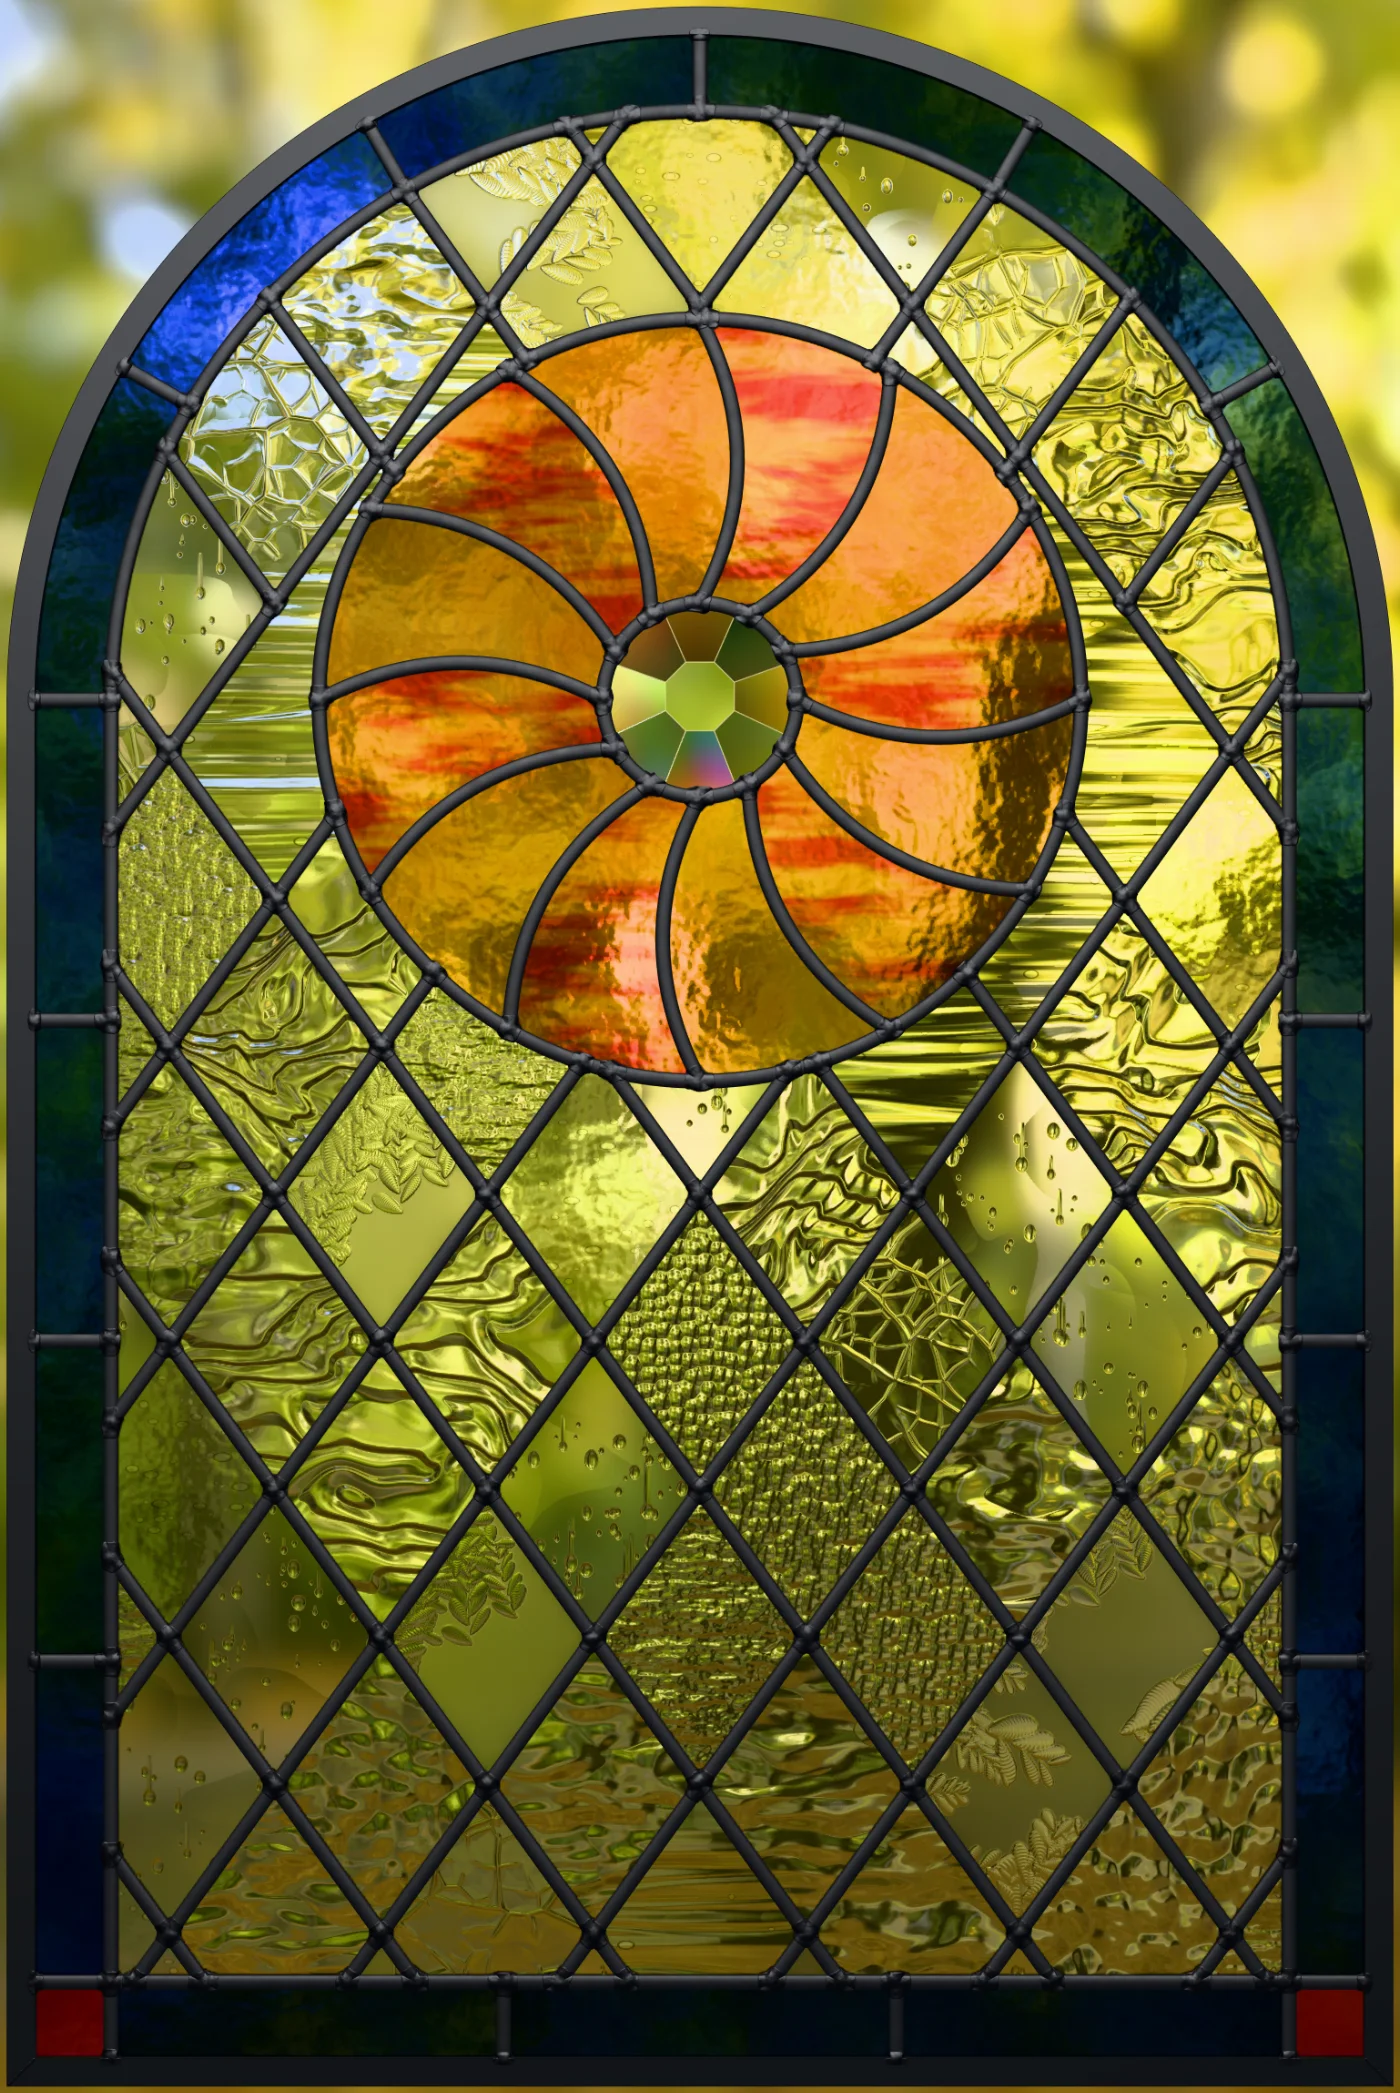
Glass in light is not glass on paper. A deep blue goes almost black on a dull day; an amber glows when the sun is low. Look at the panel in the light it will hang in before you buy and cut the glass.
In VETRATA Studio
Do it in the Studio, one lesson at a time.
 Lesson 2 · Getting started
Start a new panel
Choose the opening's shape and size, add a border, and set the technique you will build it in.
6 steps · 2 min
Lesson 5 · Draw
Draw lead lines
Straight leads with the Line tool, curves with the Pen and Curve tools, and freehand strokes that come out clean.
5 steps · 2 min · Try it in the page
Lesson 2 · Getting started
Start a new panel
Choose the opening's shape and size, add a border, and set the technique you will build it in.
6 steps · 2 min
Lesson 5 · Draw
Draw lead lines
Straight leads with the Line tool, curves with the Pen and Curve tools, and freehand strokes that come out clean.
5 steps · 2 min · Try it in the page
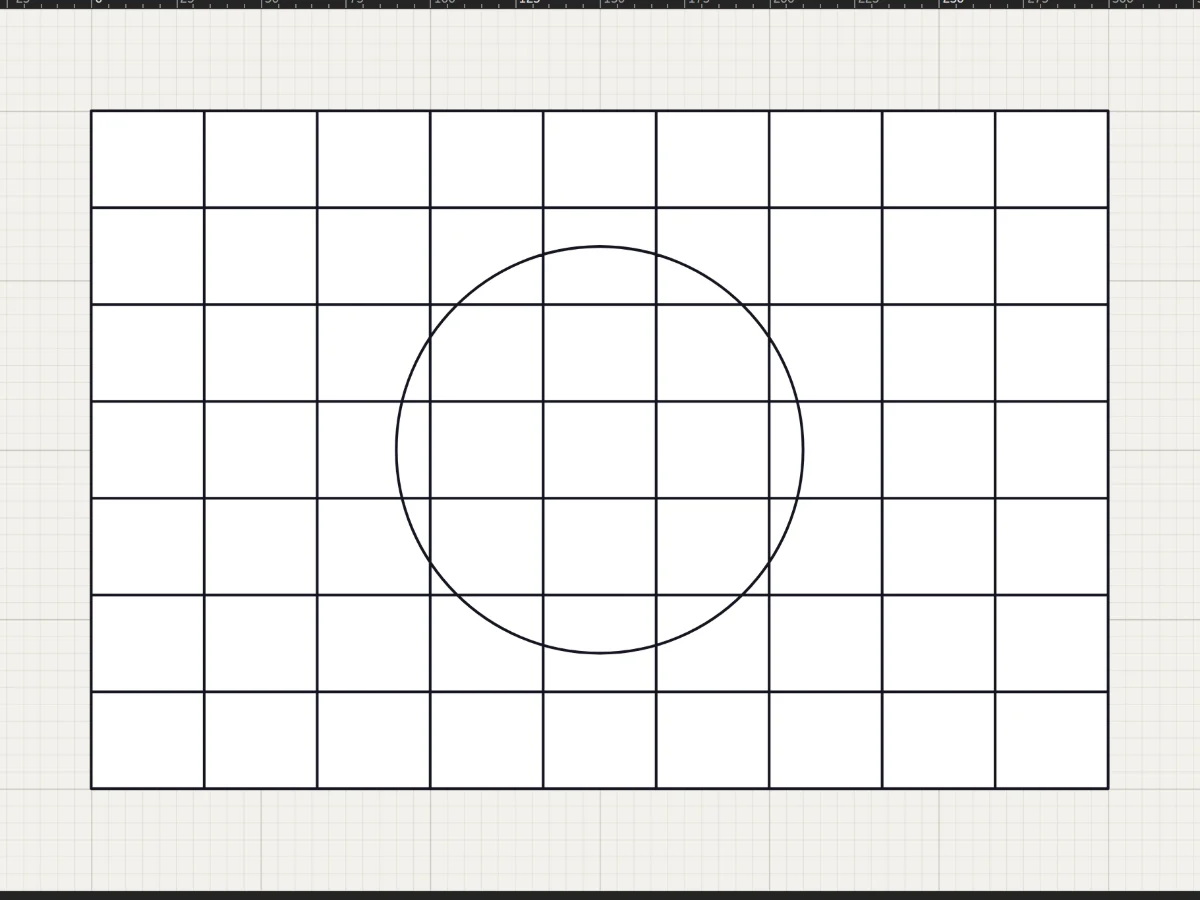 Lesson 6 · Draw
Shapes, grids and radial designs
Rectangles, circles, stars, rosettes and quarry grids in a few drags, each one cut into the leadwork.
5 steps · 2 min · Try it in the page
Lesson 6 · Draw
Shapes, grids and radial designs
Rectangles, circles, stars, rosettes and quarry grids in a few drags, each one cut into the leadwork.
5 steps · 2 min · Try it in the page
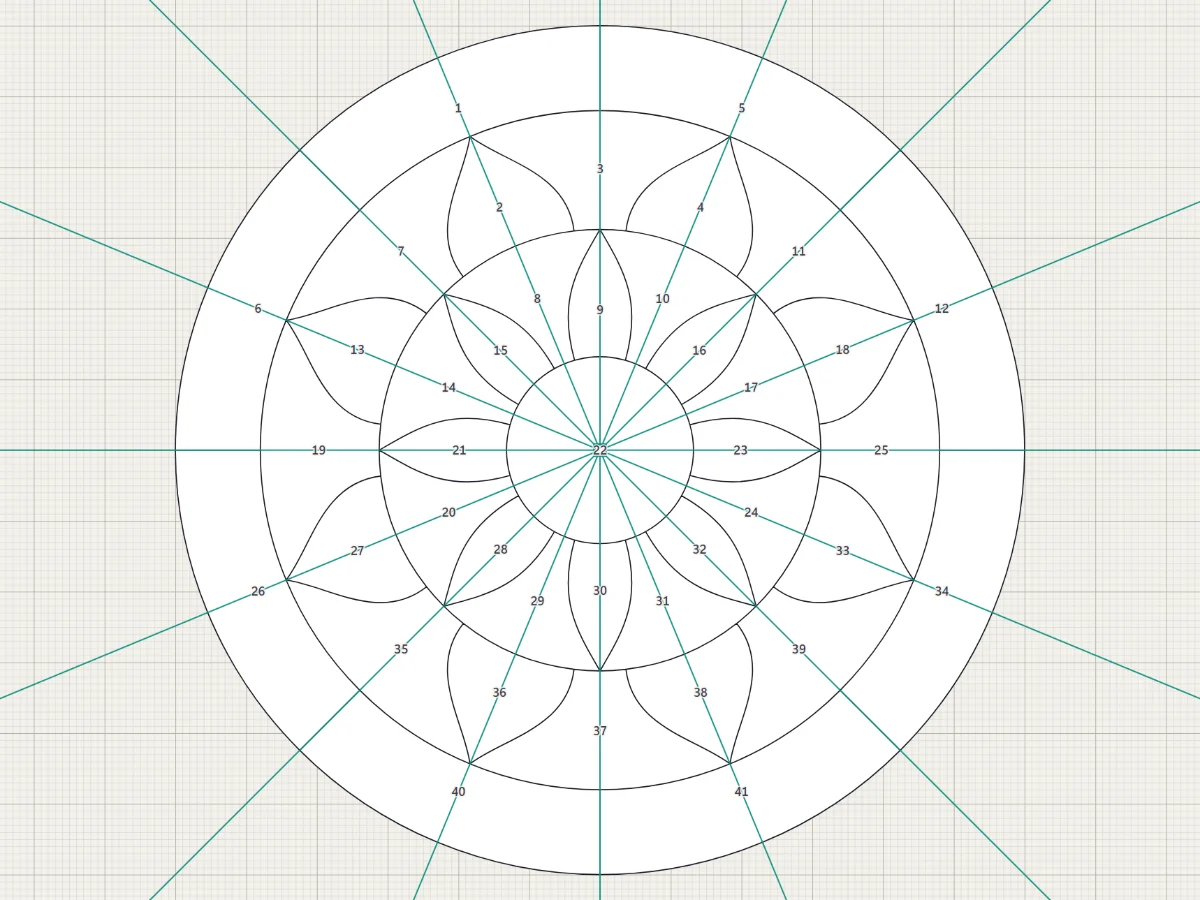 Lesson 9 · Draw
Draw it once with the Mirror
Mirror across a line or repeat around a centre, and see the reflected part live while you draw.
5 steps · 2 min
Lesson 9 · Draw
Draw it once with the Mirror
Mirror across a line or repeat around a centre, and see the reflected part live while you draw.
5 steps · 2 min
More guides
The rest of the craft.
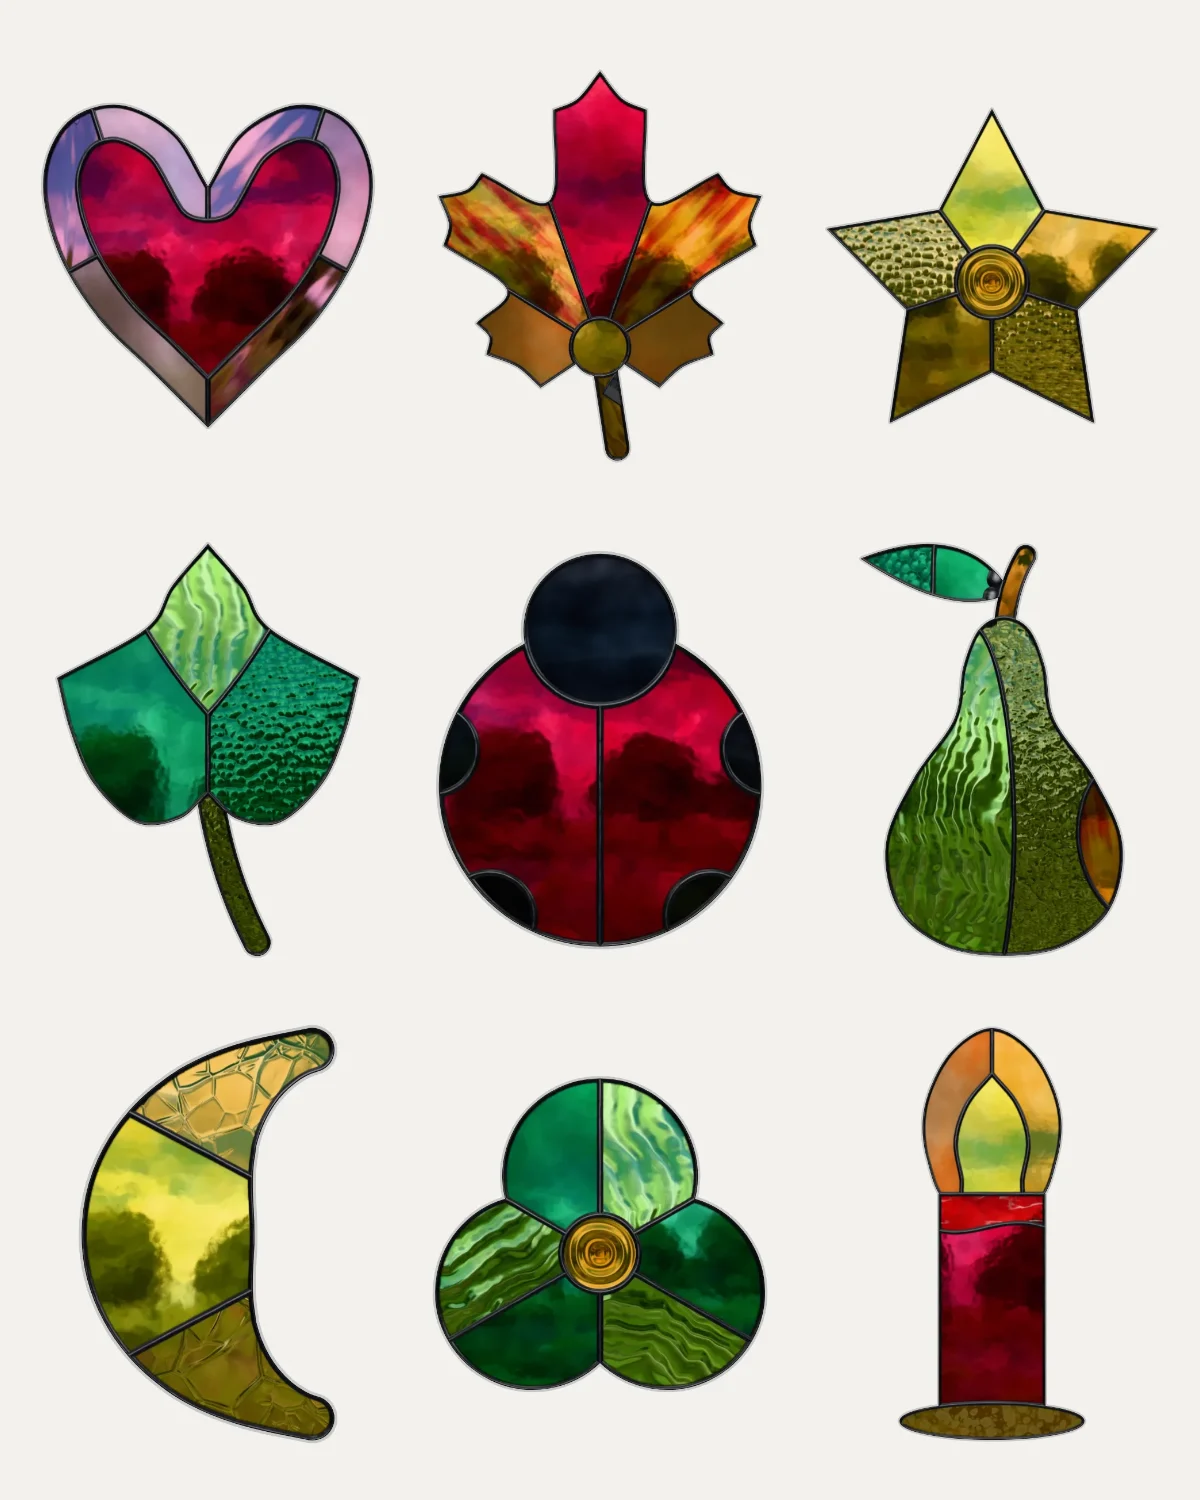 Guide · 4 min read
Stained glass patterns for beginners
How to choose a first stained glass pattern: few pieces you can hold, straight lines and gentle curves, nothing glass won't take, copper foil and a small size; and free beginner patterns to download.
Guide · 4 min read
Stained glass patterns for beginners
How to choose a first stained glass pattern: few pieces you can hold, straight lines and gentle curves, nothing glass won't take, copper foil and a small size; and free beginner patterns to download.
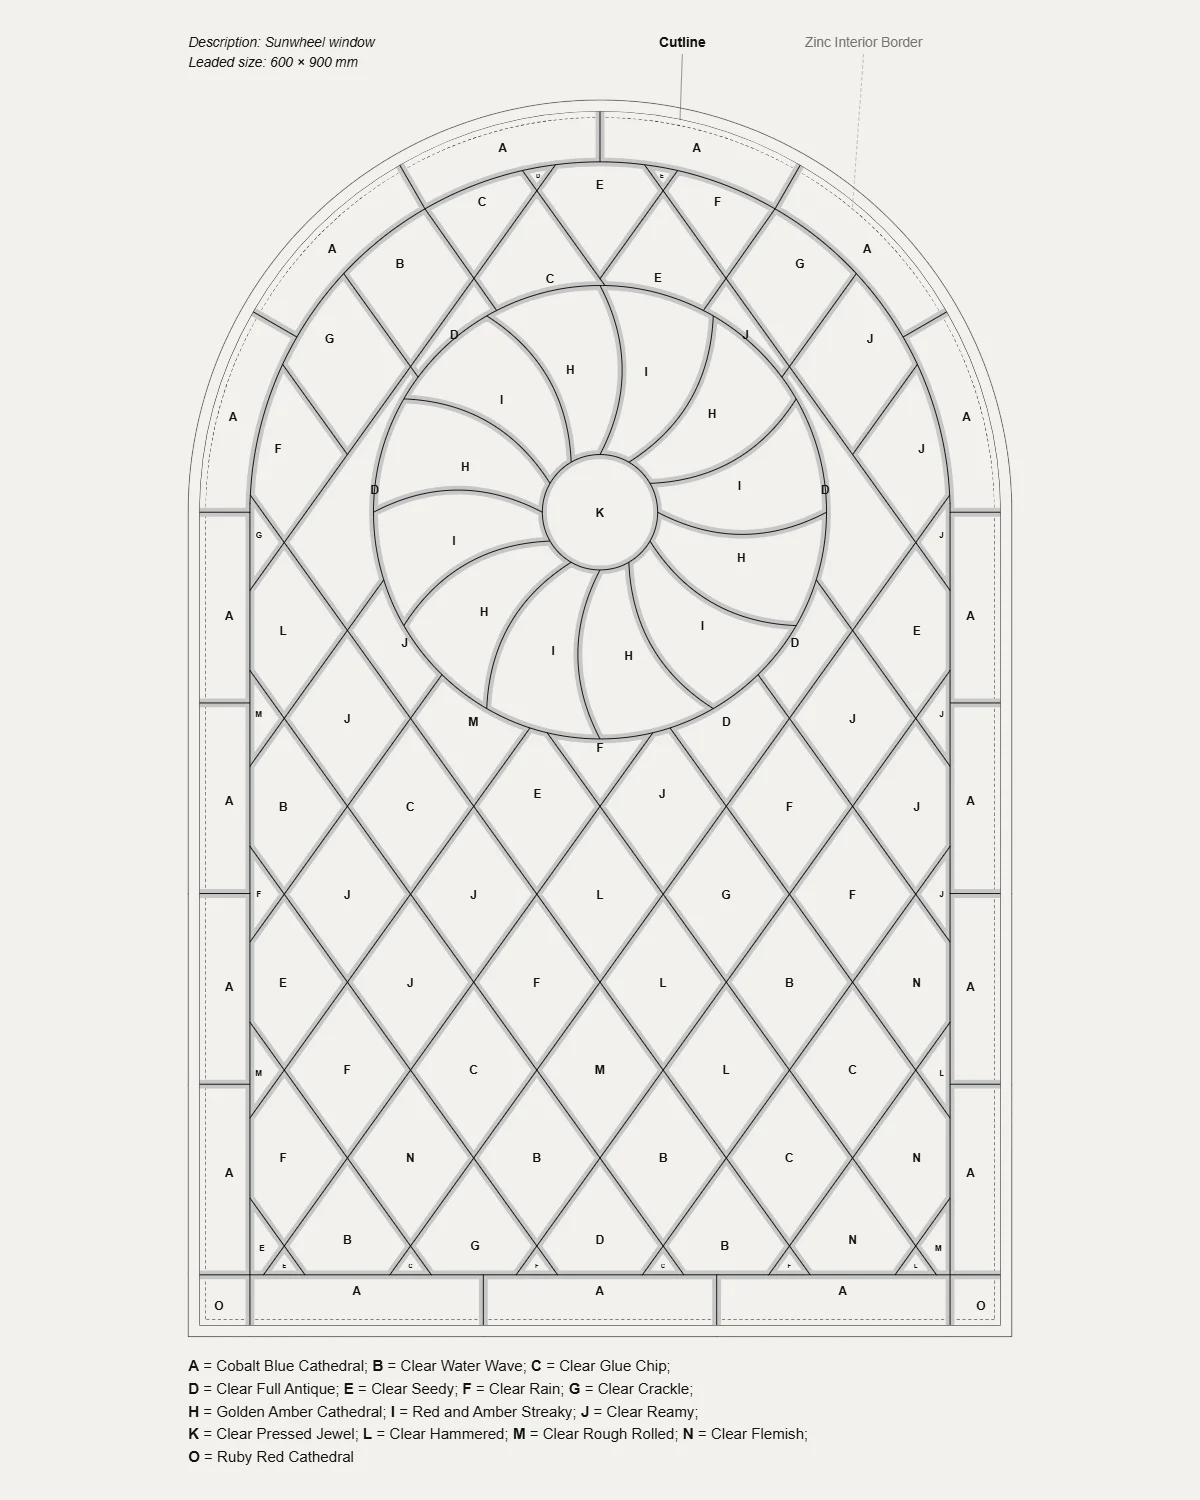 Guide · 5 min read
How to read a stained glass pattern
What every mark on a stained glass pattern means: the plan and the cutting pattern, lead lines and cut lines, piece numbers, glass letters and the key, grain arrows, the leaded size and the marks that join printed sheets.
Guide · 5 min read
How to read a stained glass pattern
What every mark on a stained glass pattern means: the plan and the cutting pattern, lead lines and cut lines, piece numbers, glass letters and the key, grain arrows, the leaded size and the marks that join printed sheets.
 Guide · 4 min read
Lead came or copper foil?
Lead came or copper foil: what each is, what each suits, and how the choice changes a stained glass pattern: the width of its lines, where the glass is cut and how big a piece can be.
Guide · 3 min read
How to resize a stained glass pattern and print it full size
Enlarge or shrink a stained glass pattern to fit your window without fattening its lines, check every piece can still be cut, and print it full size on A4 or Letter, true to scale.
Guide · 4 min read
Lead came or copper foil?
Lead came or copper foil: what each is, what each suits, and how the choice changes a stained glass pattern: the width of its lines, where the glass is cut and how big a piece can be.
Guide · 3 min read
How to resize a stained glass pattern and print it full size
Enlarge or shrink a stained glass pattern to fit your window without fattening its lines, check every piece can still be cut, and print it full size on A4 or Letter, true to scale.
 Guide · 3 min read
How to turn a photo into a stained glass pattern
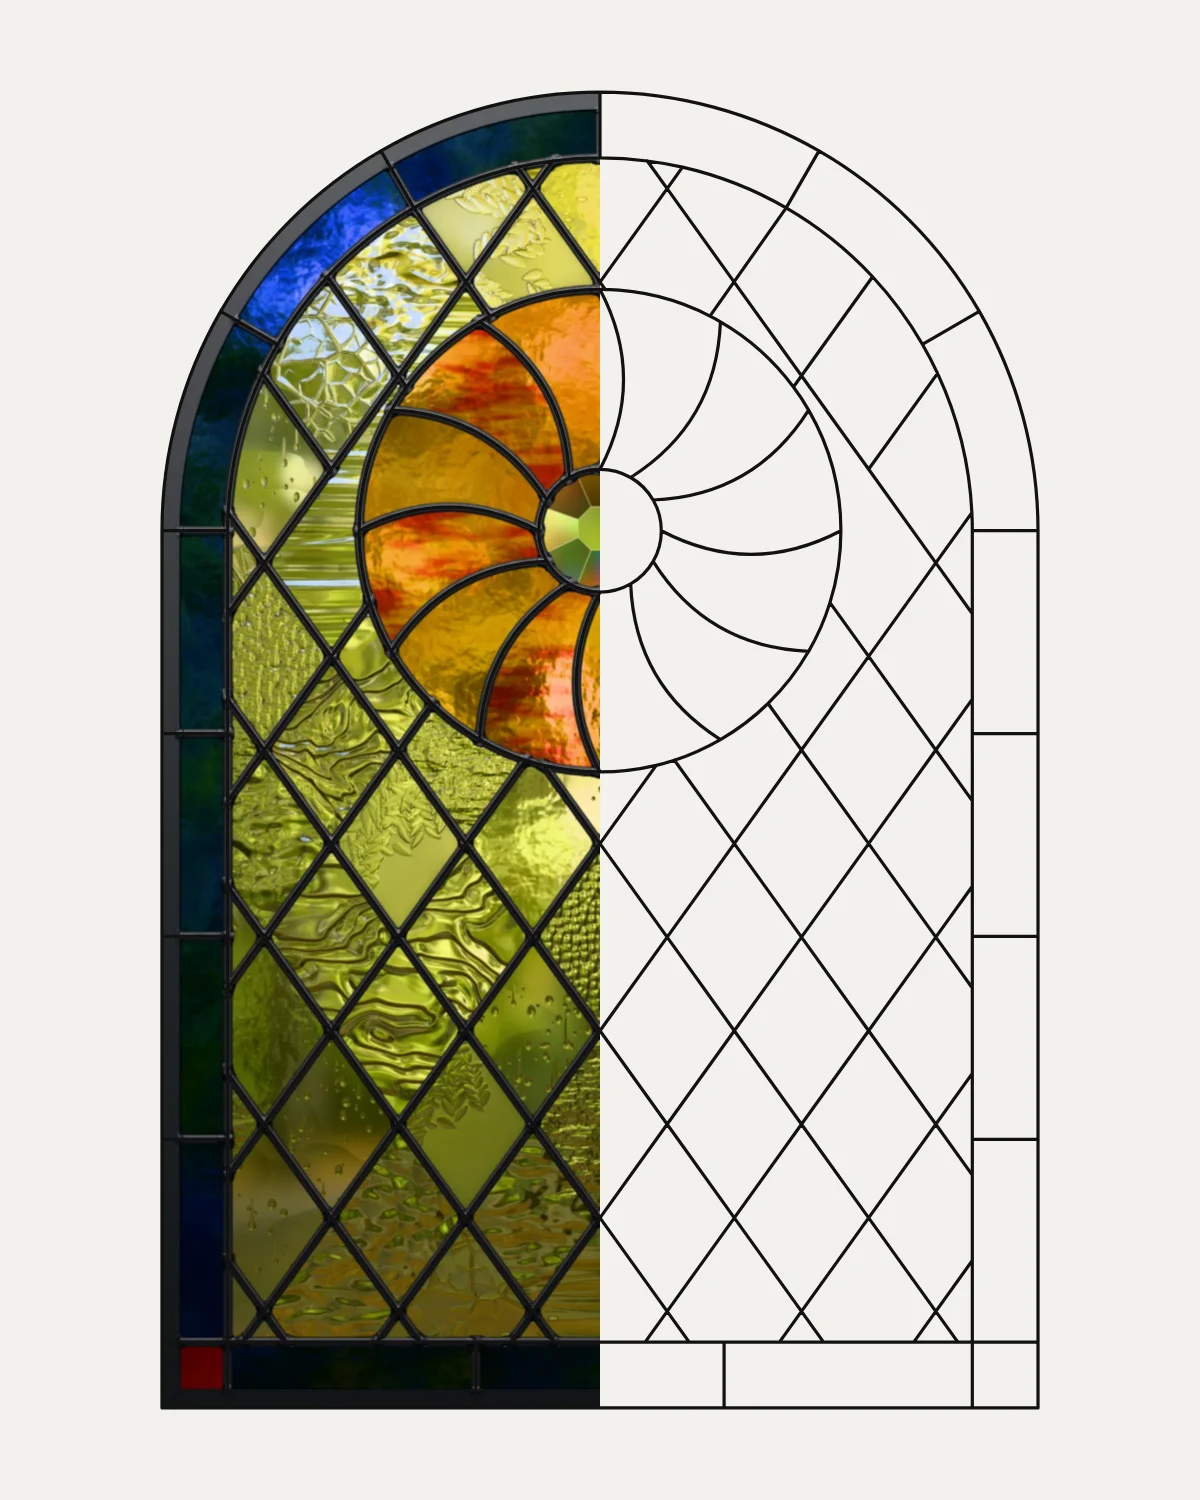
Turn a photo into a stained glass pattern by tracing it: choose a photo with strong shapes, put it under the pattern at full size, draw the big shapes as leads, add the lines the glass needs and check every piece can be cut.
Guide · 3 min read
How to turn a photo into a stained glass pattern
Turn a photo into a stained glass pattern by tracing it: choose a photo with strong shapes, put it under the pattern at full size, draw the big shapes as leads, add the lines the glass needs and check every piece can be cut.