Lesson 2 of 23
Start a new panel
Choose the opening's shape and size, add a border, and set the technique you will build it in.
Every pattern starts from the opening it will fill. File › New panel… draws that outline for you, already divided into a border if you want one.
-
1
Open New panel
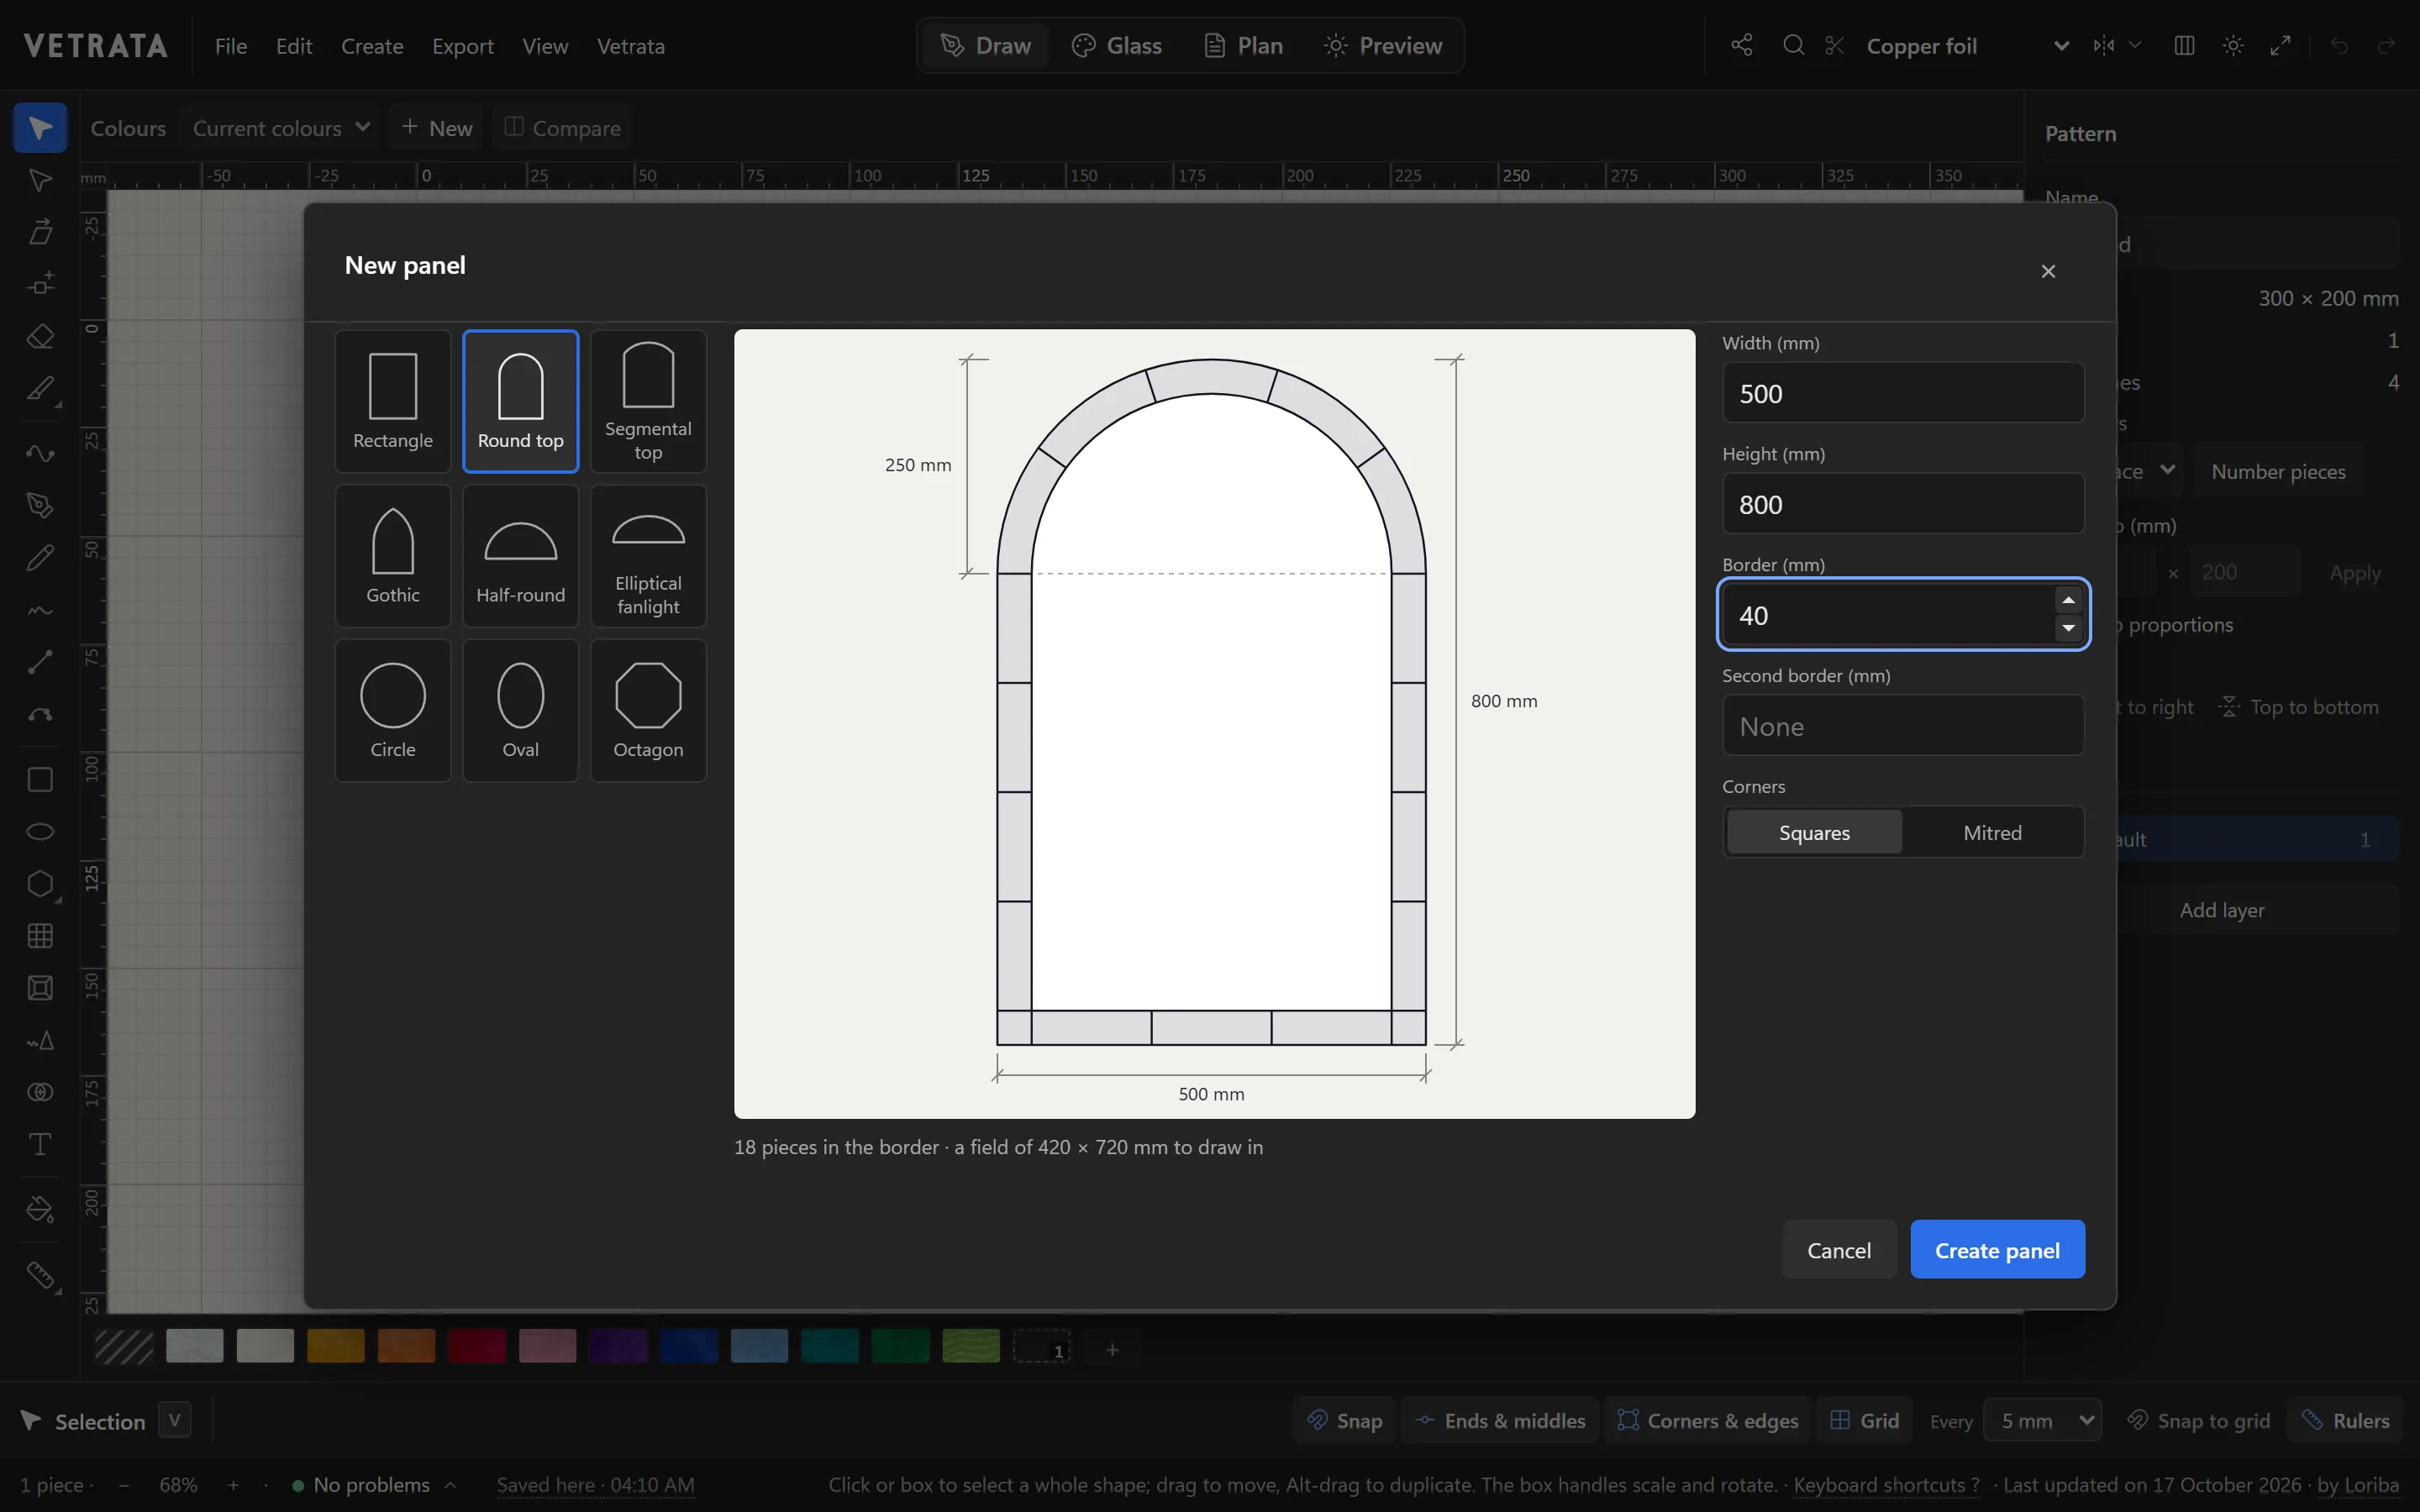
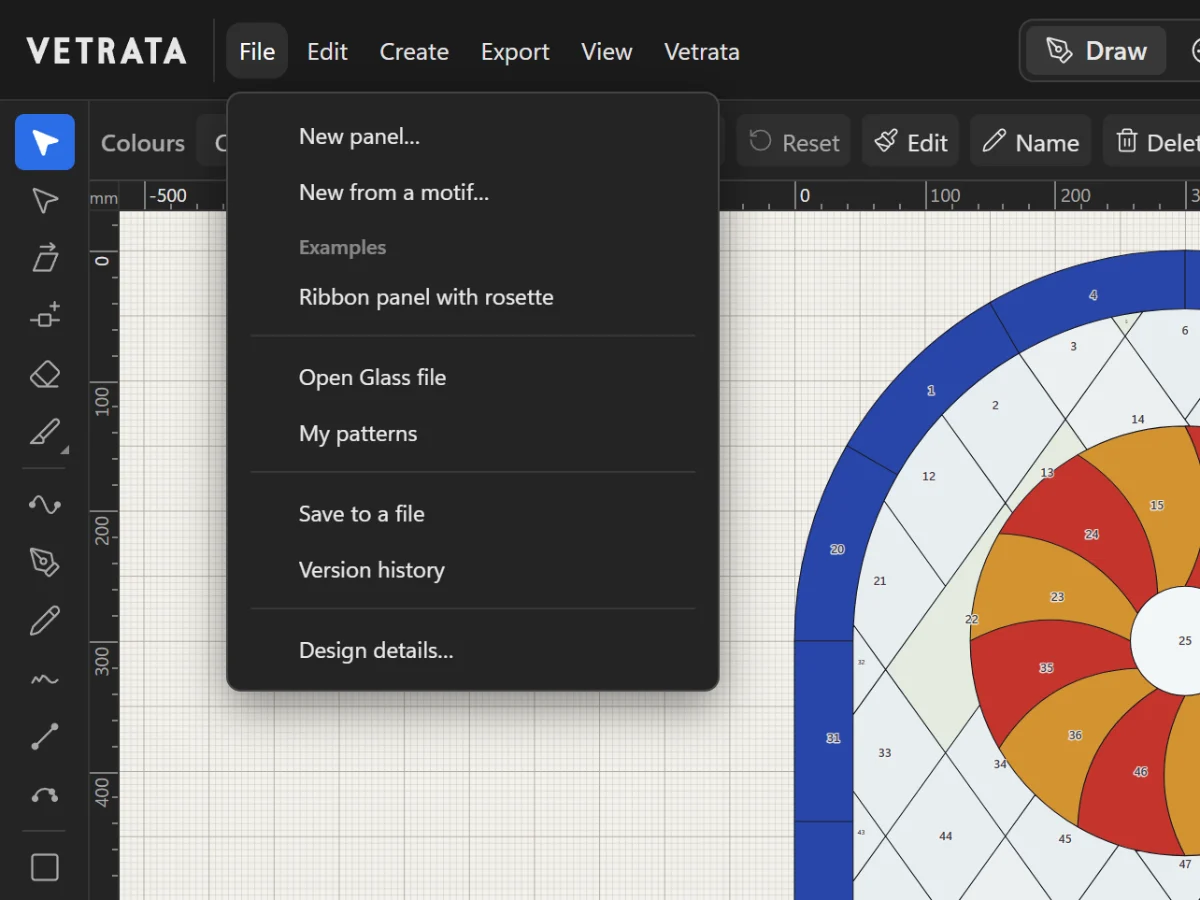
Choose File › New panel…. The dialog draws the panel as you set it up, to scale and with its measurements.
-
2
Pick a shape
Choose from Rectangle, Round top, Segmental top, Gothic, Half-round, Elliptical fanlight, Circle, Oval and Octagon.
An arched shape takes its arch from the width you give: a round top on a 500 mm panel rises 250 mm.
-
3
Type the size
Enter the width and height of the finished panel. Measure the opening first, and allow for the frame or rebate the panel will sit in.
-
4
Add a border
A border is the band of pieces round the edge. Type its width, and the width of a second border inside it if you want two. Corners can be square or mitred.
Under the drawing, the dialog says how many pieces the border makes and how big a field it leaves you to draw in.
-
5
Create it
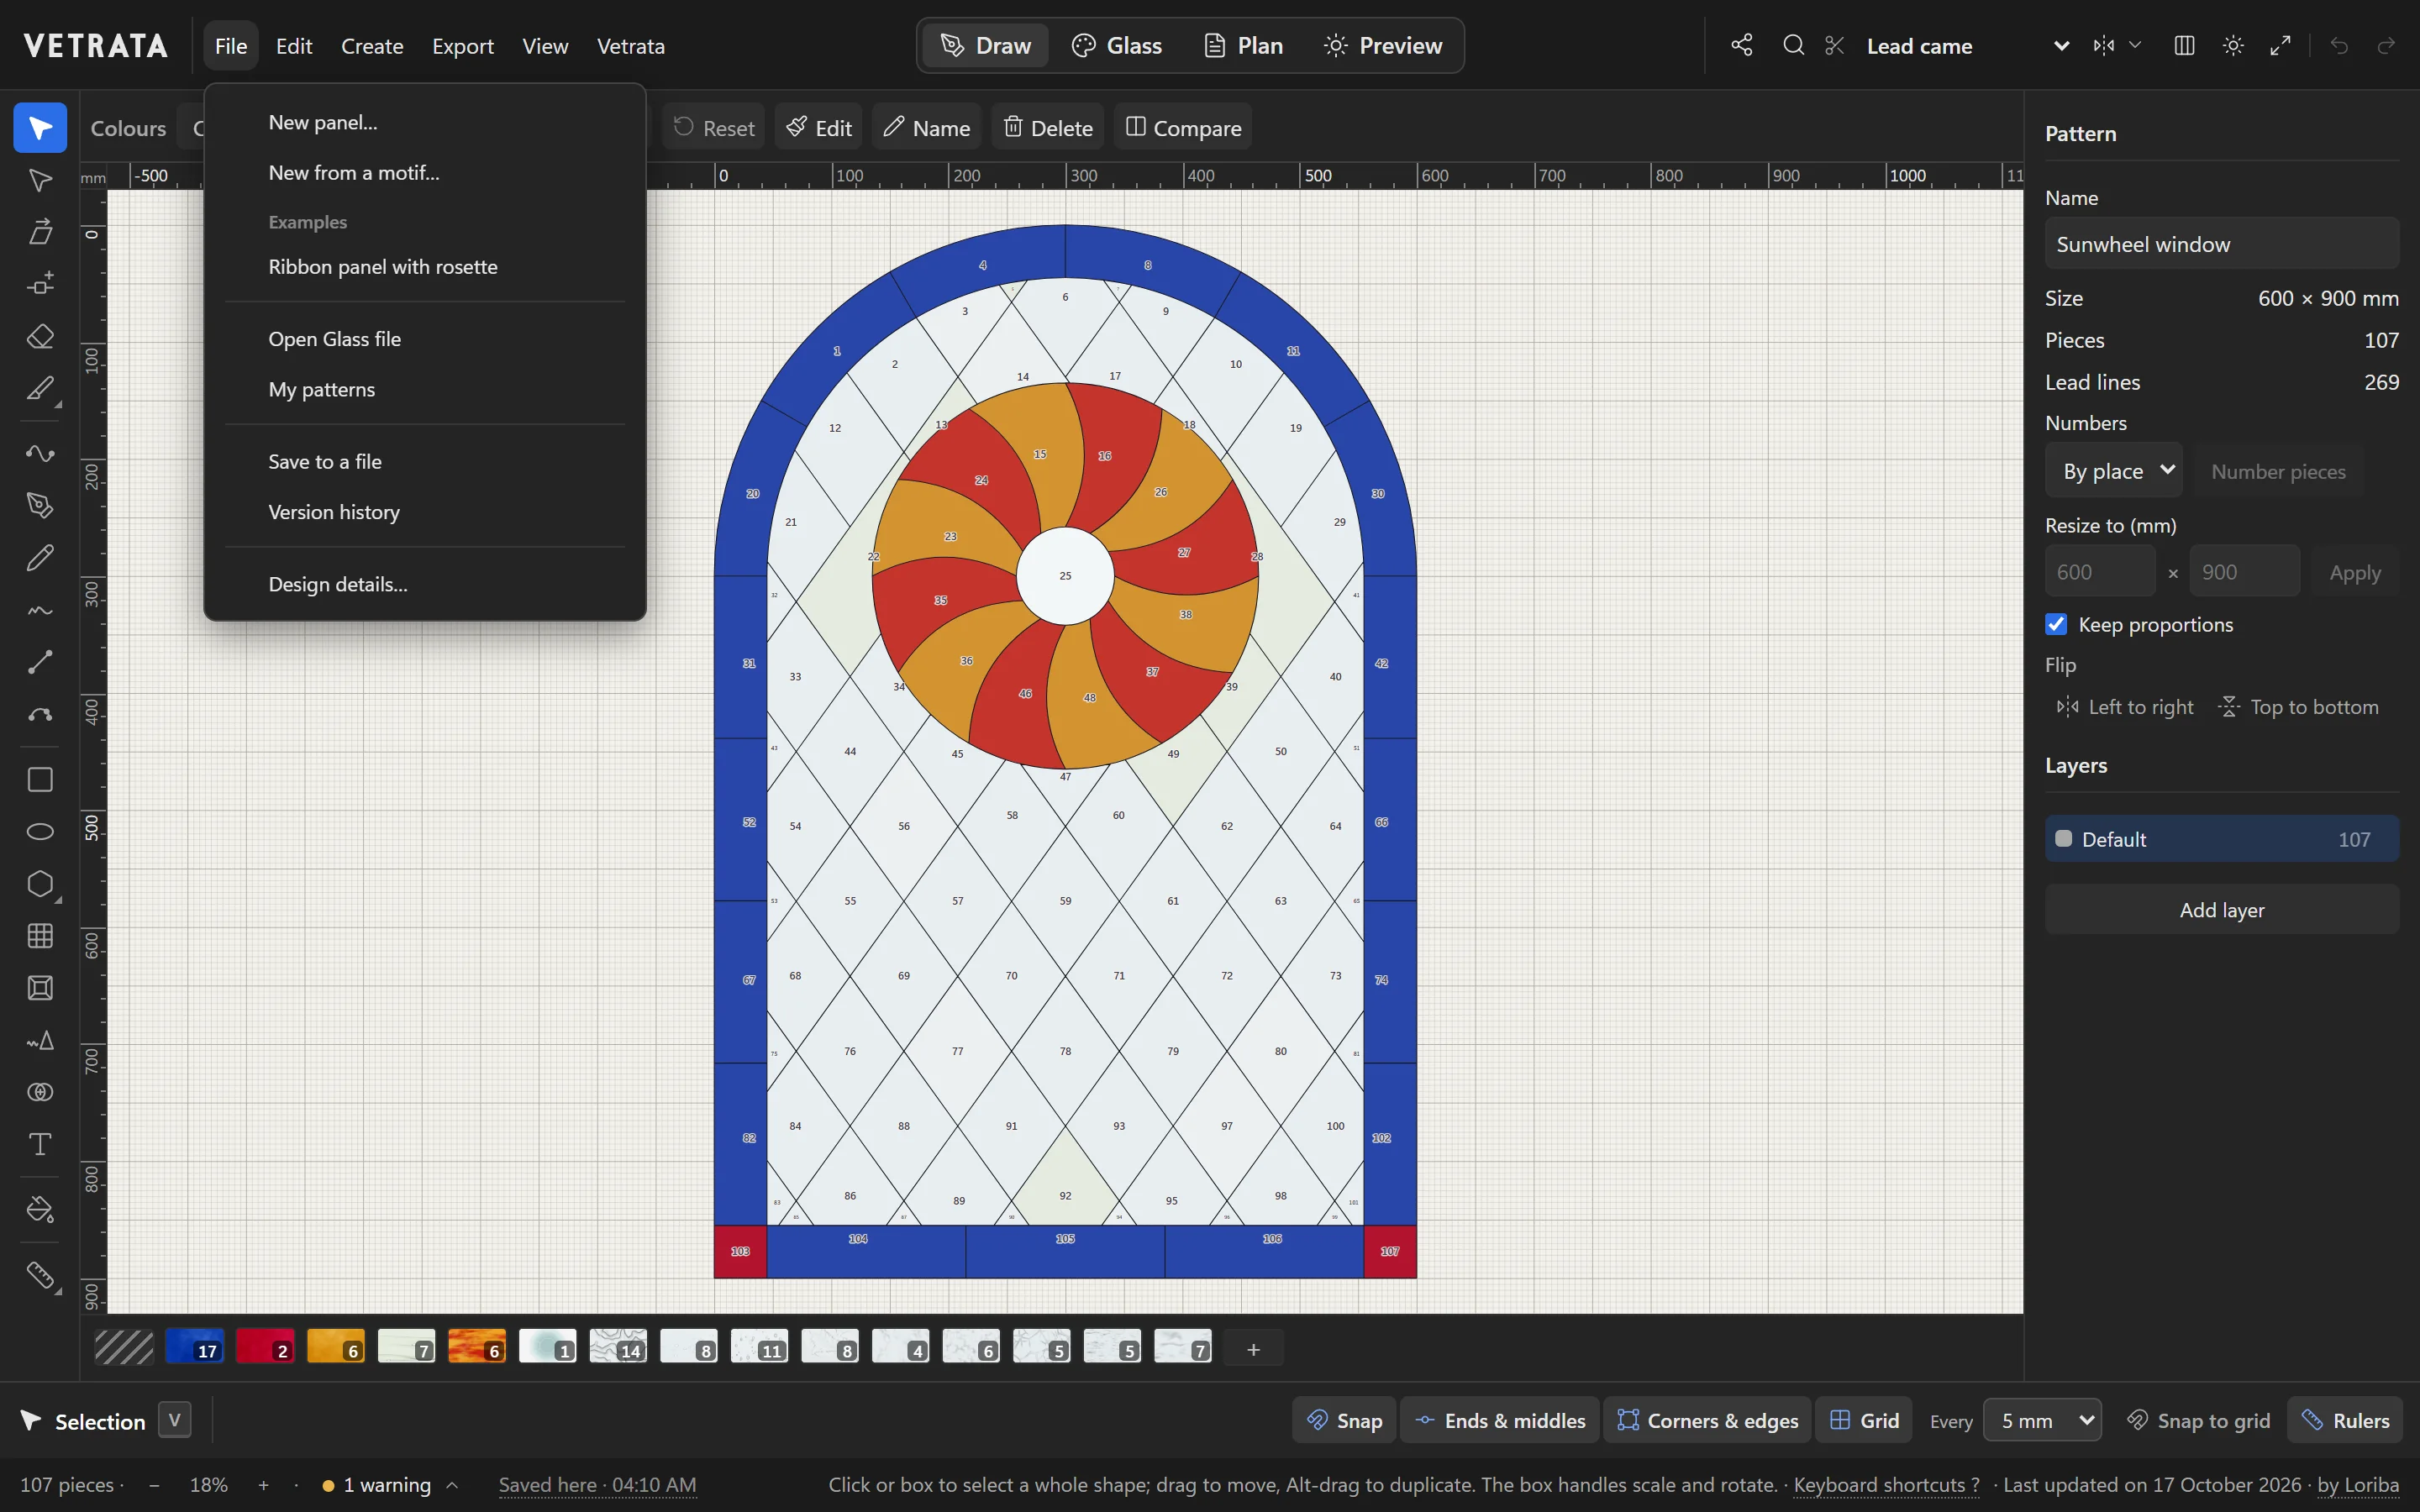
Click Create panel. The panel opens in the Draw tab, its border already cut into pieces and the field inside left whole to draw in.
-
6
Choose the technique
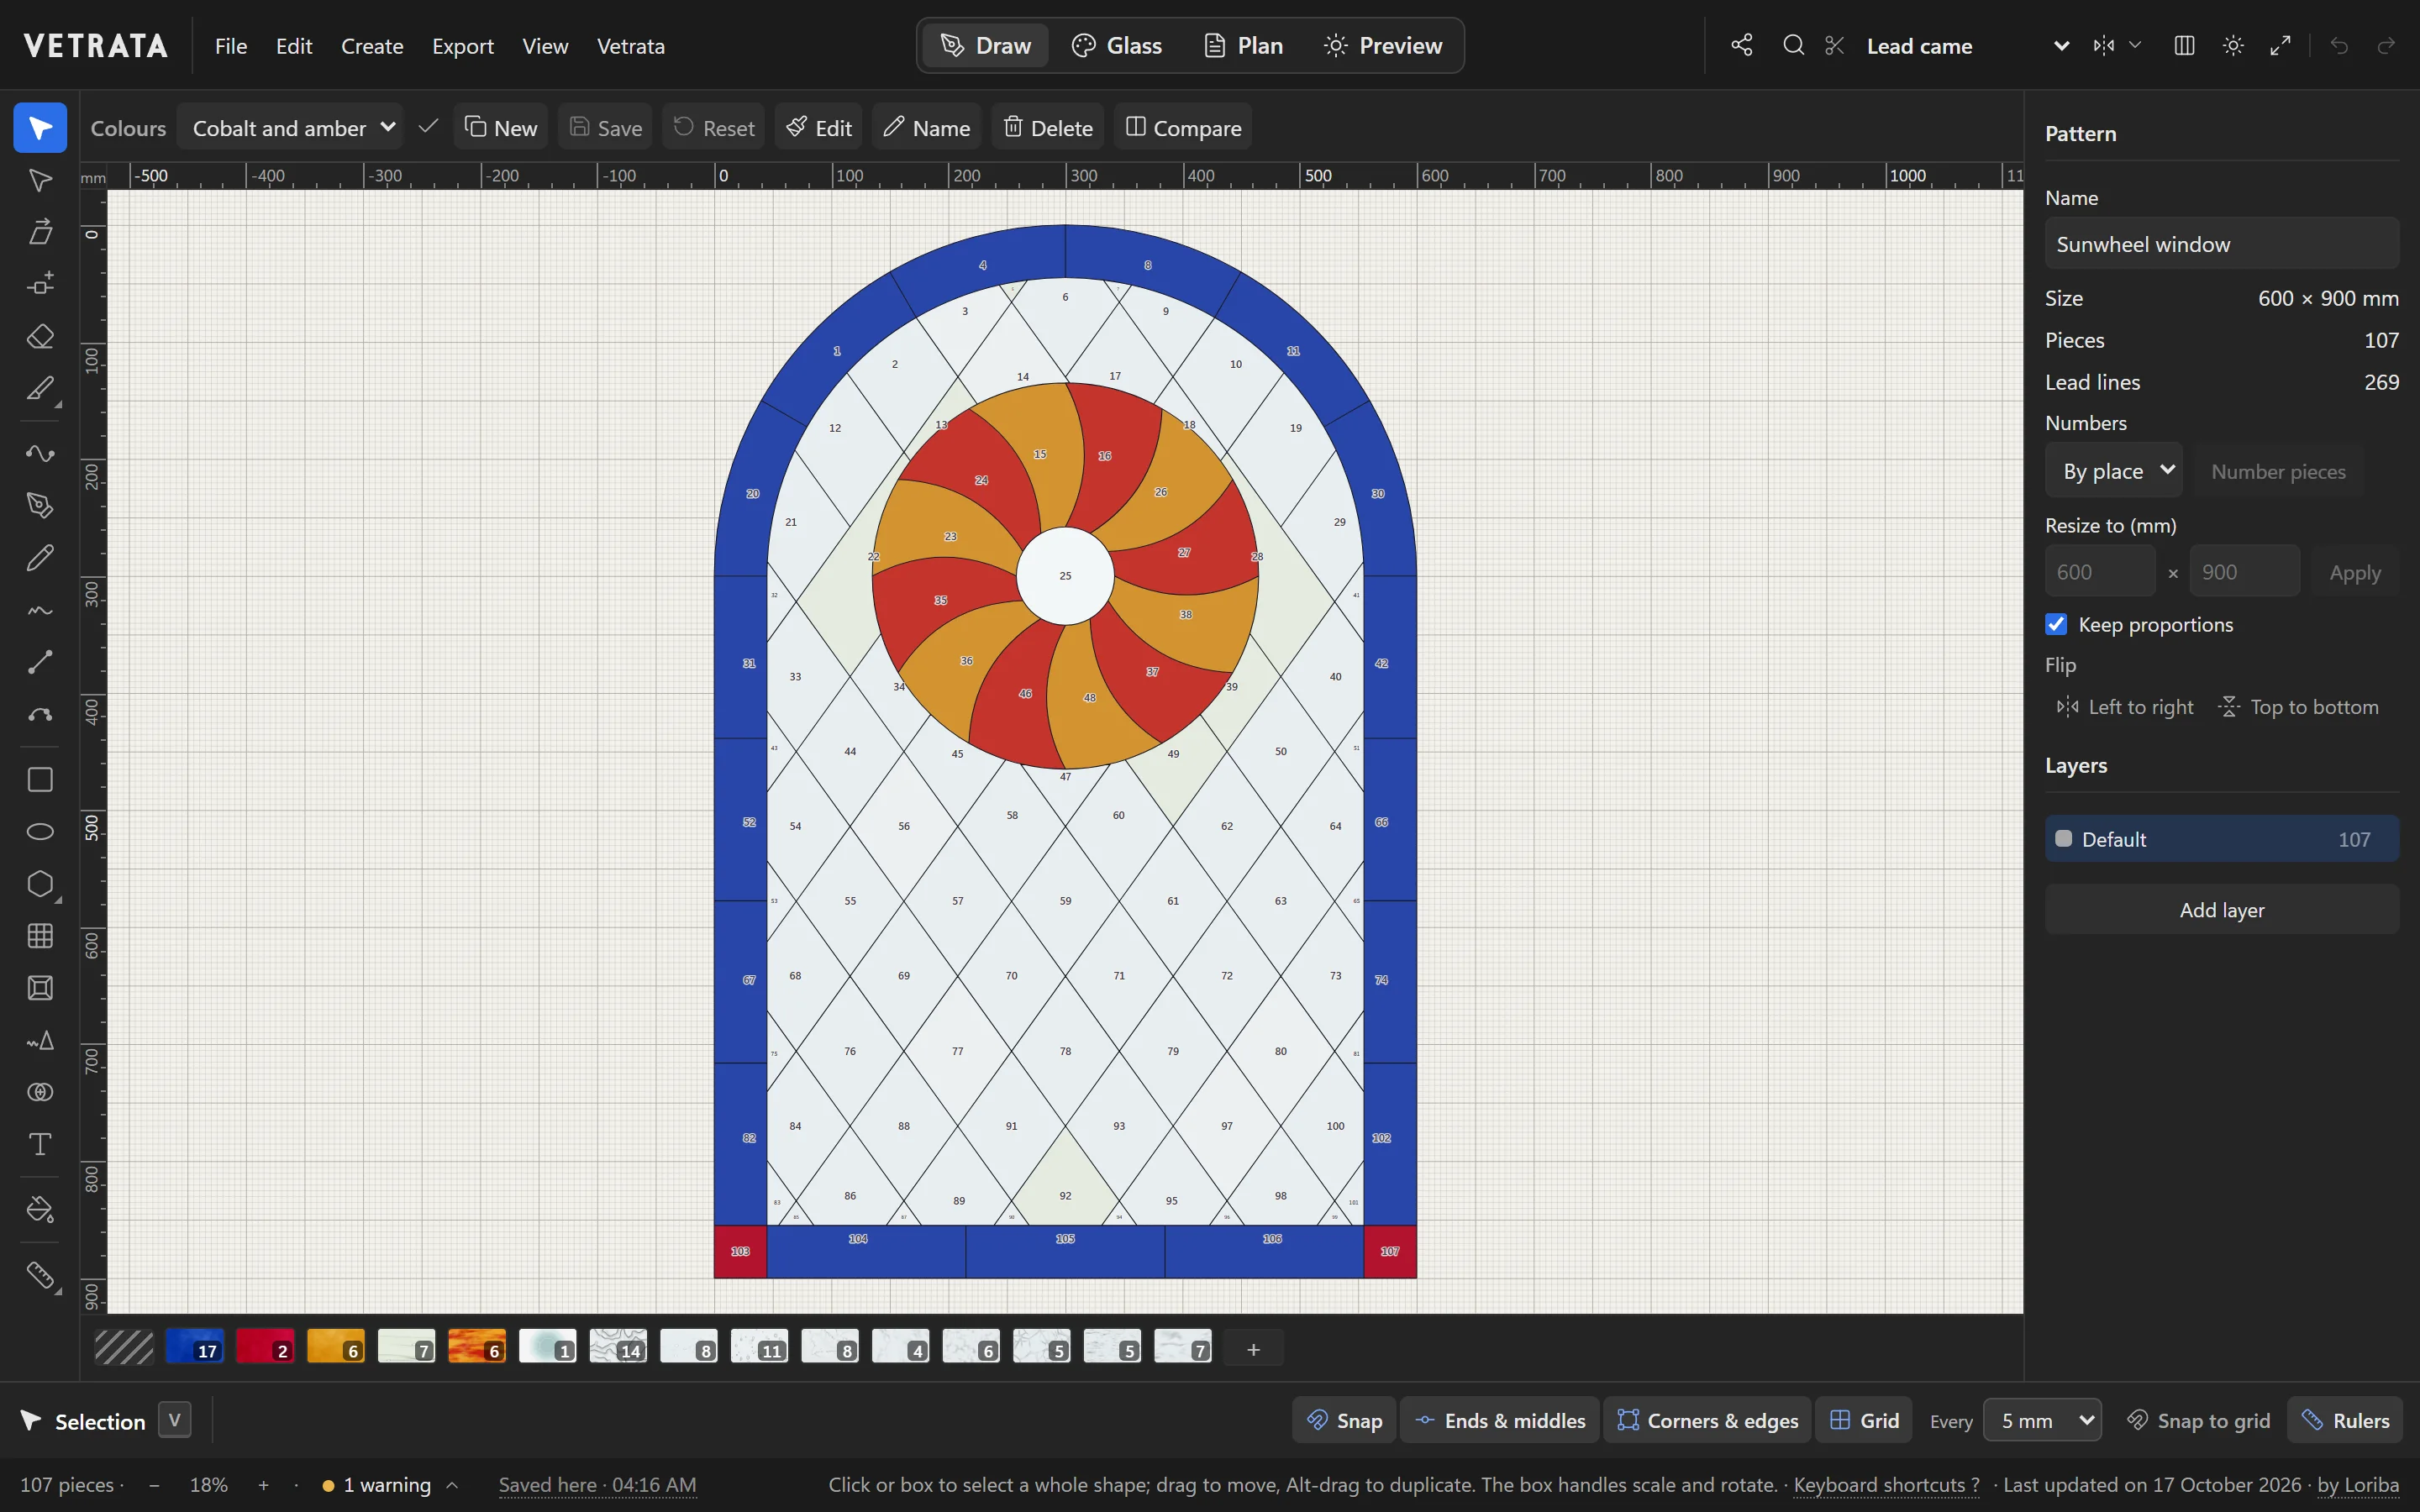
Set the technique in the bar at the top right: Lead came or Copper foil.
The Studio's checks and the printed cut lines follow the technique, so choose it before you print.
Tip Working in inches? Change the units in View › Units.
 A tour of VETRATA Studio
More in Getting started
 Draw
Draw lead lines
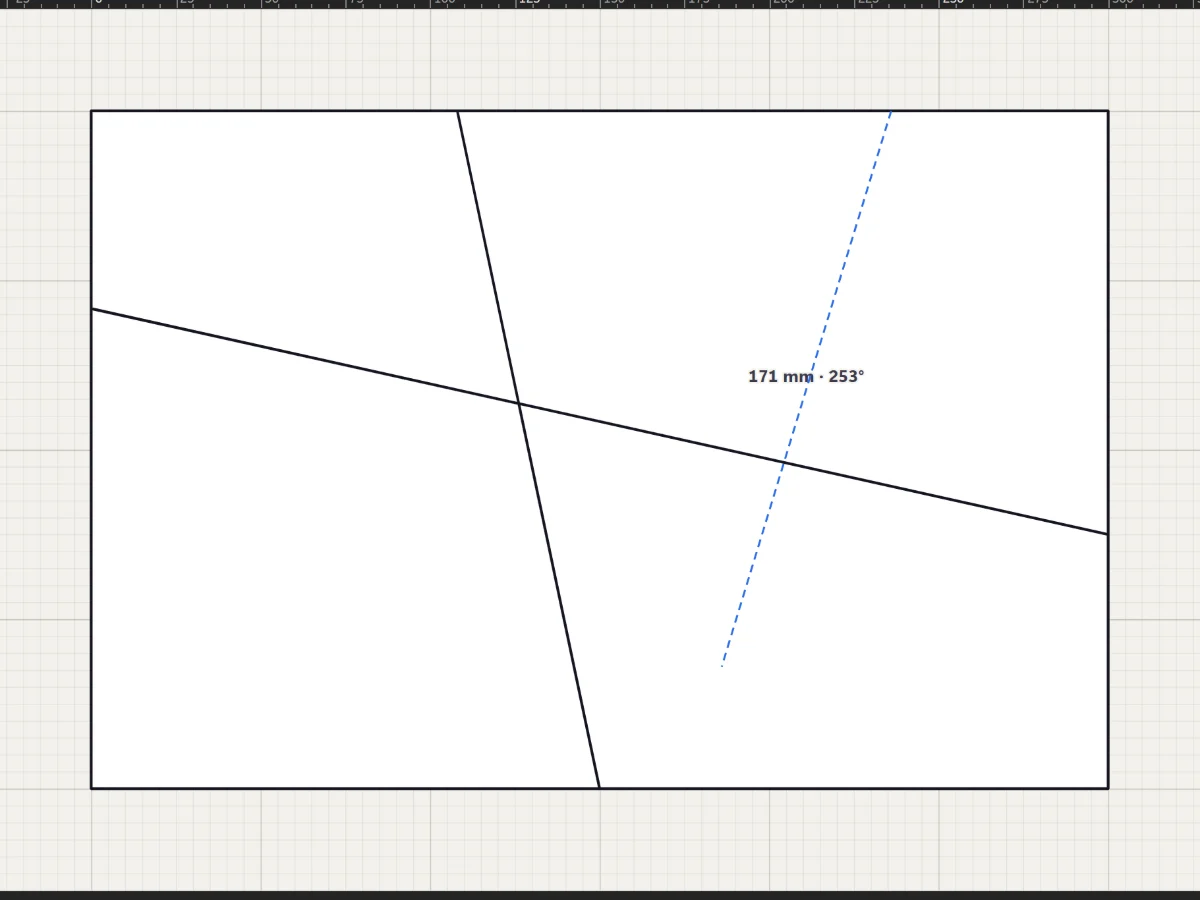
Straight leads with the Line tool, curves with the Pen and Curve tools, and freehand strokes that come out clean.
5 steps · 2 min · Try it in the page
Draw
Draw lead lines
Straight leads with the Line tool, curves with the Pen and Curve tools, and freehand strokes that come out clean.
5 steps · 2 min · Try it in the page
 Draw
Shapes, grids and radial designs
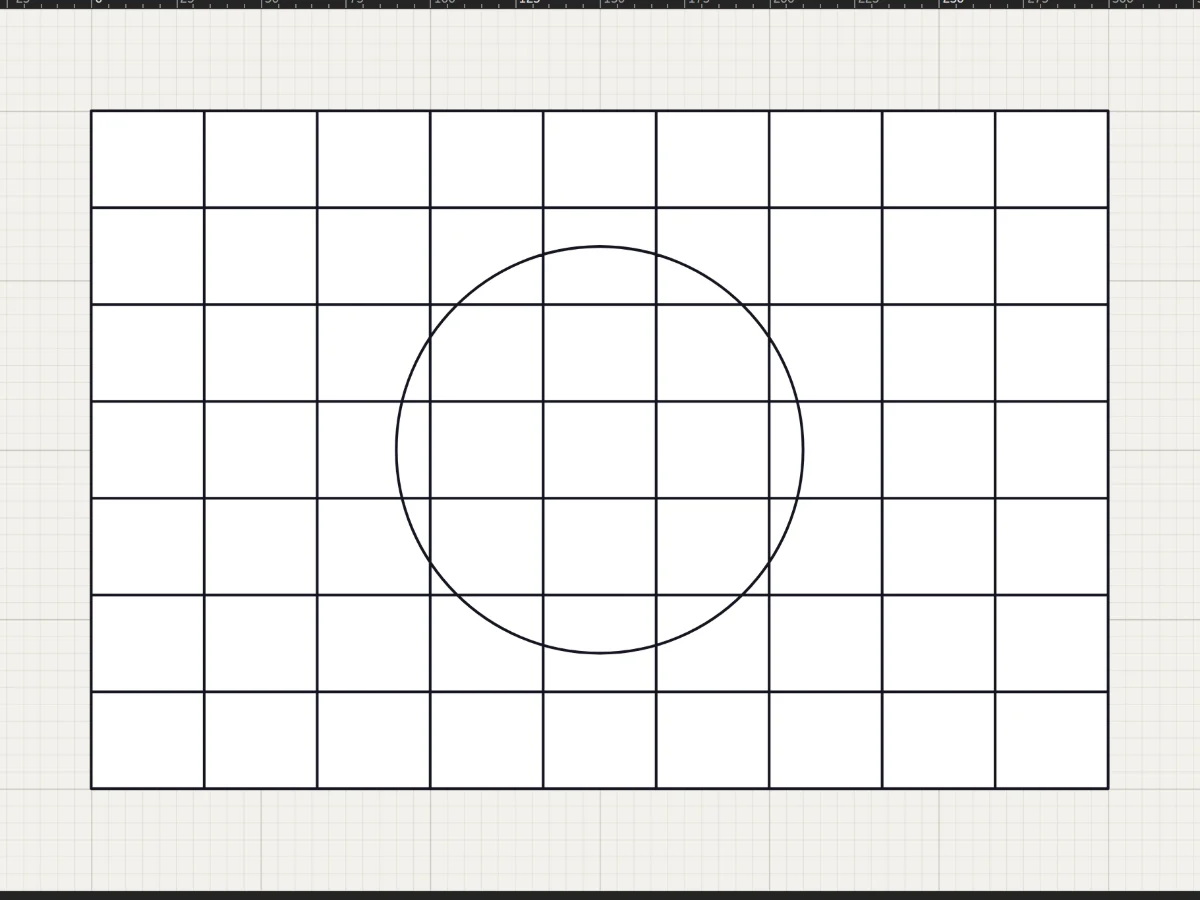
Rectangles, circles, stars, rosettes and quarry grids in a few drags, each one cut into the leadwork.
5 steps · 2 min · Try it in the page
Draw
Shapes, grids and radial designs
Rectangles, circles, stars, rosettes and quarry grids in a few drags, each one cut into the leadwork.
5 steps · 2 min · Try it in the page
 Getting started
Find any command, and make the keys yours
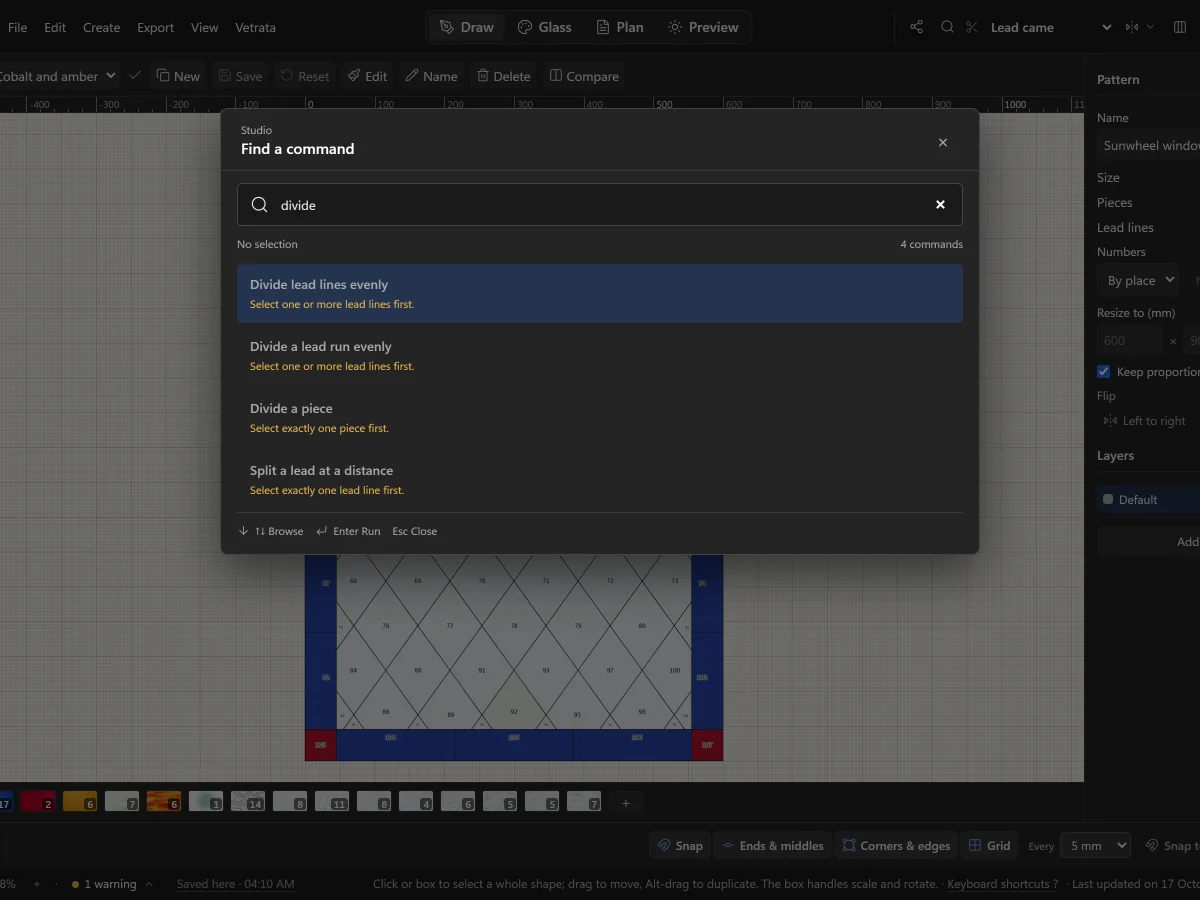
Search every command with Ctrl+K, and change any keyboard shortcut to the key you want.
5 steps · 2 min
Getting started
Find any command, and make the keys yours
Search every command with Ctrl+K, and change any keyboard shortcut to the key you want.
5 steps · 2 min