How to resize a stained glass pattern and print it full size
To resize a stained glass pattern, scale the drawing to the opening, keep its lines at the width of your came or foil, and check that every piece can still be cut at the new size. Then print it at 100% on as many sheets as it takes, and measure a known length on the print before you cut.
- Pieces
- 107
- Printed at 100%
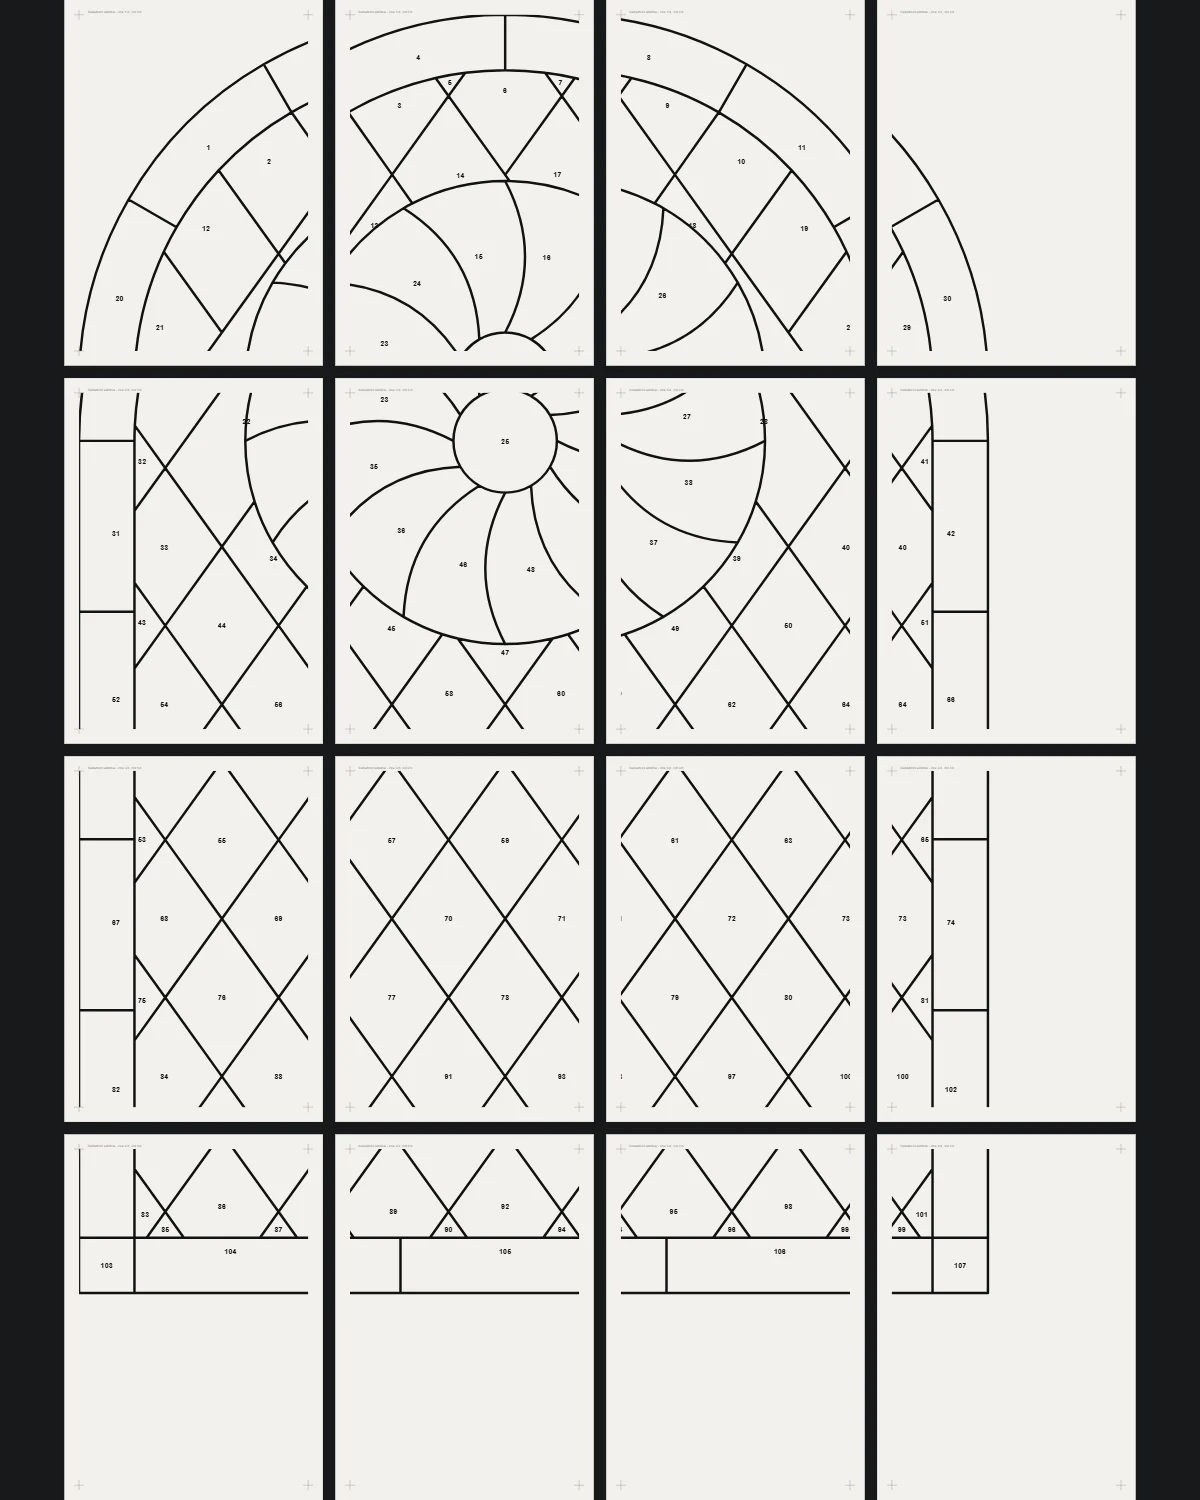
- 16 sheets of A4, 4 × 4
- Can I cut this?
- No problems at this size
01
Why a photocopier gets it wrong
Enlarge a printed pattern on a copier and everything grows, the lines with it. A pattern drawn with 1/4 inch leads, doubled, has 1/2 inch lines, and cut on the inside of those, every piece comes out too small. Shrink it and the lines get thin while your came stays the same, so every piece comes out too big.
The width of a line is not part of the picture. It is the width of the came or the foil, and it is the same at any size. Resize the drawing, and draw its lines at their real width.
02
Resize the drawing to the opening
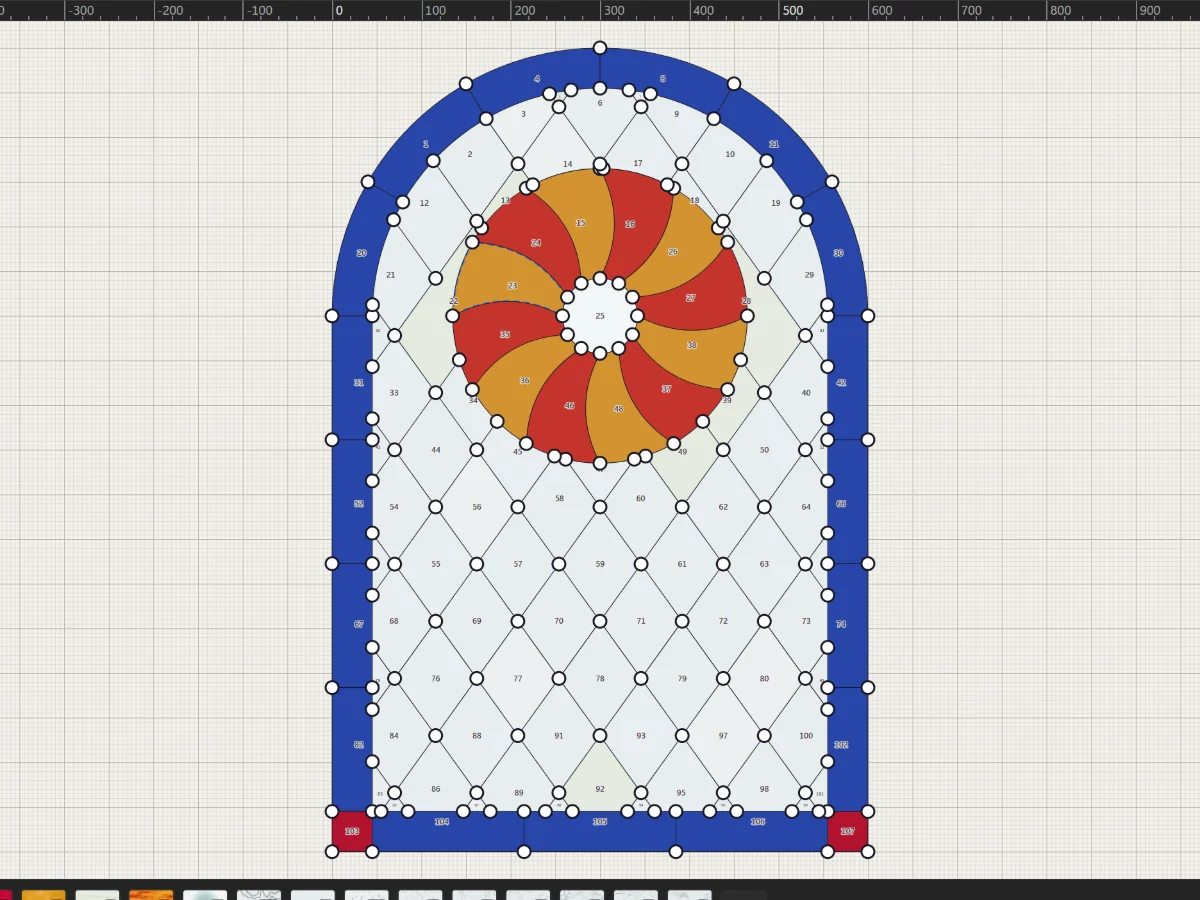
Measure the opening and decide the panel's outside size. Resize the pattern to that width and height.
If the opening's proportions differ from the pattern's, the drawing stretches more one way than the other and a circle becomes an oval. Where something has to stay round, keep the proportions and make up the difference in the border.
03
Check the pieces at the new size
Shrink a pattern and its narrow pieces get narrower; enlarge it and its big pieces get bigger. At half size a piece 12 mm wide becomes 6 mm, under the 8 mm the Studio warns at. At double size a piece 300 mm across becomes 600 mm, over the 500 mm it warns at in lead came.
Drag the size above and watch the warnings come and go. Split a piece that grew too big with a lead; join or simplify pieces that grew too small.
04
Print it at 100%
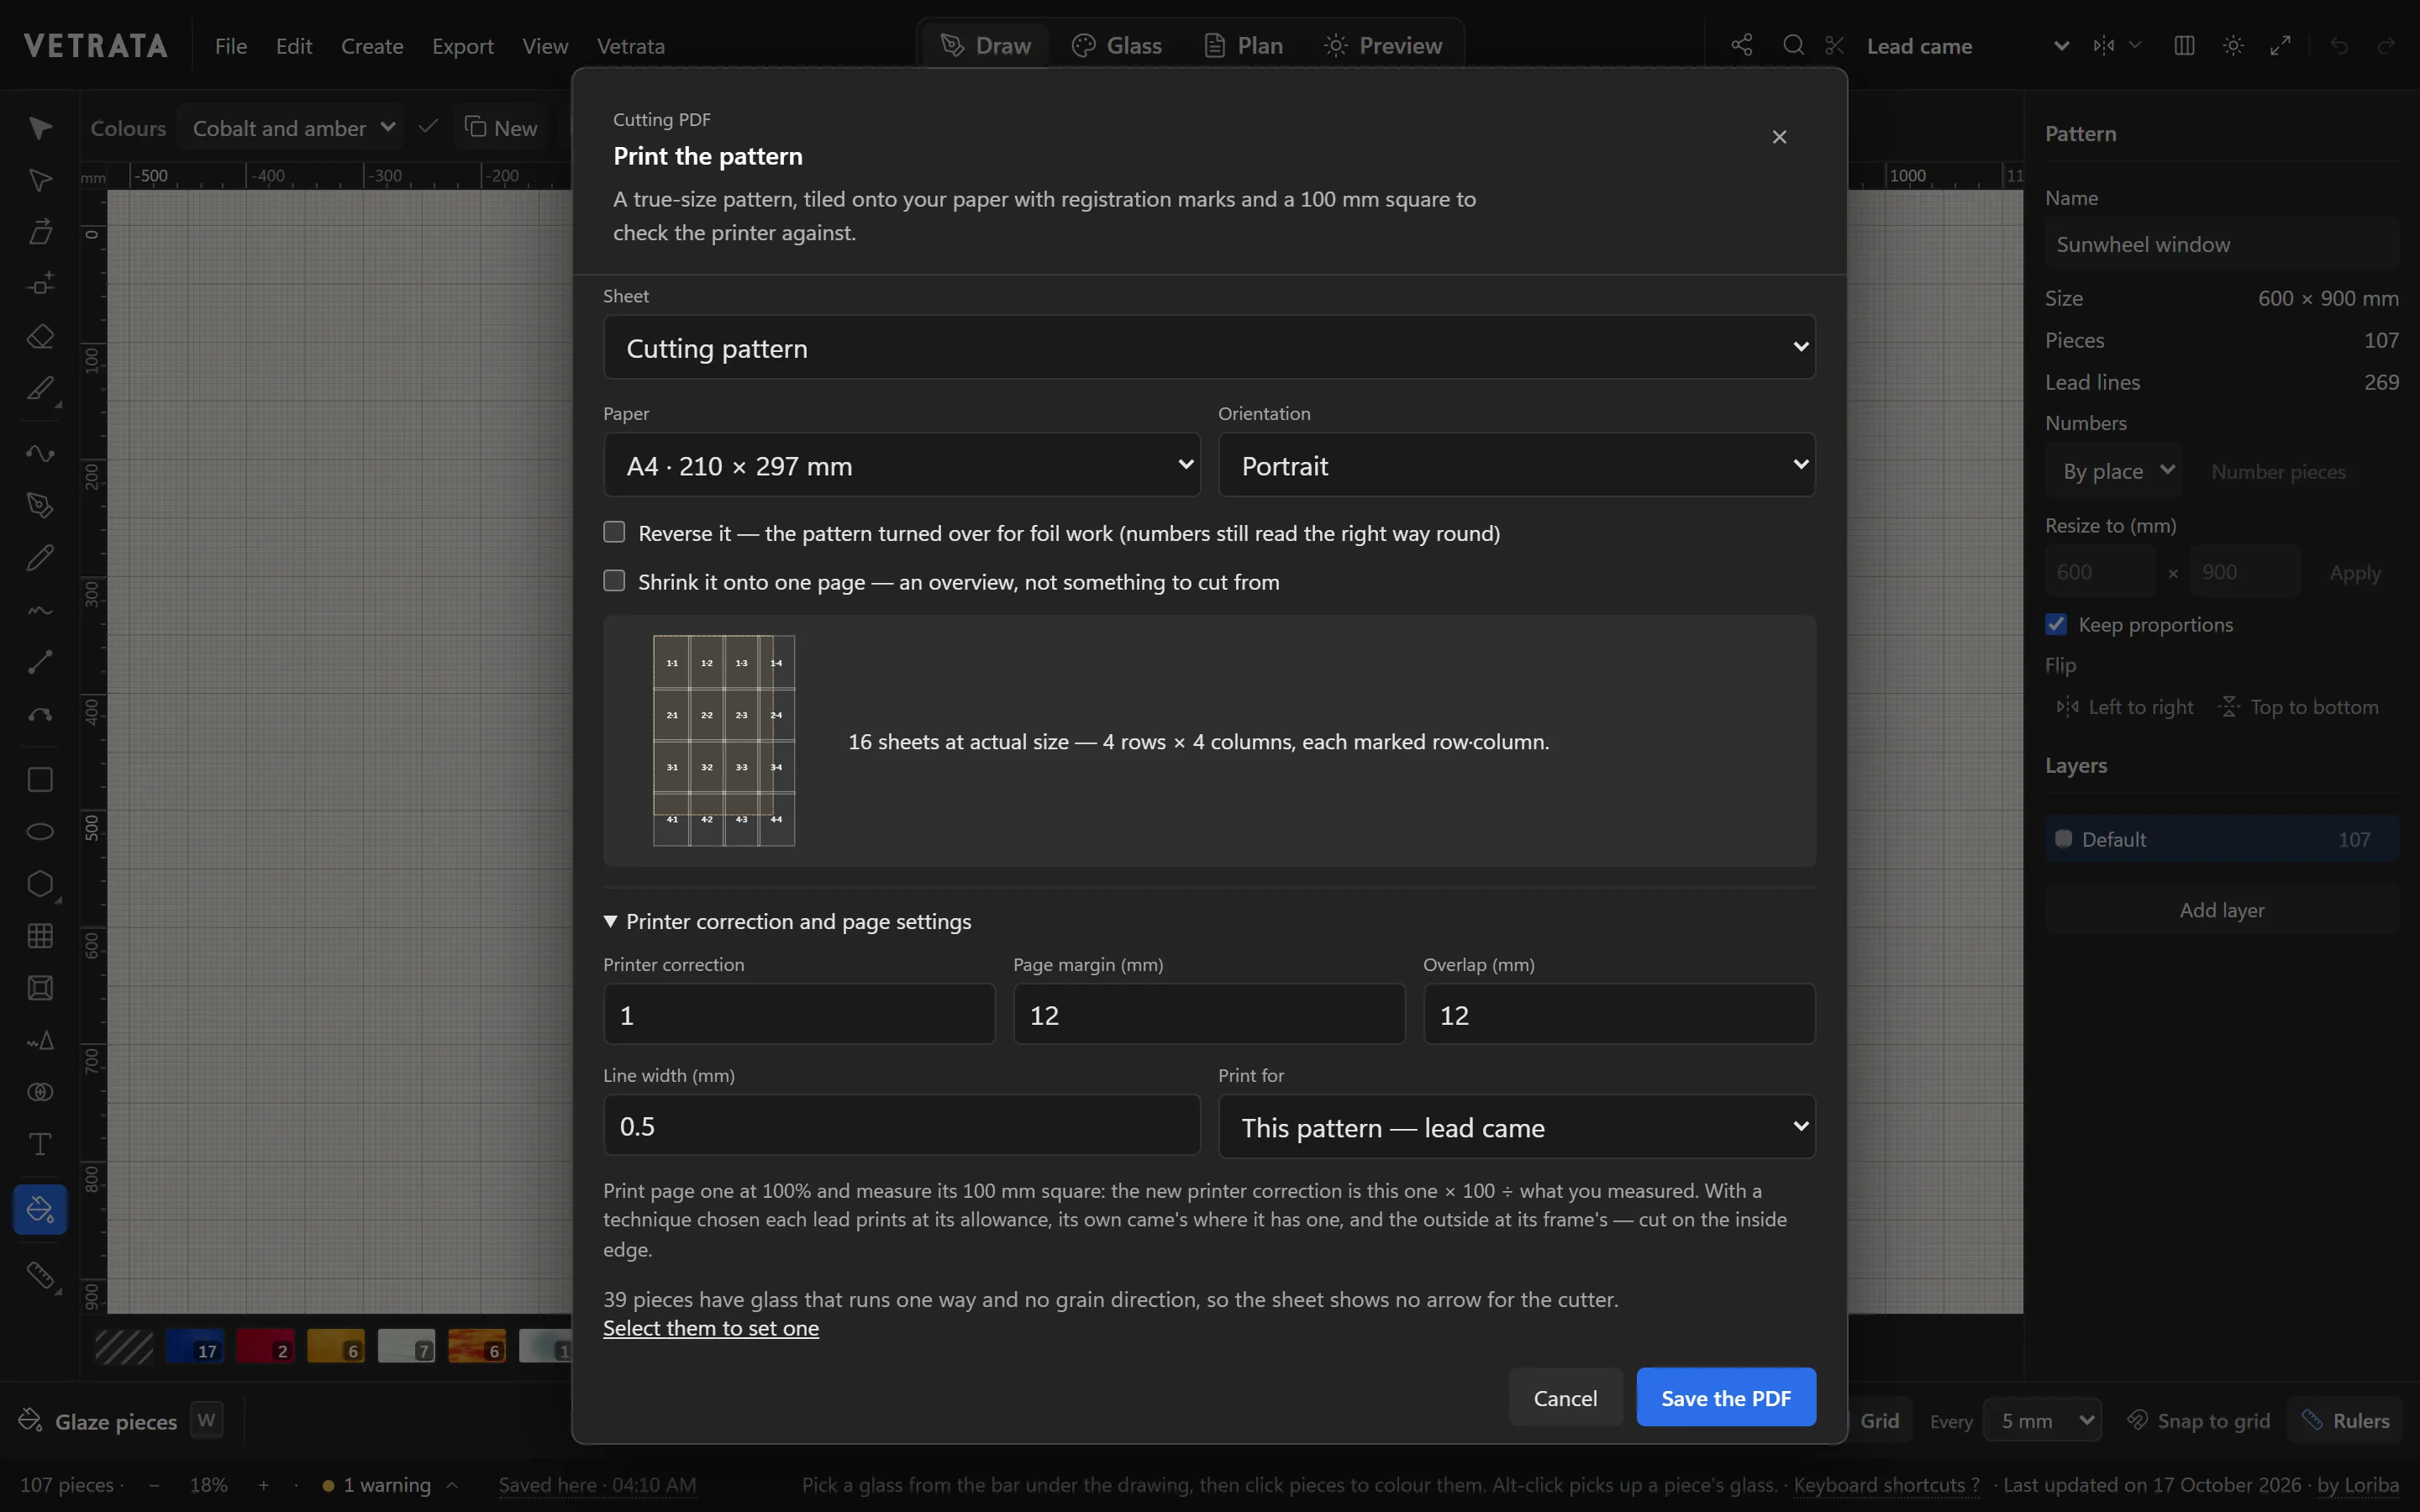
Print the cutting pattern at 100%, Actual size in the print dialog, never Fit to page. On a home printer it takes several sheets: the Studio tiles the pattern across A4 or Letter, each sheet overlapping the next by 12 mm, with marks at the corners to line them up and each sheet's row and column printed on it.
Trim the sheets, lay each over the next by the marks and tape them. Or have a copy shop print the PDF on one large sheet, at 100%.
05
Check it with a ruler
A printer can print a little large or small. Measure the 100 mm square on page one: if it measures 99 mm, every piece is 1% small, and across a 900 mm panel that is 9 mm of glass.
Correct the printer once, by what you measured, and every pattern after prints true.
In VETRATA Studio
Do it in the Studio, one lesson at a time.
 Lesson 7 · Draw
Select, move and reshape
Move whole shapes, bend leads, drag anchors and round corners with the two selection tools.
5 steps · 2 min
Lesson 7 · Draw
Select, move and reshape
Move whole shapes, bend leads, drag anchors and round corners with the two selection tools.
5 steps · 2 min
 Lesson 2 · Getting started
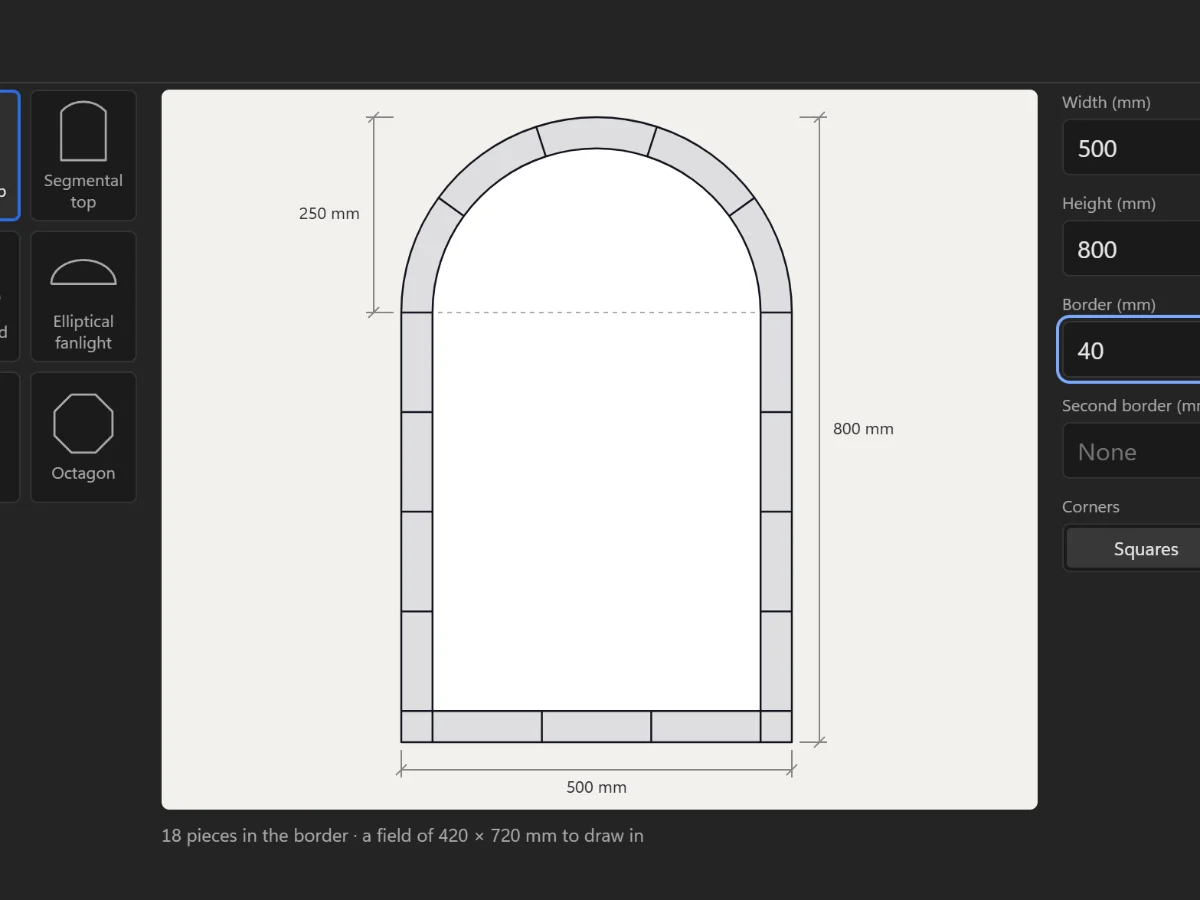
Start a new panel
Choose the opening's shape and size, add a border, and set the technique you will build it in.
6 steps · 2 min
Lesson 2 · Getting started
Start a new panel
Choose the opening's shape and size, add a border, and set the technique you will build it in.
6 steps · 2 min
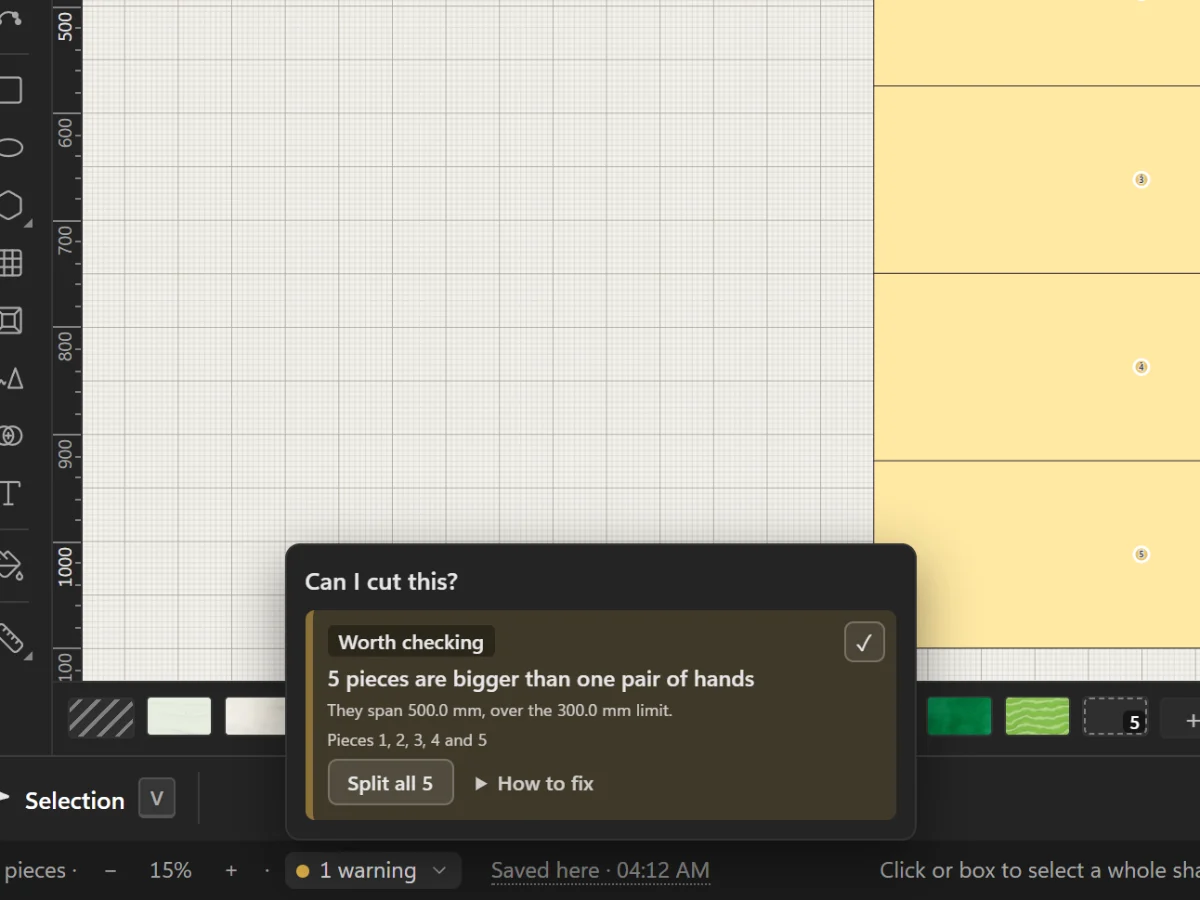 Lesson 12 · Draw
Check that the glass can be cut
Read the Studio's warnings about pieces glass won't take, and fix them with the button beside each one.
4 steps · 2 min · Try it in the page
Lesson 12 · Draw
Check that the glass can be cut
Read the Studio's warnings about pieces glass won't take, and fix them with the button beside each one.
4 steps · 2 min · Try it in the page
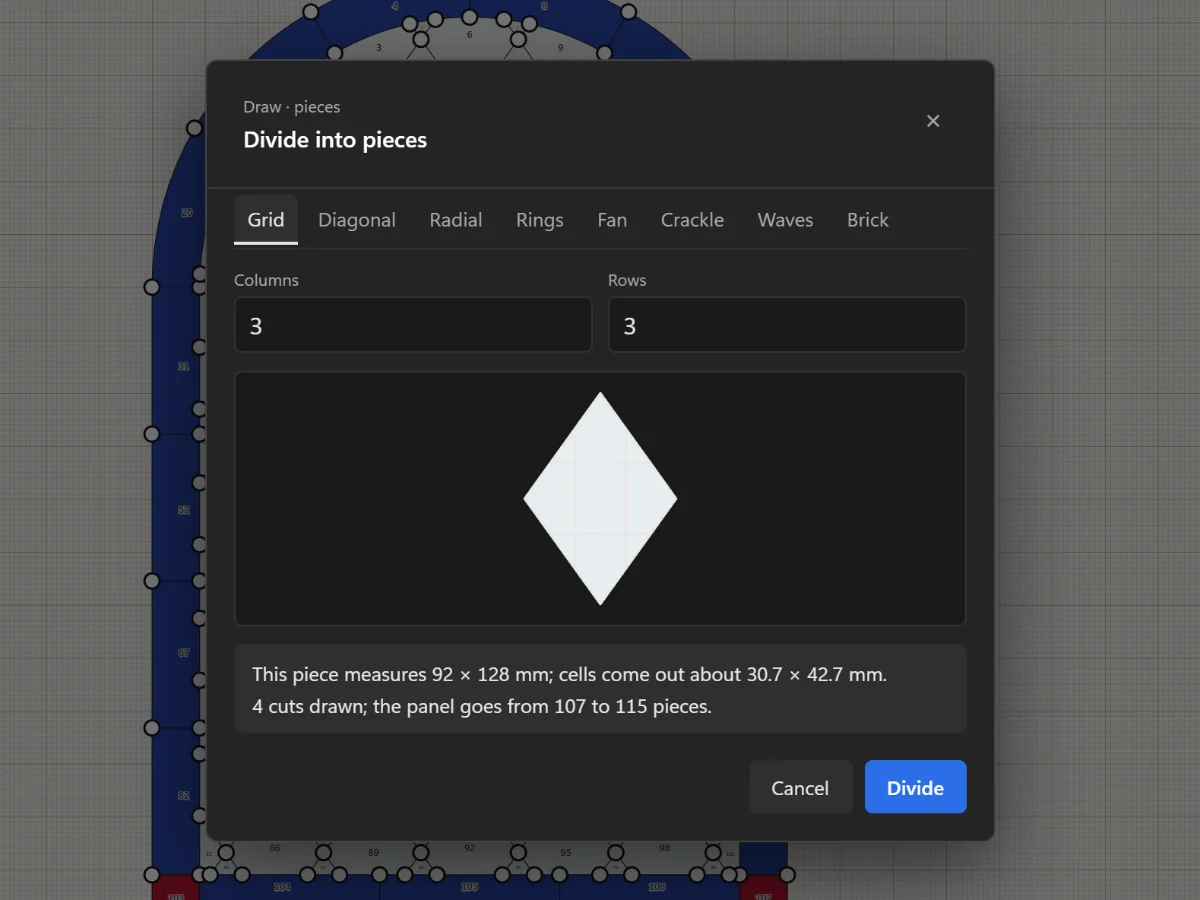 Lesson 8 · Draw
Split, cut and join pieces
Add joints, remove leads, cut with the Knife, divide a piece evenly and join pieces with the Shape Builder.
5 steps · 2 min · Try it in the page
Lesson 8 · Draw
Split, cut and join pieces
Add joints, remove leads, cut with the Knife, divide a piece evenly and join pieces with the Shape Builder.
5 steps · 2 min · Try it in the page
More guides
The rest of the craft.
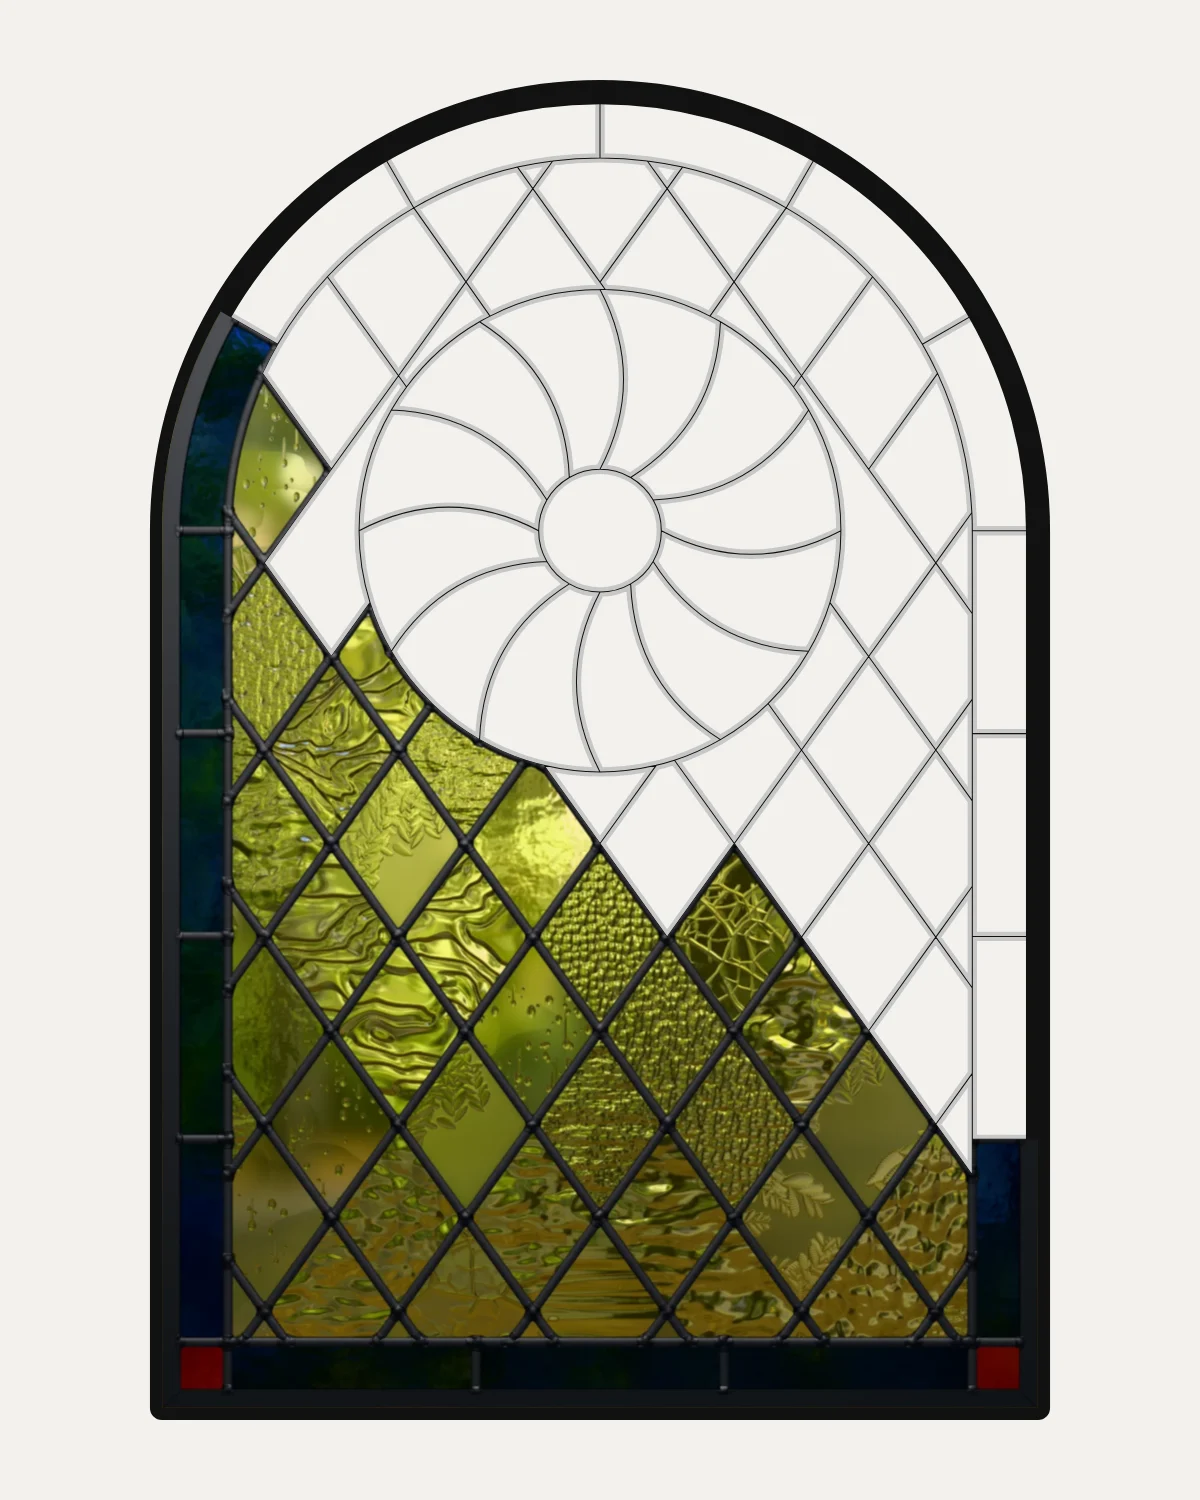 Guide · 5 min read
How to make a stained glass pattern
Make a stained glass pattern step by step: measure the opening, choose came or foil, draw lines glass can be cut along, number the pieces, choose the glass and print it full size.
Guide · 5 min read
How to make a stained glass pattern
Make a stained glass pattern step by step: measure the opening, choose came or foil, draw lines glass can be cut along, number the pieces, choose the glass and print it full size.
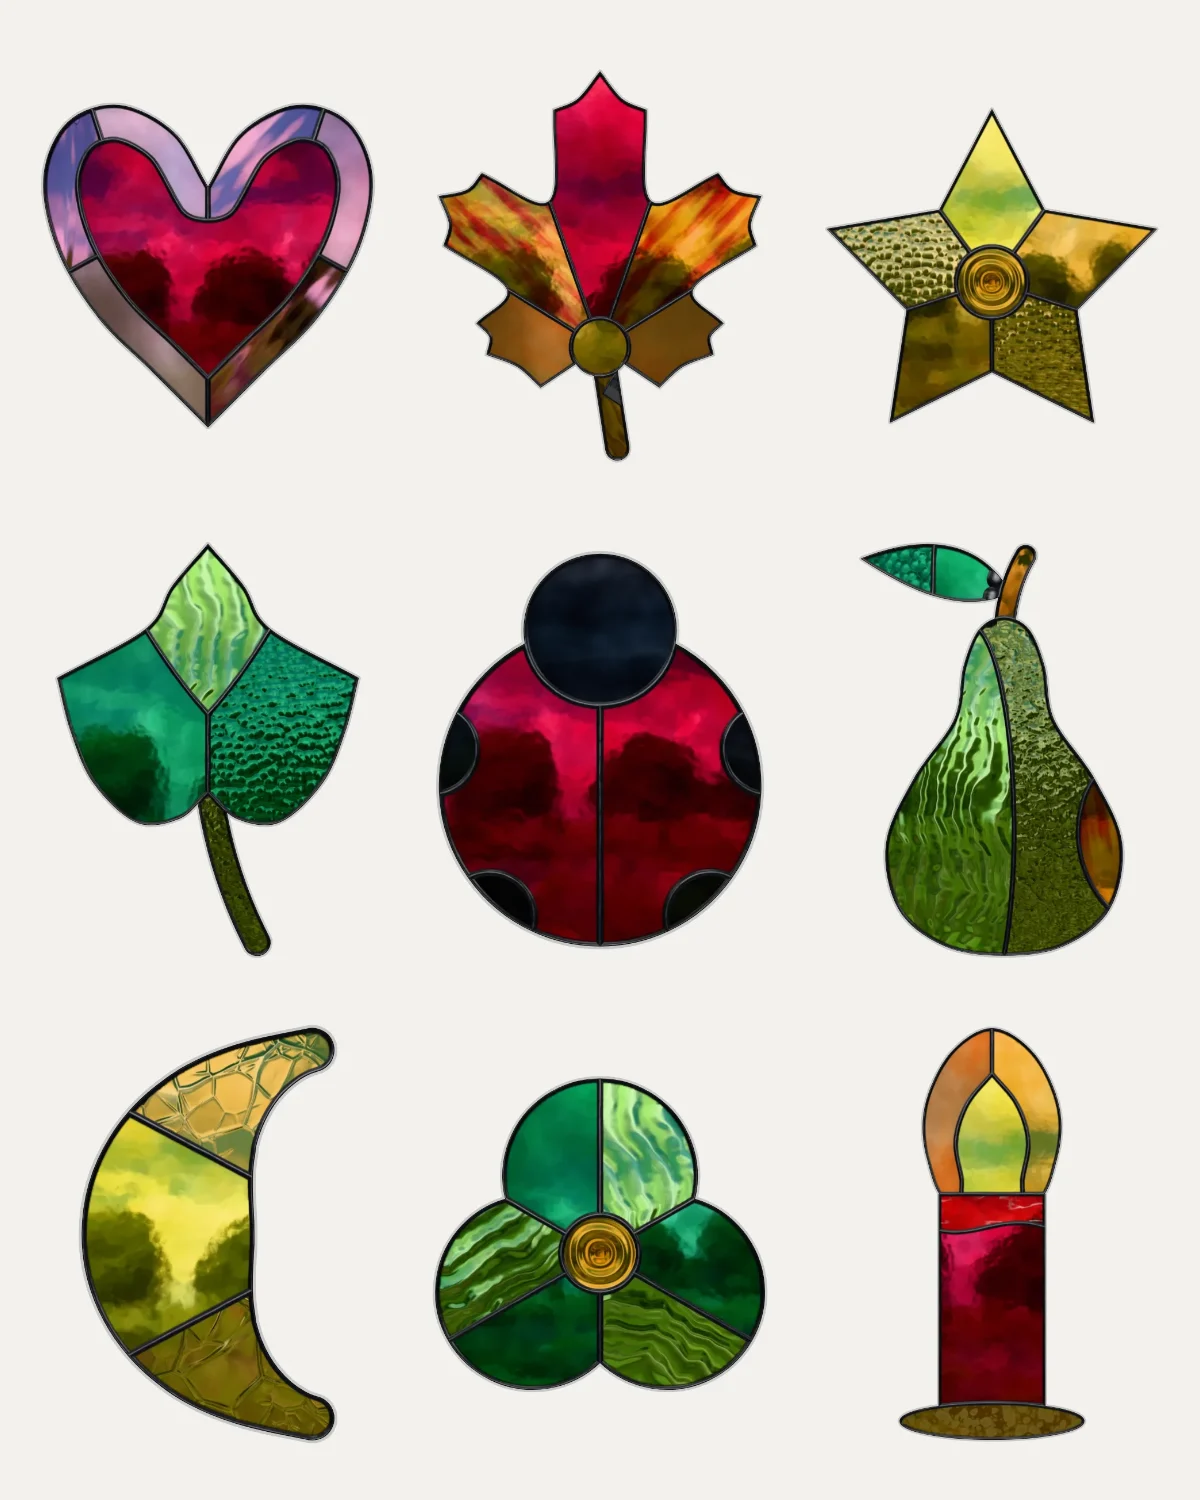 Guide · 4 min read
Stained glass patterns for beginners
How to choose a first stained glass pattern: few pieces you can hold, straight lines and gentle curves, nothing glass won't take, copper foil and a small size; and free beginner patterns to download.
Guide · 4 min read
Stained glass patterns for beginners
How to choose a first stained glass pattern: few pieces you can hold, straight lines and gentle curves, nothing glass won't take, copper foil and a small size; and free beginner patterns to download.
 Guide · 5 min read
How to read a stained glass pattern
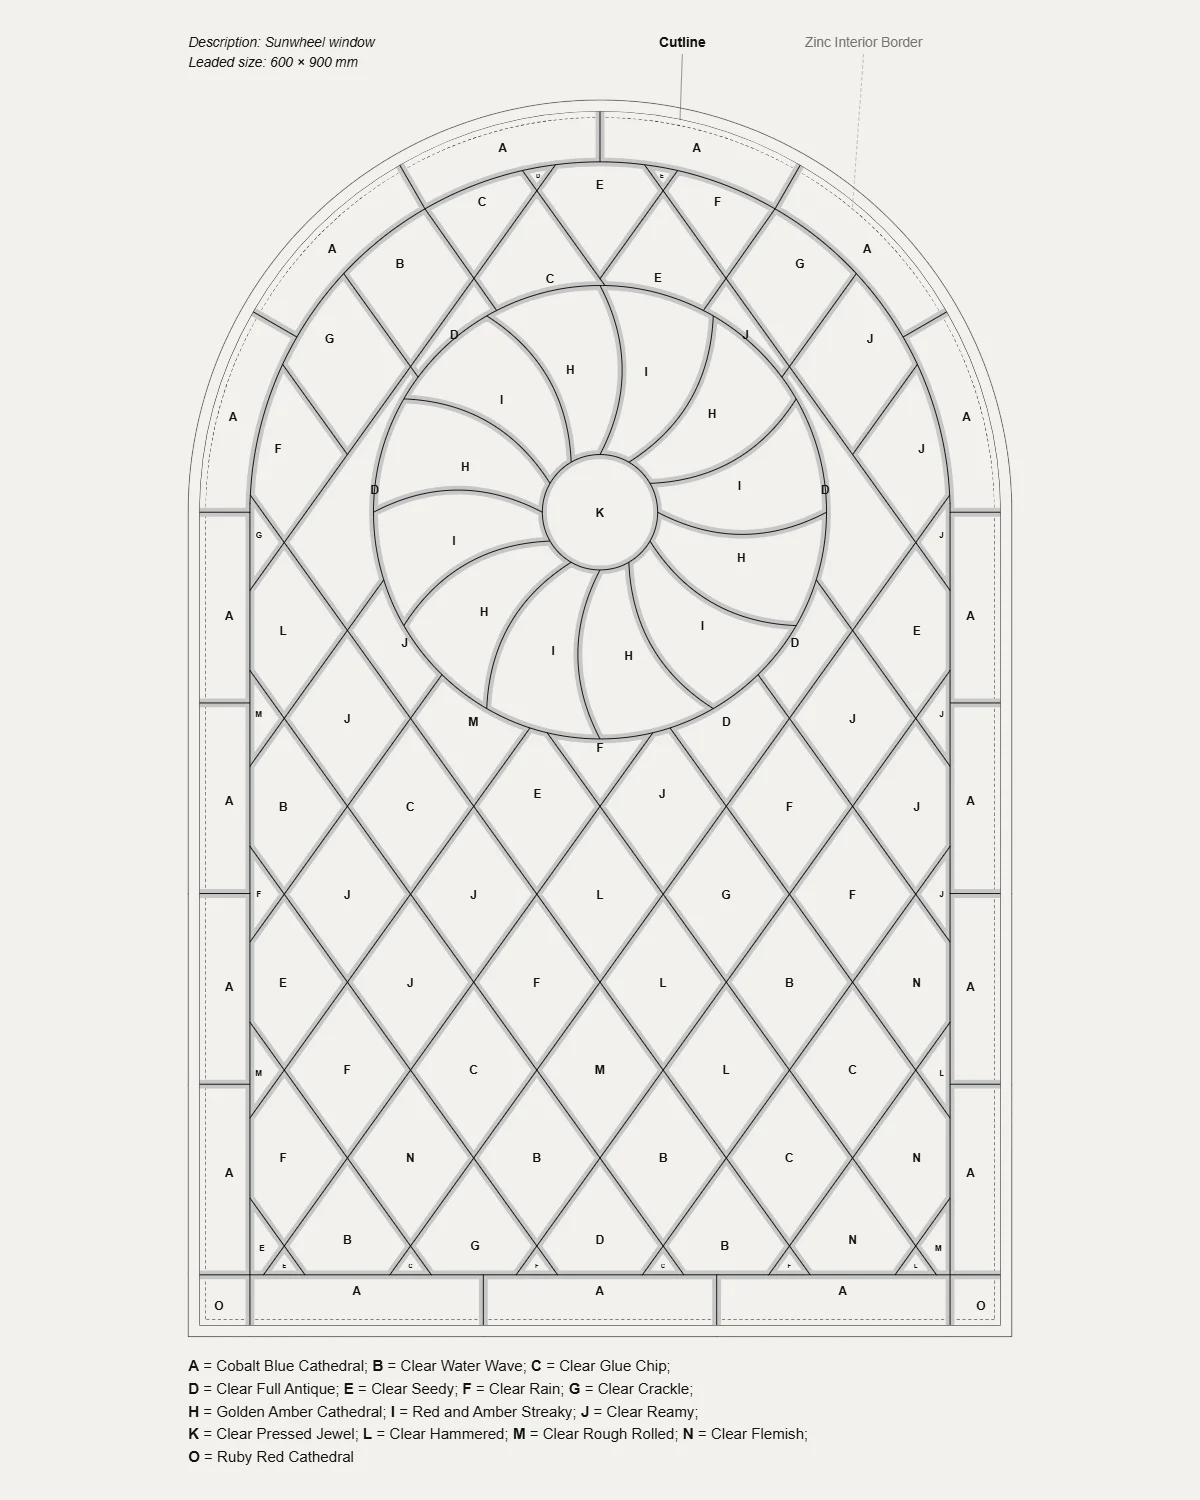
What every mark on a stained glass pattern means: the plan and the cutting pattern, lead lines and cut lines, piece numbers, glass letters and the key, grain arrows, the leaded size and the marks that join printed sheets.
Guide · 5 min read
How to read a stained glass pattern
What every mark on a stained glass pattern means: the plan and the cutting pattern, lead lines and cut lines, piece numbers, glass letters and the key, grain arrows, the leaded size and the marks that join printed sheets.
 Guide · 4 min read
Lead came or copper foil?
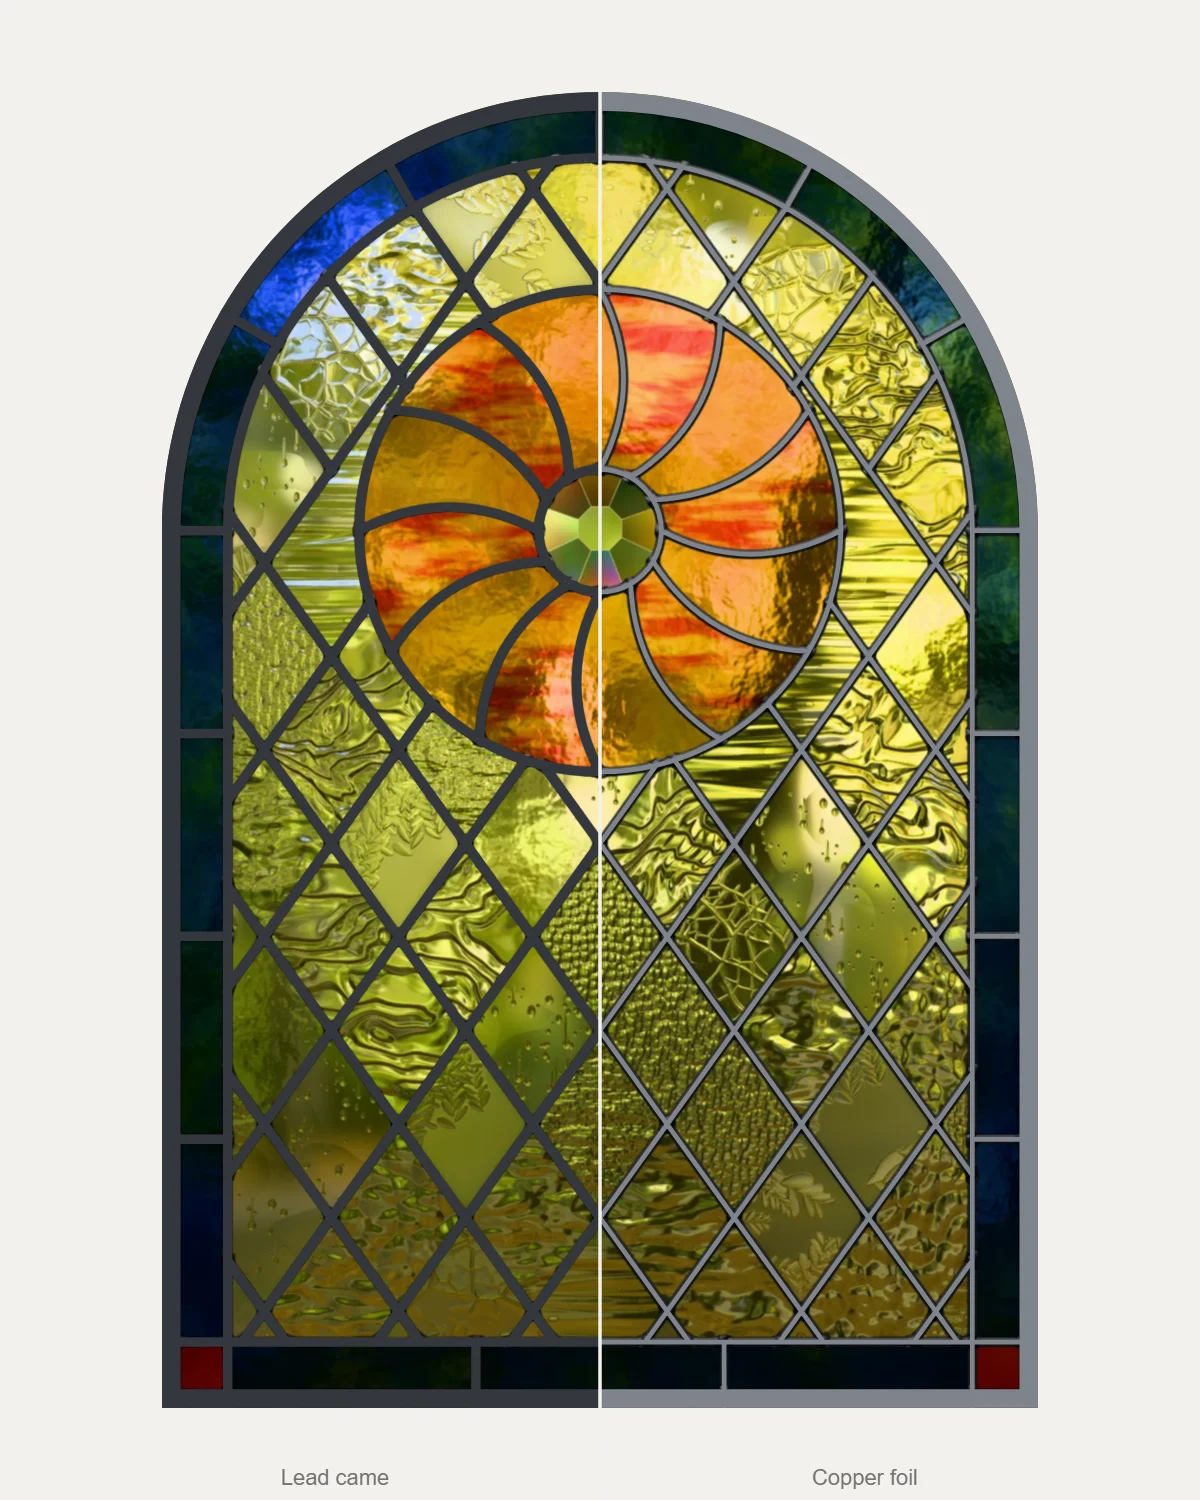
Lead came or copper foil: what each is, what each suits, and how the choice changes a stained glass pattern: the width of its lines, where the glass is cut and how big a piece can be.
Guide · 4 min read
Lead came or copper foil?
Lead came or copper foil: what each is, what each suits, and how the choice changes a stained glass pattern: the width of its lines, where the glass is cut and how big a piece can be.
 Guide · 3 min read
How to turn a photo into a stained glass pattern
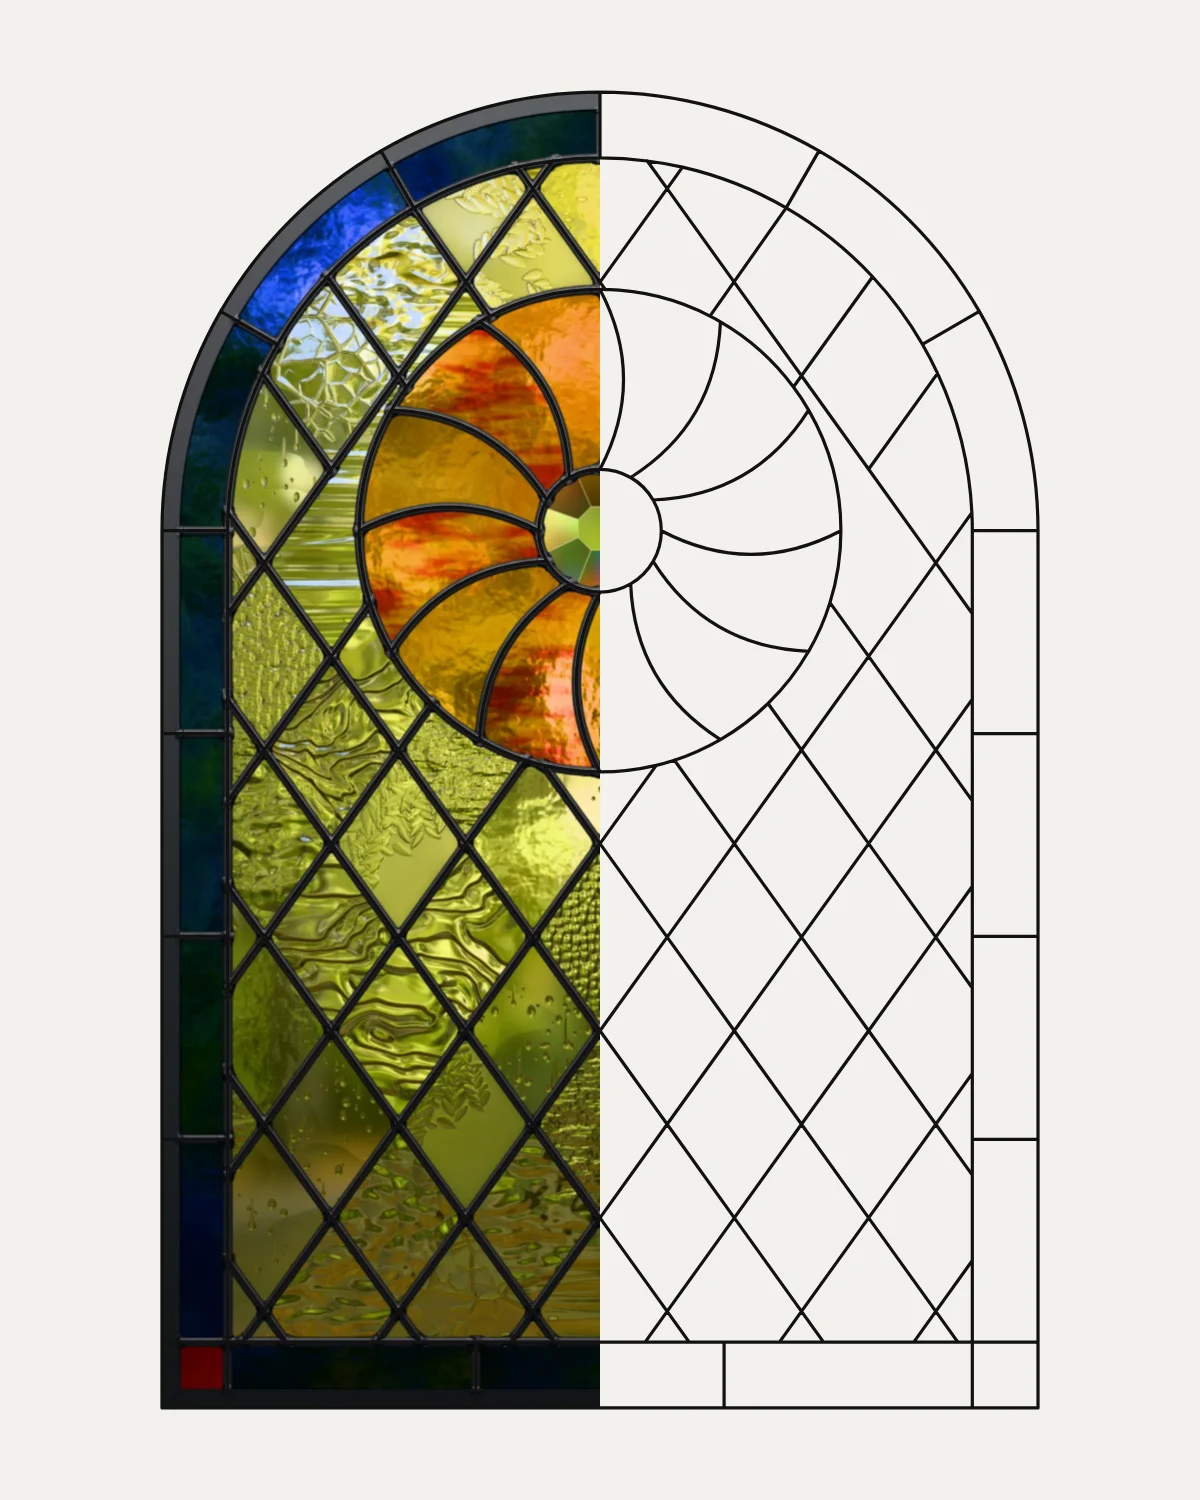
Turn a photo into a stained glass pattern by tracing it: choose a photo with strong shapes, put it under the pattern at full size, draw the big shapes as leads, add the lines the glass needs and check every piece can be cut.
Guide · 3 min read
How to turn a photo into a stained glass pattern
Turn a photo into a stained glass pattern by tracing it: choose a photo with strong shapes, put it under the pattern at full size, draw the big shapes as leads, add the lines the glass needs and check every piece can be cut.